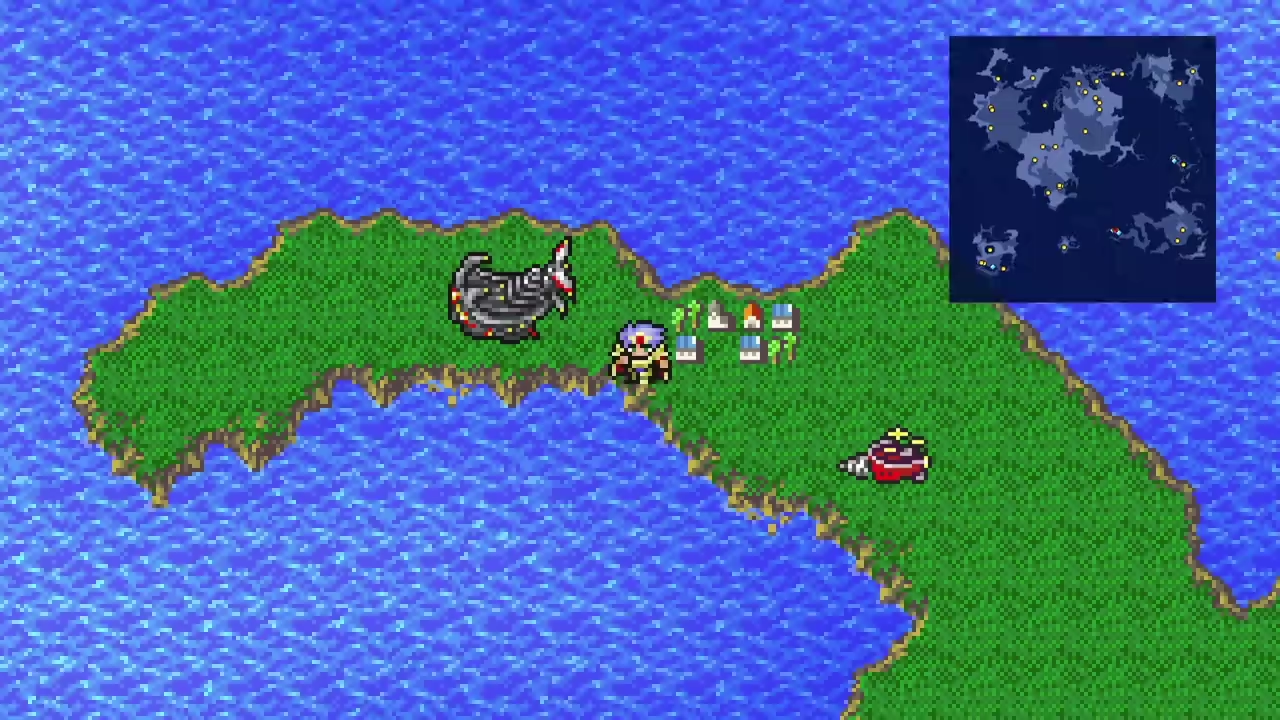
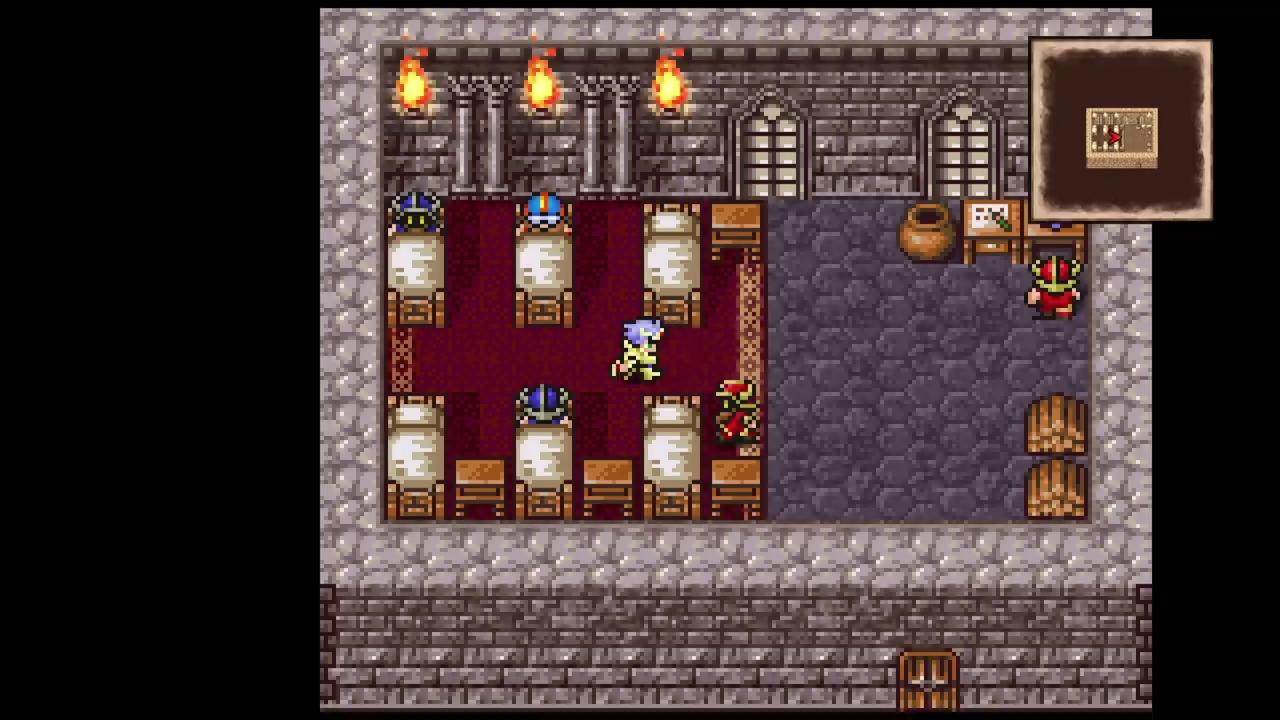
Sealed Cavern
Fly to the cave between the Cave of Summons and Tomra. 19 chests across three floors and 5 new bestiary entries inside (plus King Naga returning from Cave of Summons), followed by a long side-quest chain that adds 2 hidden items, the Excalibur, the Sylph summon, the Knife, and the Lunar Whale.
Sealed Cavern
Interact with the entrance door and use Luca’s Necklace to unlock it. Every door inside triggers a Trap Door encounter; fight them all. Save the Fuma Shuriken chest for the very last fight in the game.
New Enemies


A few things to handle carefully:
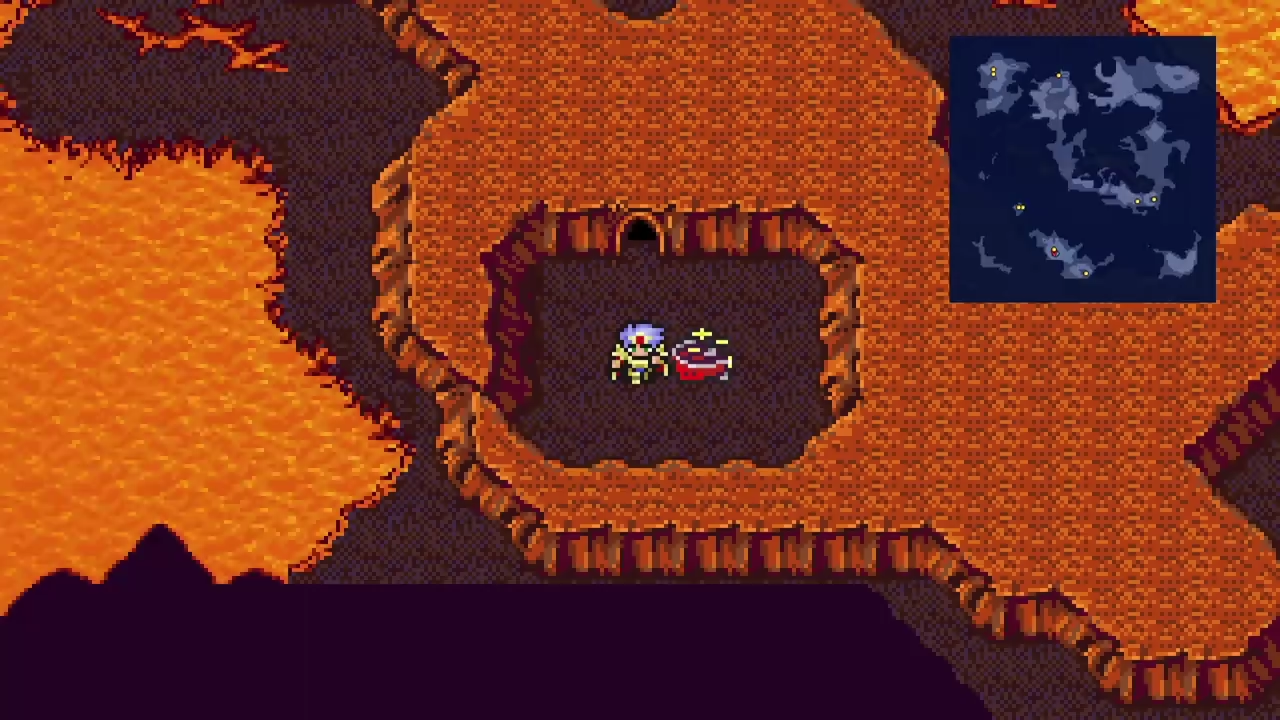
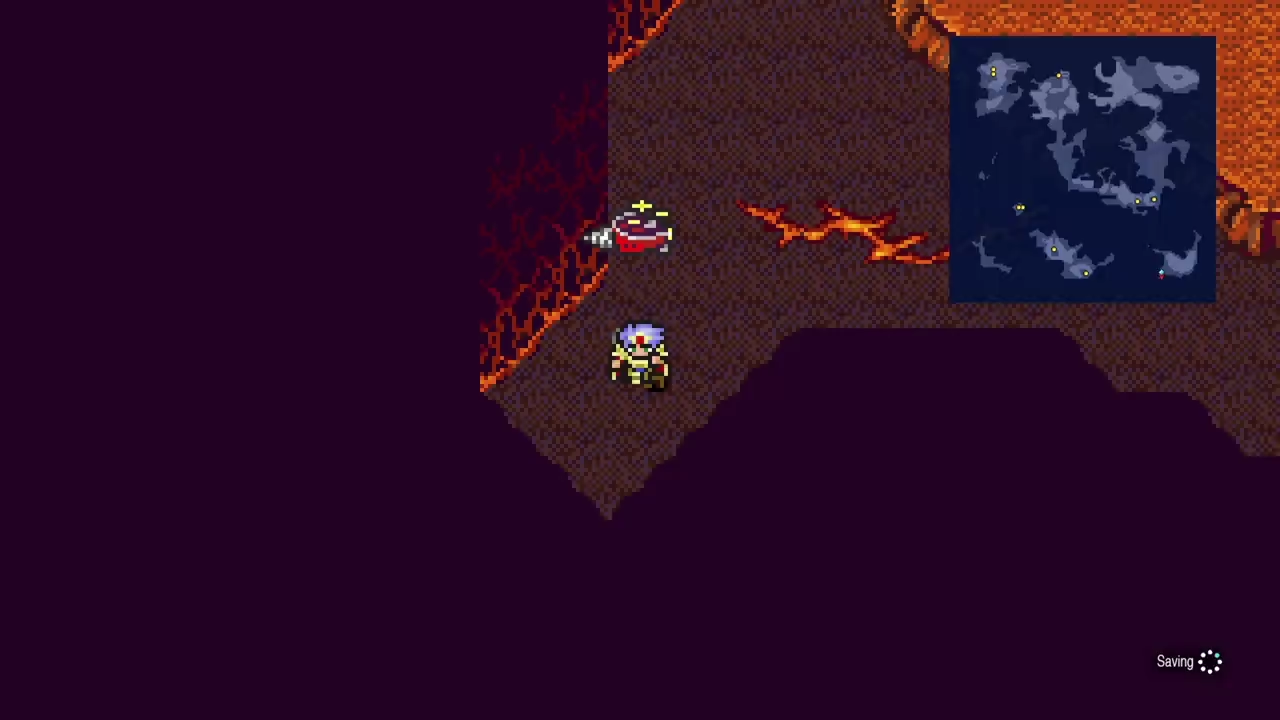
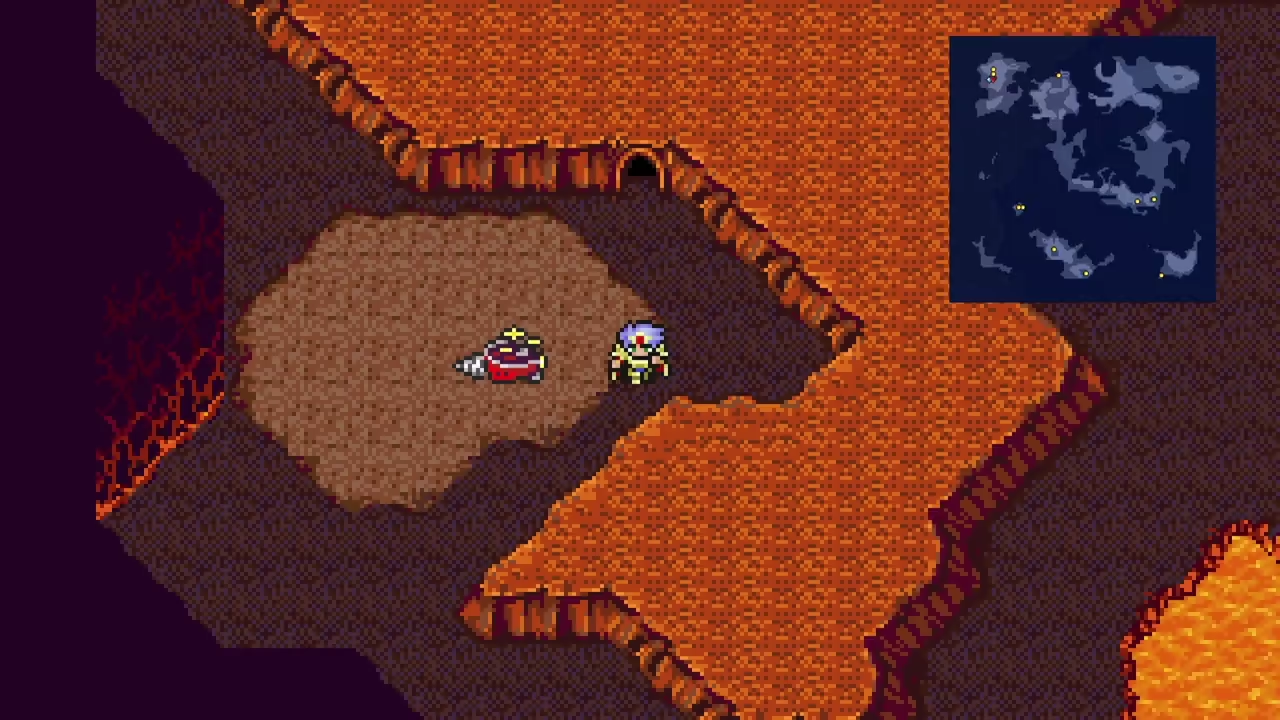
- Trap Door: 5,000 HP, 21,000 EXP and 4,500 Gil per kill. Can transform into Chimera Brain for bonus bestiary credit and even more EXP
- Chimera Brain: absorbs Fire, Ice, AND Lightning (every element spell heals it). Stick to physical attacks and Bio
- Miss Vamp: weak to Fire and Holy
- Evil Bat: weak to Fire and Projectile (Rosa’s Aim with arrows); absorbs Lightning, so don’t cast Thunder on it

B1
Walk south through the rope, then open the chest at the bottom for a Bestiary. Loop north and walk through the southeast door. Two chests inside: Kotetsu and Ether. Exit. Cut west, then north through the rope. Walk through the northwest door for Hi-Potion and Ether. Fight the empty doors for EXP, then take the southeast stairs to B2.
B2
Walk south through the rope for a Bestiary. Loop back north and east for a Phoenix Down. Continue north along the narrow ledge. Four doors line the top row, right to left.
- Second from right: Light Sword
- Third from right: Fuma Shuriken, Elixir, Light Curtain
- Leftmost: Kotetsu, Black Cowl
- Second from left: save room
Cut southwest through the door, grab the Ether on the path, and take the southwest stairs.
B3
Open both chests in the small area: Hi-Potion and Phoenix Down. Walk south across the bridge, then east for a Bell of Silence. Go through the middle rope and break open the eastern door for Dry Ether and X-Potion. That’s 19/19 chests.
B4 and B5 are linear with no chests. Walk down to the Crystal Room.
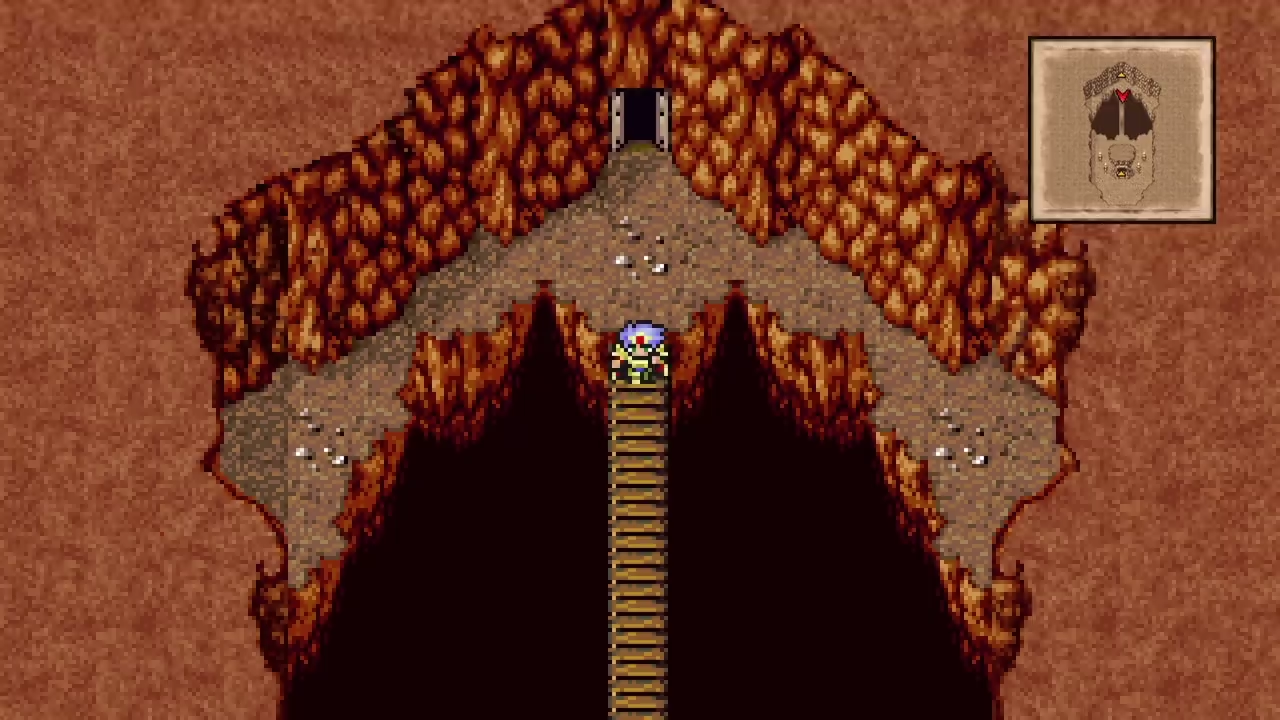
How to Beat Demon Wall
Grab the Dark Crystal, then prepare for the fight. The Demon Wall advances toward the party each turn and uses Crush (instant death on one party member) once close. It’s a pure DPS race.
Walk all the way back to B1. A cutscene at the entrance plays and Kain leaves the party again. Exit the cave.
Side Quests
Follow-up pickups for the Excalibur, the Sylph summon, the Knife throwable, and the Lunar Whale.
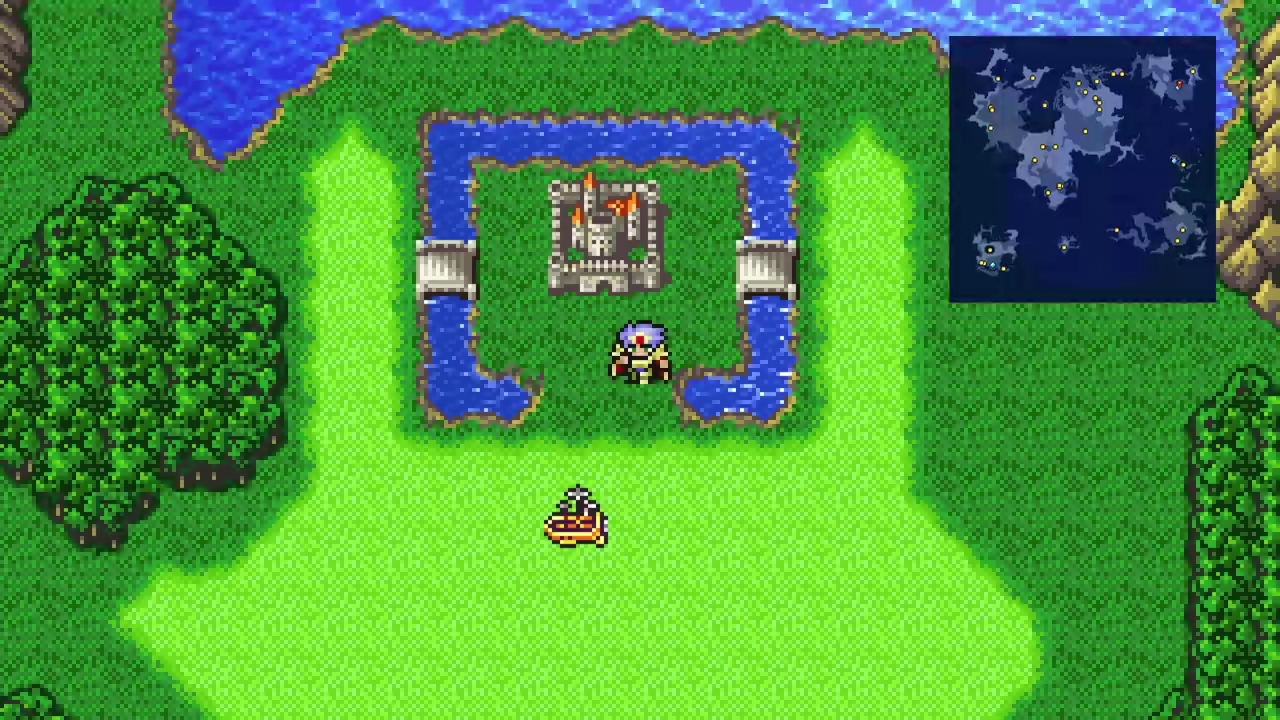
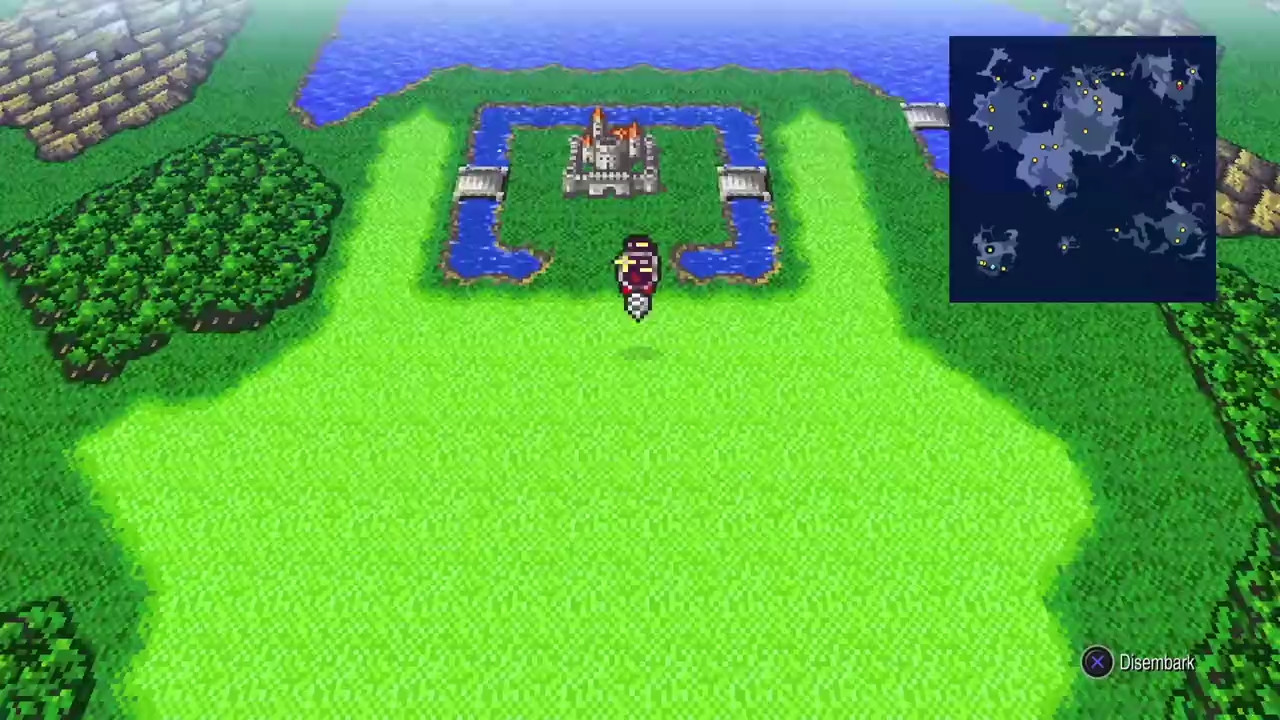
Airship Upgrade
Fly back to the Dwarven Castle throne room and speak to King Giott.
Walk to the infirmary and talk to Cid at the bed. The cutscene upgrades the airship so it can travel between the Underworld and the Overworld.
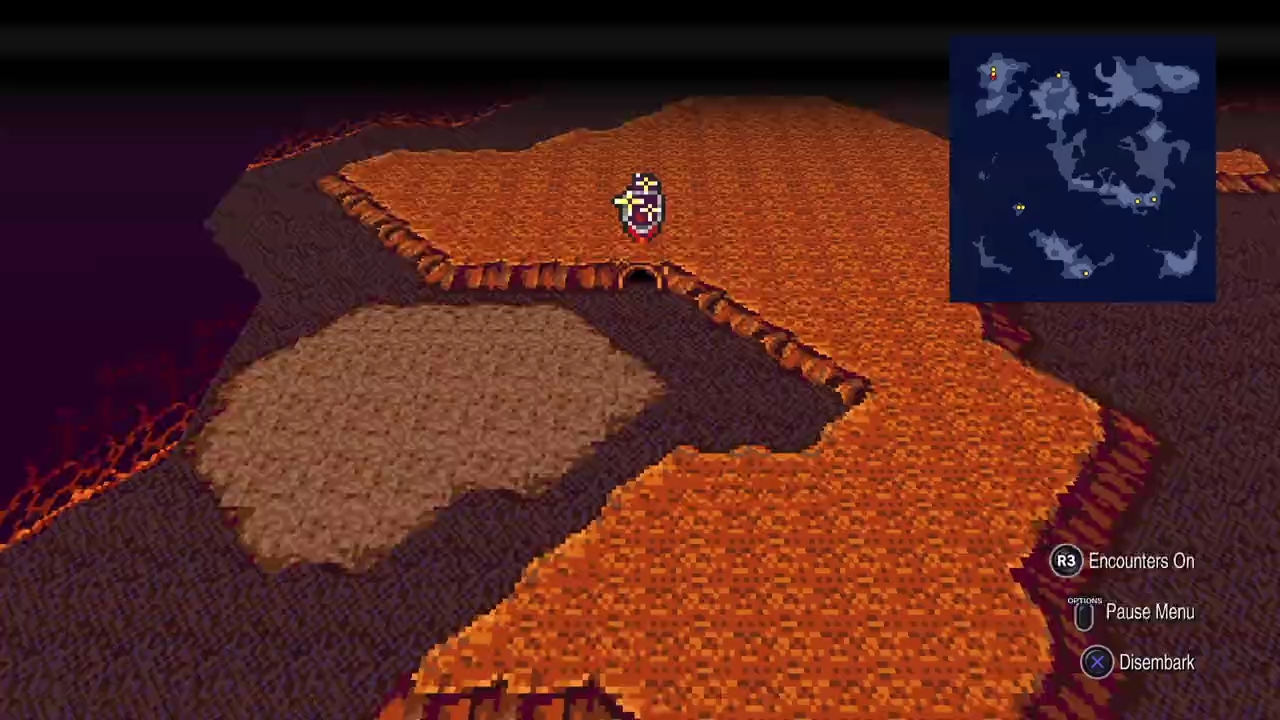
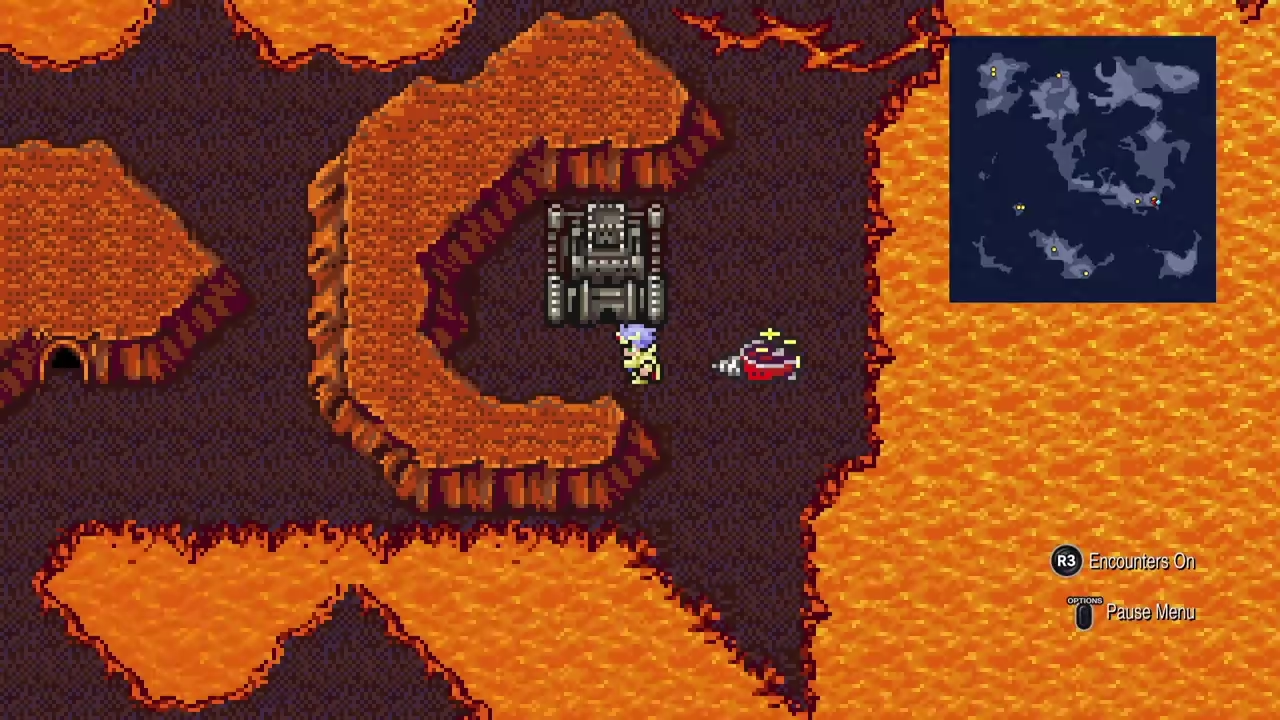
Fly to the northeast crater to surface in the Overworld.
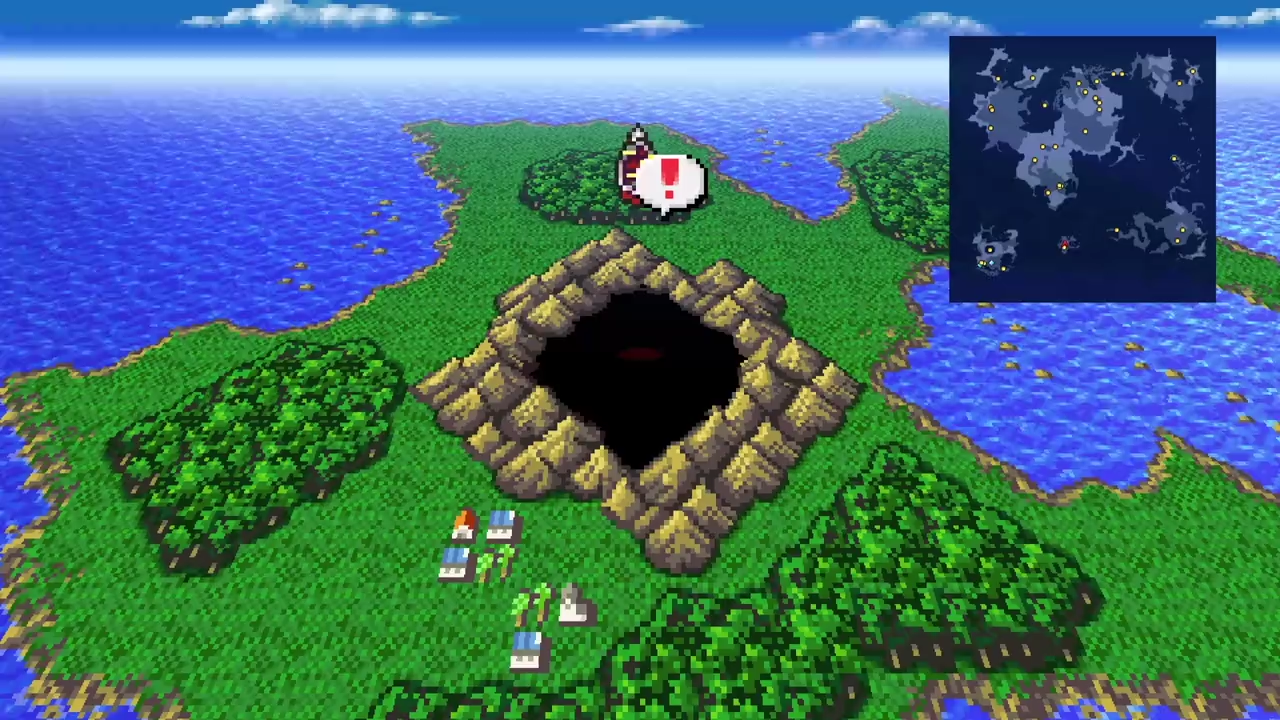
Adamantite
Switch to the Enterprise airship (blue diamond on the map) and pick up the hovercraft. Take the hovercraft to the Mythril area and drive southeast to the Adamant Grotto. Give the Rat Tail to the NPC inside; he hands over Adamantite in return.
Frying Pan
Fly to Fabul Castle. Climb to West Tower 3F and speak to Yang’s Wife. She hands over the Frying Pan.
Kokkol’s Smithy (Excalibur Forge)
Fly to the Underworld and visit Kokkol’s Smithy in the southeast corner.
Inside, check the pot on 1F for a Remedy and the left shelf on 2F for a Soma Drop. Then hand Kokkol the Adamantite; he needs time to forge the Excalibur, so leave the smithy and come back later.
Sylph Summon
Fly back to Sylvan Cave and make your way to the Sylvan Cottage. Use the Frying Pan on Yang in the bed. Rydia learns the Sylph summon.
Knife
Return to Yang’s Wife at Fabul West Tower 3F and hand back the Frying Pan. She gives you the Knife, one of the strongest throwable items in the game. Save it for the very last fight in the game.
Lunar Whale
Fly to Mysidia. A cutscene triggers and the Lunar Whale appears at the coast. Don’t board it yet.
Pick Up the Excalibur
Fly back to Kokkol’s Smithy in the Underworld and pick up the finished Excalibur. Equip it on Cecil. Return to Mysidia and board the Lunar Whale. The Moon awaits.