


Lunar Subterrane
Return to the Crystal Palace on the Moon, the entry point to the Lunar Subterrane. 28 chests, 13 new bestiary entries, four sealed weapons (Murasame, Ragnarok, Holy Lance, Masamune), the full Crystal and Dragon armor sets, two Ribbons, and the Pink Tail farming spot for the Adamant Armor.
Crystal Palace
Step inside and use the healing tiles to top up HP and MP. Climb the north stairs to 2F, where a warp tile sits dead-centre of the upper room.
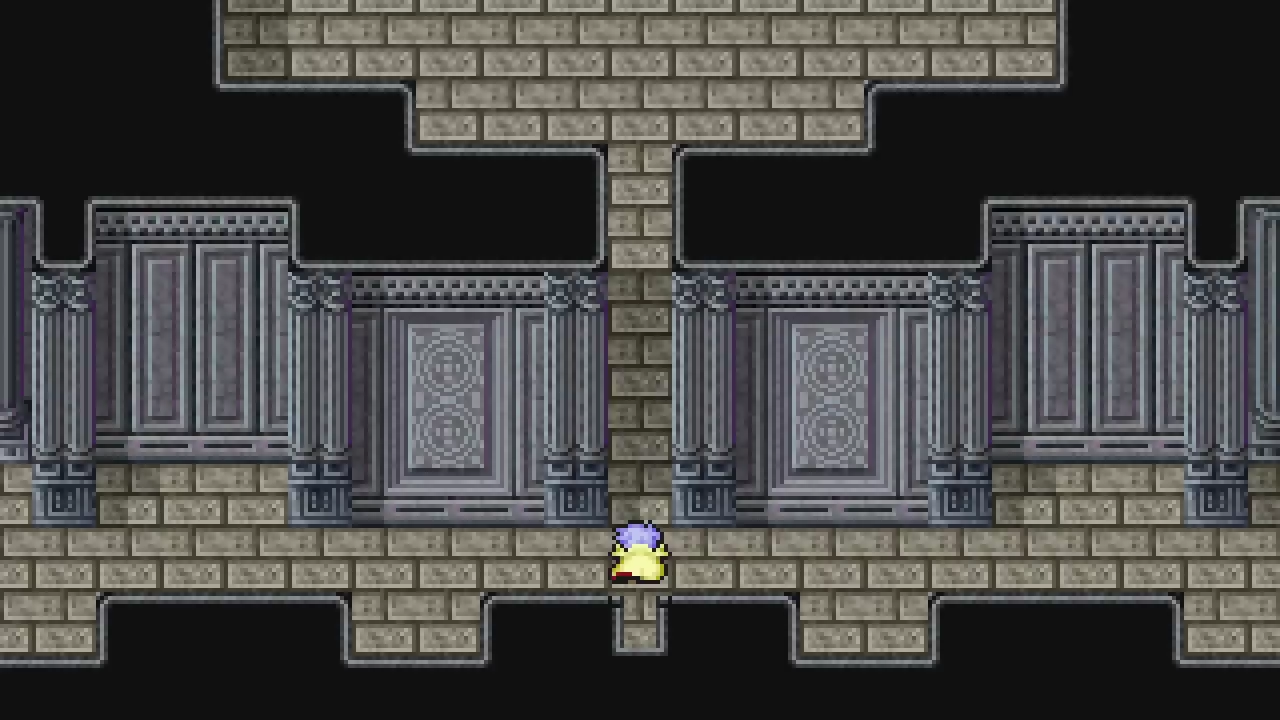
Step on the tile to drop into the dungeon.
The full descent from the warp pad entry through to the Pink Tail farm and teleport out runs through the video below.
B1 to B3 - Murasame
The first sealed weapon, Murasame, sits behind a fight with the White Dragon on B3. Two warp-path detours give you the Black Garb and Sage’s Staff on the way down.
B1 - Warp Path
Walk north across the staircase, then push east into the wall for a secret passage. Follow it to a monster chest holding two Giant Warriors. Reward: Black Garb. Back at the entrance, find the opposite passage on the west side. Walk through it, cut south, and step on the warp pad. Take the stairs up.
B2 - Warp Path
Walk north for a monster chest with two Selene Guardians and two Dark Sages. Reward: Sage’s Staff. Cut west, south, step on the warp pad, and follow the path to B3.
B3 - White Dragon
Cast Float on the party (the White Dragon uses an earth-element attack). Heal up and quick save, then interact with the katana on the pedestal.
Touching the katana triggers the guardian.
Reward: Murasame, the second-best katana. Equip it on Edge. Teleport back to the Crystal Palace, heal, then re-enter for the main path.
B2 to B4 - Dragon Set
The main path branches off the same staircases. Two precise secret passages on B2 and B3 hold the full Dragon armor set. Equip it on Kain when you have all four pieces.
B2 - Main Path
From B1, walk south to a staircase leading up. On B2, walk south then east into a secret passage. Walk exactly seven tiles north, then west, south, west, north, east. Open the chest for Flame Whip. Back at the fork, cut north, then west through another passage for Dragon Shield. Take the stairs up.
B3 - Main Path
Walk south then east through a secret passage. Follow it north then east for Dragon Helm. From that chest, cut south then east into another secret passage. Follow it south, west, south, west for Dragon Mail and Dragon Gloves. Equip the full Dragon set on Kain. Take the stairs up.
B4
Walk east past the stairs for Artemis Arrow. Descend the large staircase and enter the west room for an Elixir. Cut east and down another staircase to the southeast room.
New random enemies start appearing from B4 onwards.
New Enemies


A few to handle carefully:
- Dinozombie: weak to Fire and Holy. Use the Flame Whip or Rosa’s Holy
- Ahriman: weak to Projectile. Rosa’s Aim with the Artemis Arrow handles it
- Li’l Murderer: weak to Lightning. Don’t let it act; it casts Death
- Red Dragon: weak to Ice but absorbs Fire. Save Blizzaga for these; never cast Fira
- Blue Dragon: absorbs Fire, Ice, Lightning, Dark, AND Holy (five elements). Stick to physical attacks and non-elemental damage like Bahamut
- Wicked Mask: casts Reflect on itself and the party, then bounces Flare into you. Kill it before the cycle gets going
In the southeast room, cut northwest for White Fang and southeast for X-Potion. The south exit has a Behemoth monster chest; the reward is a Stardust Rod. Take the stairs down to B5.
B5 - Crystal Set and Pink Tail
B5 is packed with monster chests holding Crystal gear and one of the rarest farming spots in the game. Quick save before each monster chest.
Open the first chest (south of the stairs) for a Red Dragon + Blue Dragon fight. Reward: Crystal Shield. Walk through the door, cut northeast through a secret passage for Protect Ring. Exit south for a Behemoth monster chest: Crystal Mail. Loop back inside, exit north for a 2-Red-Dragon monster chest: Crystal Gloves. Return to the entrance, walk west to the second room for White Robe. Cut northwest down to the lower floor for a Dinozombie + Dark Sage monster chest: Crystal Helm. Enter the east room for Red Fang.
Pink Tail Farm
The east room on B5’s lower floor is the only place Flan Princess spawns. Use a Siren to guarantee a party of five Flan Princesses.
Flan Princess drops the Pink Tail at a very low rate. Trade it at the Adamant Grotto for the Adamant Armor, the best body armor in the game.
Once you have a Pink Tail in inventory, teleport out, board the Lunar Whale, and fly back to the Overworld. Fly to the Mythril area, pick up the hovercraft, and drive south to the Adamant Grotto to trade the Pink Tail for the Adamant Armor. Then board the Lunar Whale, return to the Moon, and warp back into the Lunar Subterrane via the Crystal Palace. The video below covers the whole round trip from outside the Flan room and back.

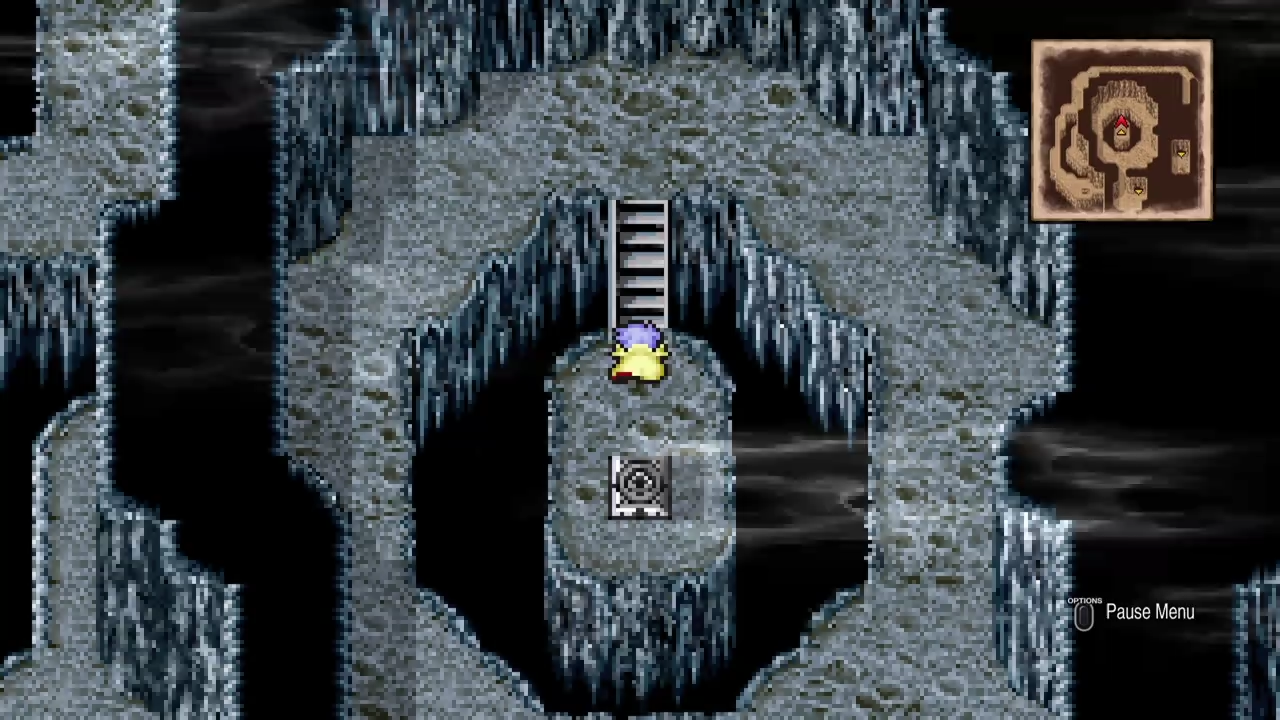
Walk down the stairs near the Flan Princess room to B6.
B6 to B7 - Ragnarok, Holy Lance, Ribbons
B6 splits into the warp path leading to the Ragnarok sword and the main path through to B7’s Plague and Lunasaur rooms.
B6
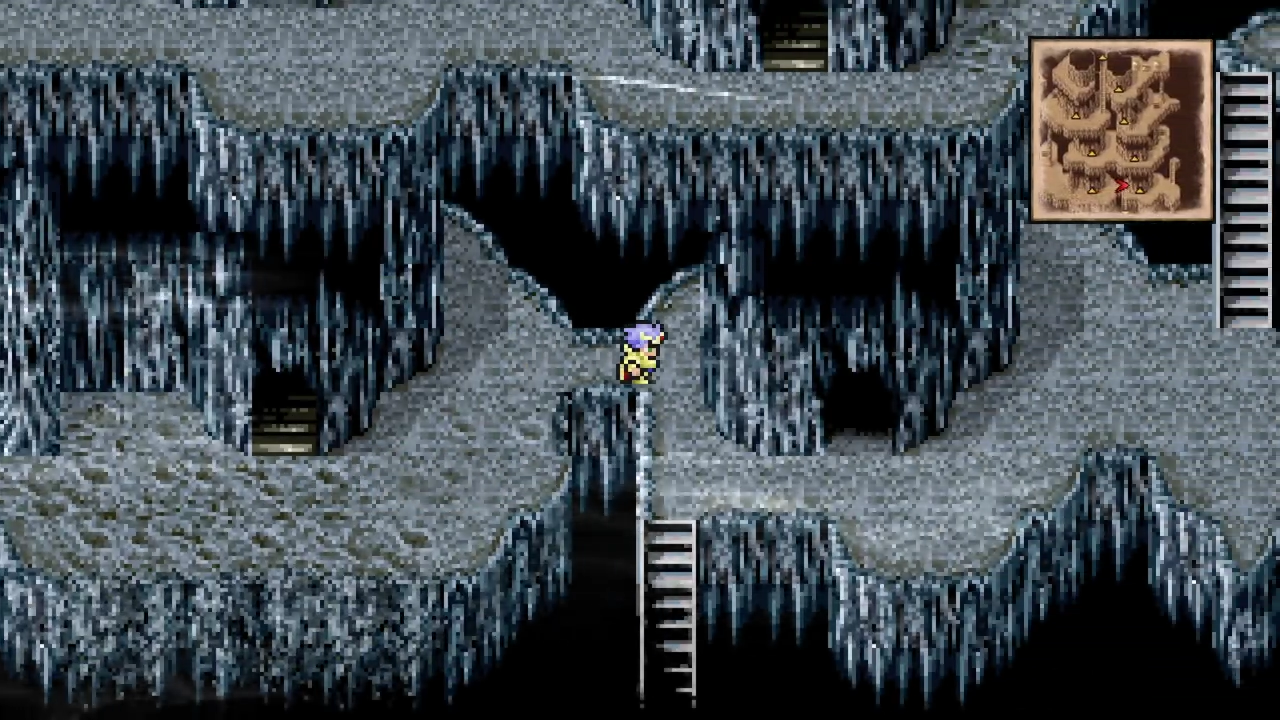
Open both side chests for Artemis Arrow and Fuma Shuriken. Take the west stairs for a Cottage. Loop back to the base of the stairs, then west across a hidden bridge. Cut northwest and push into the wall for a secret passage. Follow it to the bottom area for Golden Apple. Take the east path to a warp pad. Follow the stairs up and step on another pad.
B5 - Warp Path
Continue up the stairs for a Behemoth monster chest: Protect Ring.
Step on the warp pad to reach a save tile. Rest, save, and walk south to the Ragnarok pedestal.
Touching the sword triggers Dark Bahamut.
Reward: Ragnarok, the best sword in the game. Equip it on Cecil.
Return to the Cottage chest past the hidden bridge, then take the east stairs to a new room. The northwest chest is a 3-Selene-Guardian + Dark-Sage monster chest: Minerva Bustier. Equip it on Rydia or Rosa for a big magic-defence boost. Walk through the northeast door to B7.
B7 - Plague, Holy Lance, Lunasaurs, Ribbons
Three rooms on the south side of B7. Use the leftmost room for a save point. The middle room holds the third sealed weapon, the Holy Lance.
Activating the pedestal triggers Plague.
Reward: Holy Lance, the best lance in the game. Equip it on Kain.
Rest at the save point, then enter the rightmost room. Walk between the pillars to trigger a fight against two Lunasaurs (23,000 HP each, weak to Fire). Cecil’s Ragnarok and Kain’s Holy Lance handle them fast. Open the two chests for Ribbons. Equip them on Rosa and Rydia immediately for status immunity.
Rest at the save point. Walk east, north, down the stairs, and through the door to B8.
B8 - Masamune
Wicked Mask (37,000 HP) starts appearing as a random encounter on B8. It casts Reflect on itself and the party, then spams Flare off the bounces. Take it down before the cycle starts.
Walk down the east stairs, then cut west for the final Fuma Shuriken.
Continue south to the bottom-right corner where the last sealed weapon sits. Heal up and quick save.
Touching the katana triggers the guardian.
Reward: Masamune, the best katana. Equip it on Edge.
The Final Battle chapter covers the last 4 chests and the final bestiary entries.