


Giant of Babel
Board the Lunar Whale and interact with the crystal to fly to the Moon. 15 chests, 29 new bestiary entries (7 of them missable inside a one-time dungeon), the full Genji set, the Bahamut and Odin summons, and a late-game farming run on the three-tile peninsula in the Underworld.
Moon and Crystal Palace
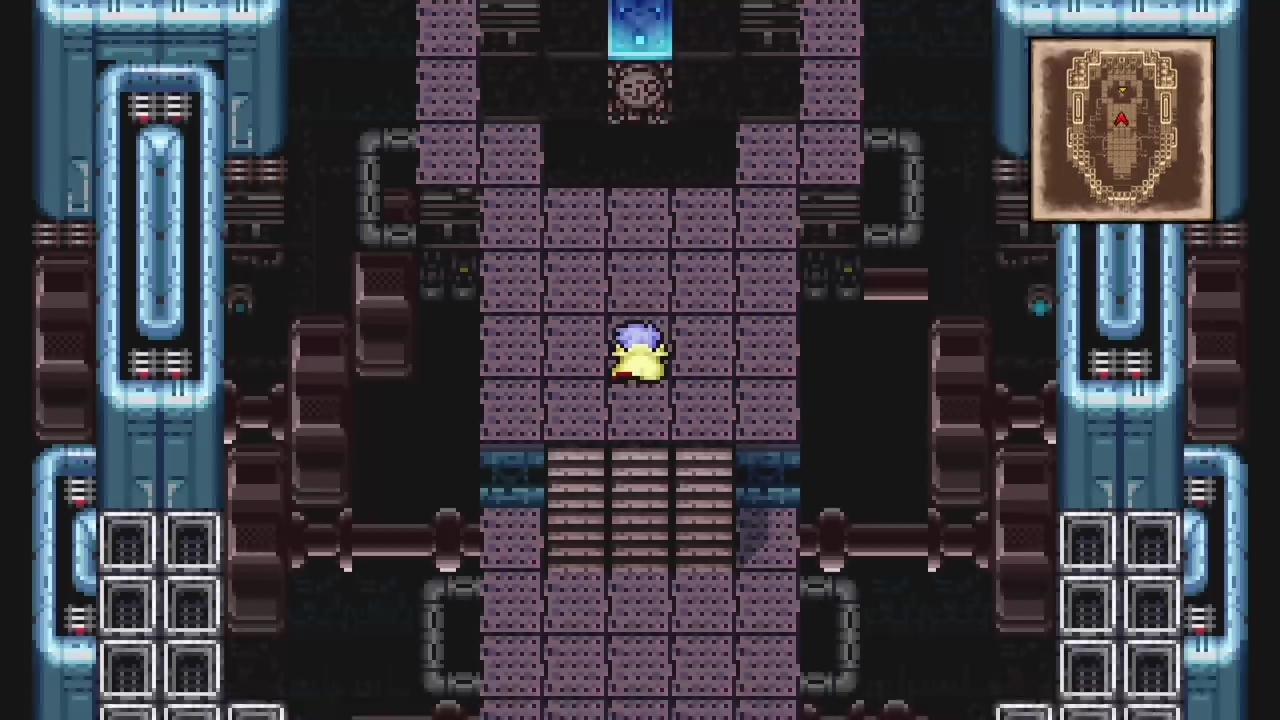
Land northwest of the Crystal Palace and enter the southwest cave (Western Lunar Path). The Moon overworld and both Lunar Path caves are also your Bomb summon farm later on, so register the local bestiary entries while you’re passing through.
New Enemies


Walk north to a fork. Take the east branch first for a monster chest: 2 Eukaryotes and 2 Prokaryotes guard a Golden Apple. Back at the fork, push north. Two chests sit on the right before the exit: Lunar Curtain and Stardust.
The full Western Lunar Path route runs through the video below: monster chest first, then both north-exit chests on the way out.

Exit north and follow the path southeast through the Eastern Lunar Path (no chests). Walk northwest to the Crystal Palace and use the floor tiles on either side to top off HP and MP. Enter the middle room for a cutscene. FuSoYa joins as a Lunarian mage.
Cave of Bahamut
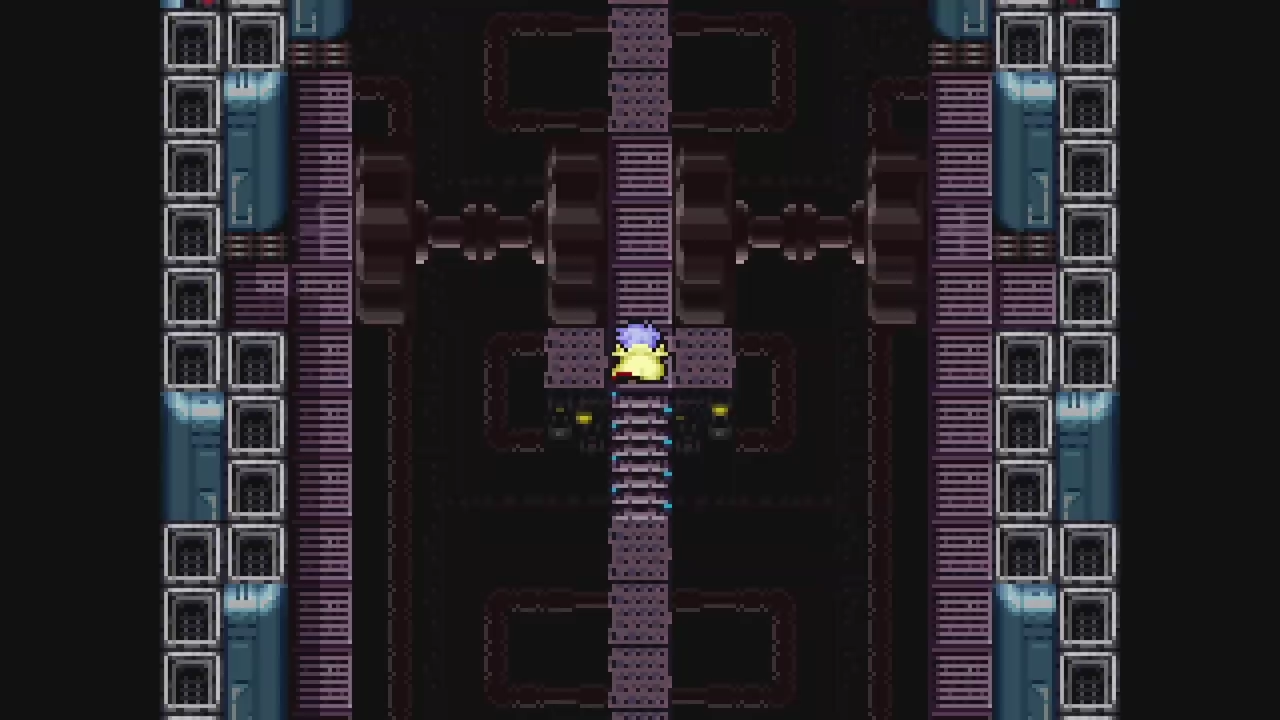
Return to the Lunar Whale and fly east to the cave inside a circular ring.
Four chests hold the complete Genji set, but three forced Behemoth fights gate the path. Behemoths counter every action you take, so try to drop them in one round.
New Enemies


A few to handle carefully:
- Selene Guardian, Bone Dragon, Behemoth: magic doesn’t scratch them. Stick to physical attacks and Bahamut
- Bone Dragon: weak to Fire-element weapons. Yang’s Fire Claw and Cecil’s Flame Sword deal heavy damage
- Giant Warrior: 14,000 HP with heavy hits. Soften with Kain’s Jump before Cecil engages

B1
Walk south past the split for Genji Gloves. Back at the split, cut east and push into the wall at the top of the rock formation to find a secret passage. Follow it to Genji Shield. Loop south to the stairs.
B2
Walk east then north for Genji Armor. Continue east past the wizard for Genji Helm. Equip the full set on Cecil for a major defense stack. Heal, quick save, then talk to the wizard to start the Behemoth chain. Two more Behemoths wait on B3 before the boss.
How to Beat Bahamut
Bahamut at the bottom of B3 is a damage race against his fixed Mega Flare countdown. He casts it on turn 7 after five idle turns and a Charge, so you have a clean 6-turn window each cycle to set up Reflect on the whole party.
Rydia learns the Bahamut summon.
Stock Up at Hummingway Home
Walk to Hummingway Home (south of the Crystal Palace) and stock Sirens at 3,000 Gil each. You’ll go through these quickly on the Three Tile Peninsula farm and the hidden-summon chain that follow, so buy 30+ if you can afford it.
The shop counter is the small NPC at the back of the hut. Pick up Sirens and any other items you’re low on.
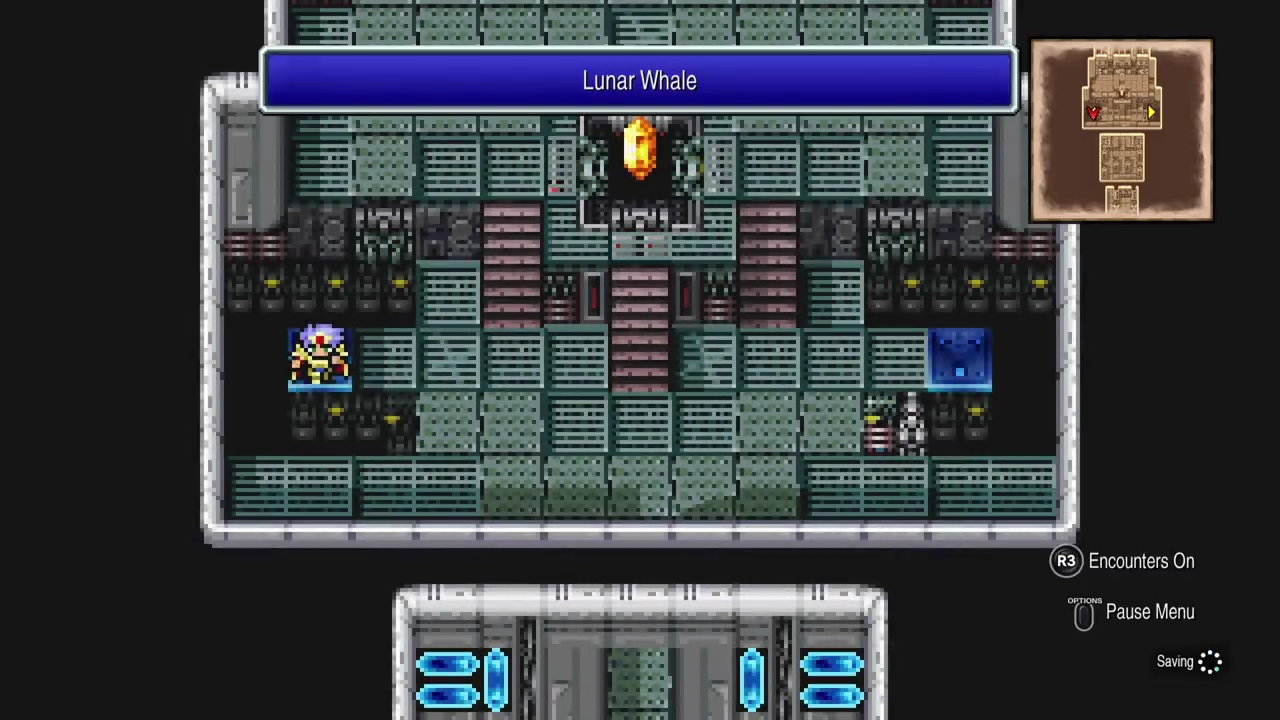
Once stocked, walk straight out and board the Lunar Whale waiting outside.
Giant of Babel
Return to the Blue Planet via the Lunar Whale. The Giant of Babel cutscene triggers automatically. Once the climb begins, register every entry below before the CPU fight; the entire dungeon locks afterwards.
New Enemies (*Missable)


Two to handle carefully:
- Mech Dragon: rare in the Stairwell and Sirens don’t force the encounter. Loop the stairs after the Elemental Lords clear until one spawns
- Last Arm: 9,500 HP monster chest on the Inner Path. Its only attack is an incurable Stop, so open with Leviathan and Jump on turn one to drop it in a single round
Chest of the Giant
Walk south then west for a Shuriken. Continue south for a Hi-Potion and east for an Ether. Take the stairs north, cut west for a Siren, then northeast for a Yoichi Arrow. Step on the blue pad.
Stomach of the Giant
Up the stairs for a Silver Apple. Back at the pad, cut northeast for a Soma Drop. Walk south, then north through the middle path to the next blue pad.
Inner Path
Walk south then east. The chest halfway along is the Last Arm monster fight covered in the bullets above. Reward: Elixir. That’s 15/15 chests for the chapter. Continue east and up the stairs. The save point and shop sit to the west. Walk north to the pad.
Elemental Lords Rematch
Step into the Stairwell from the pad and continue up. The four Fiends ambush you back-to-back with no breaks. Pace MP carefully and save your highest-damage summons for whichever fiend you’re worst against.
Cagnazzo follows immediately. He raises a water shield that halves damage, then counters with Tsunami every time you deal damage to him.
Barbariccia comes next. She wraps herself in a Tornado that blocks melee, and Kain’s Jump is the cleanest way through it.
Rubicante is the final fiend. His cape cycles open and closed; cape closed makes him absorb Fire and heal on attack, cape open exposes his Ice weakness.
After Rubicante falls, drop back to the save point on the Inner Path, heal, and save before the next step.
Mech Dragon Farm
With the Elemental Lords cleared, the Stairwell of the Giant opens fully and you can walk up and down its whole length without the boss gate. Mech Dragon (#141) only spawns here, Sirens don’t force it, and it’s a rare spawn, so loop the stairs until at least one shows before you trigger the CPU.
Heal up, save, and continue north along the path to trigger the CPU cutscene.
How to Beat CPU
FuSoYa leaves after the cutscene. Kain rejoins with strong gear equipped. You’re auto-routed to the Moon.
How to Beat Odin
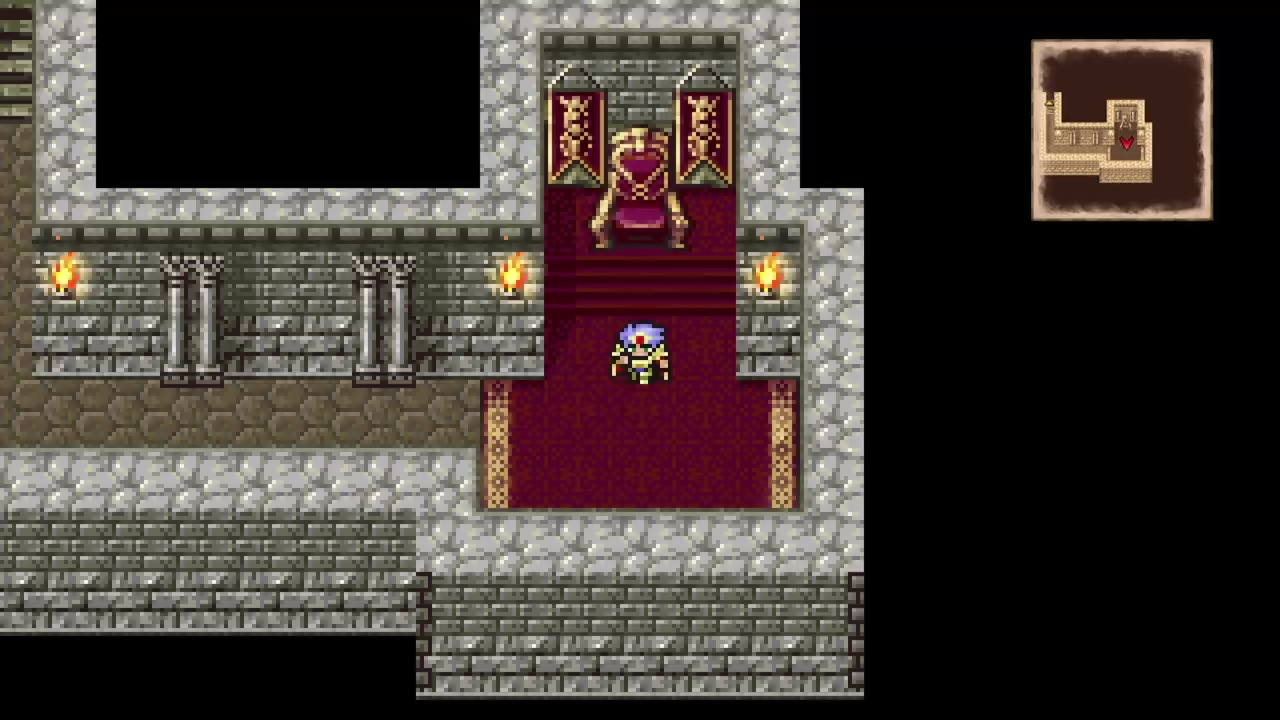
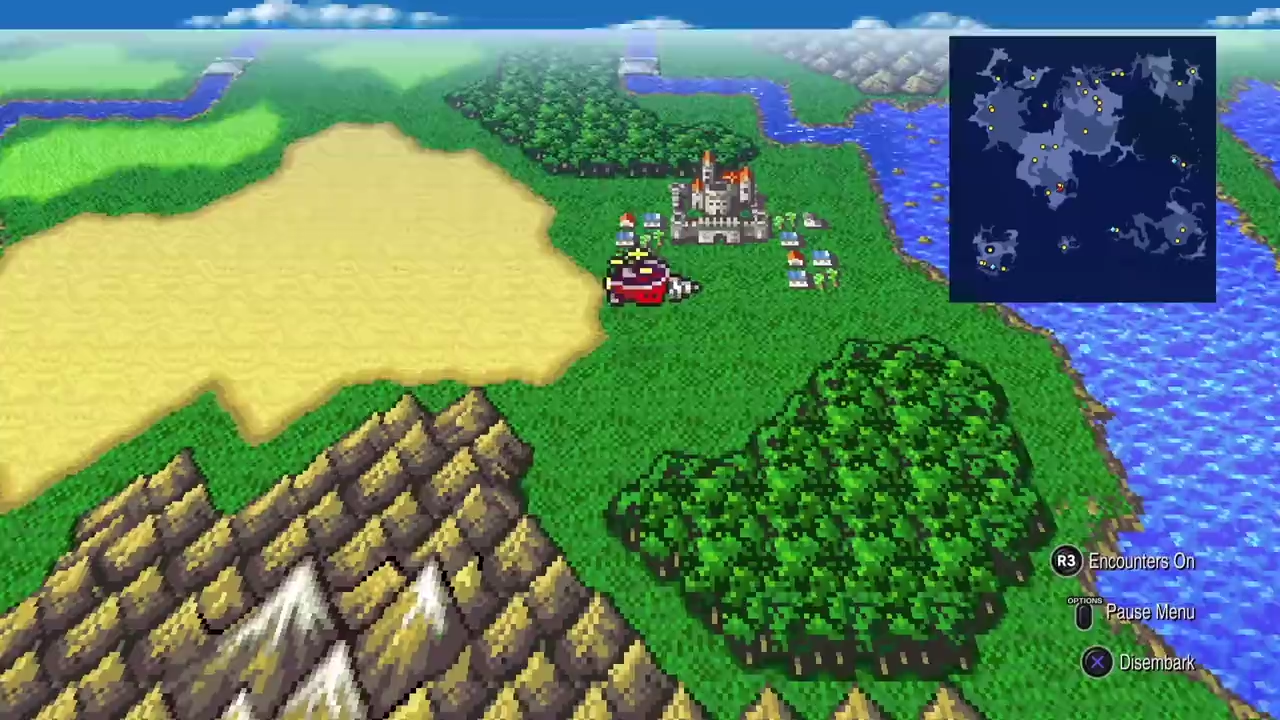
Fly back to the Blue Planet and land at Castle Baron. Walk down to the East Tower B2 basement. Approach the throne to trigger the Odin fight.
Rydia learns the Odin summon, completing all five main summons and triggering the Summon Master trophy.
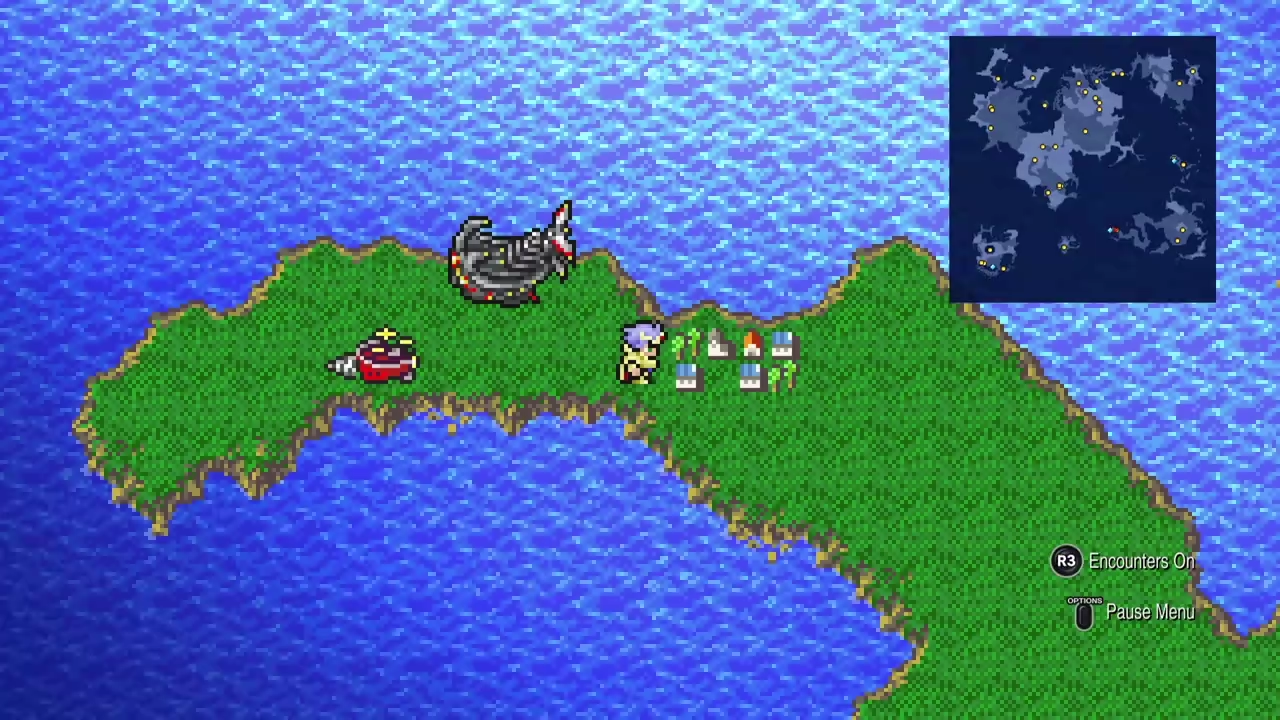
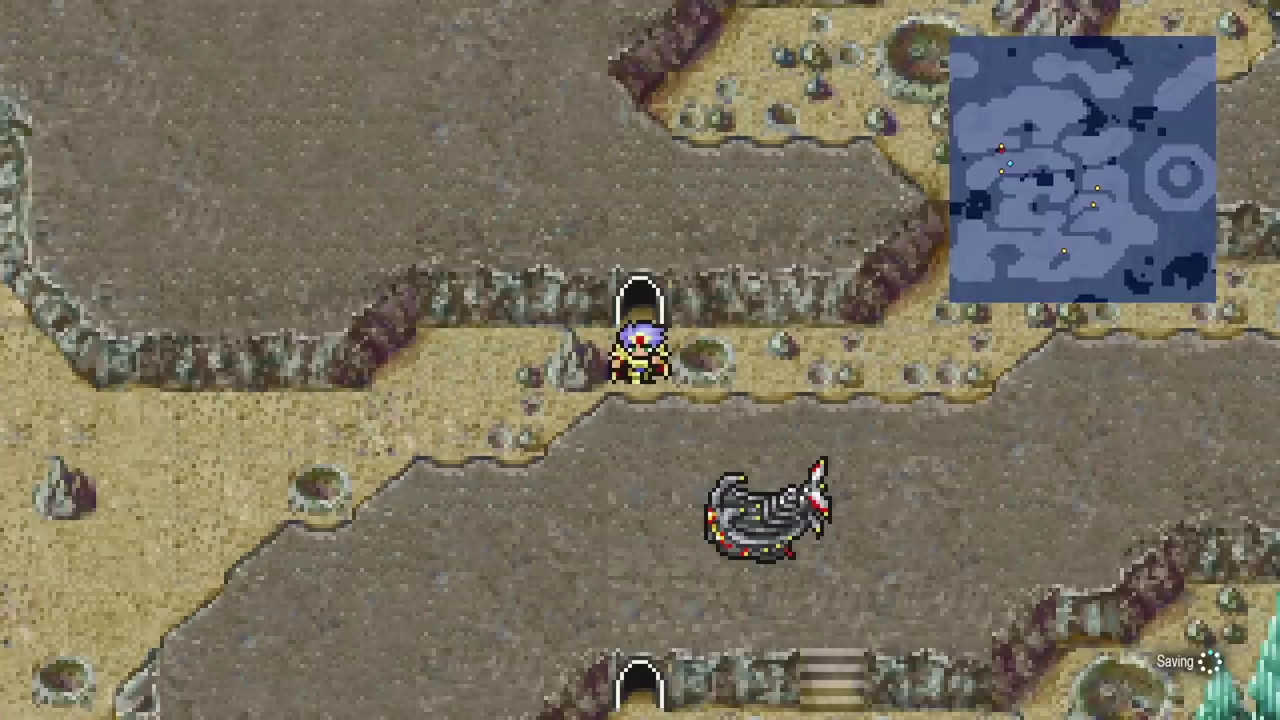
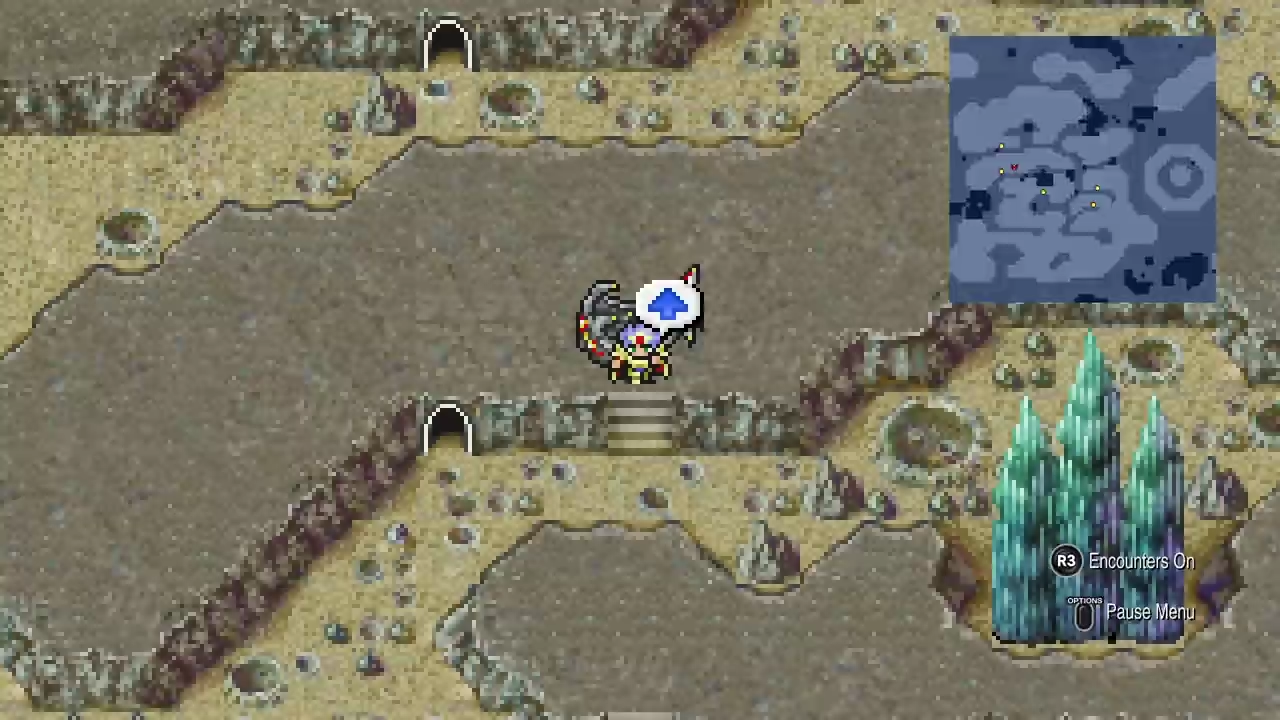
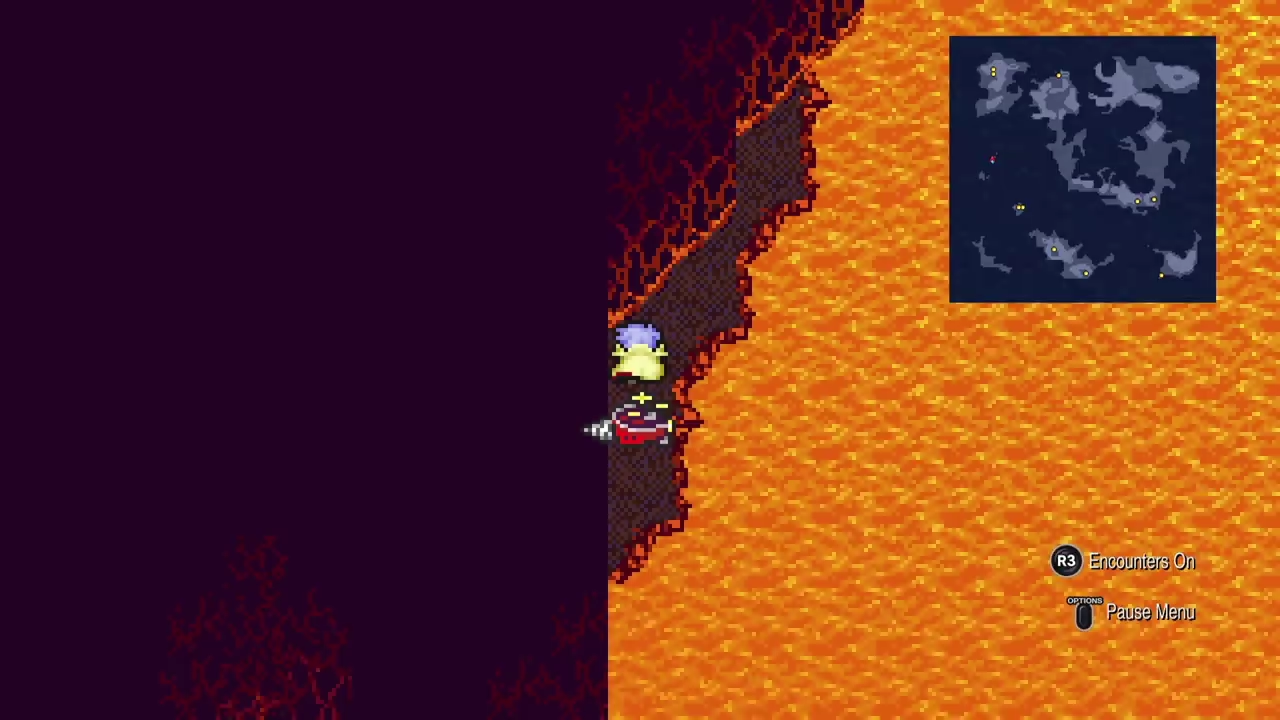
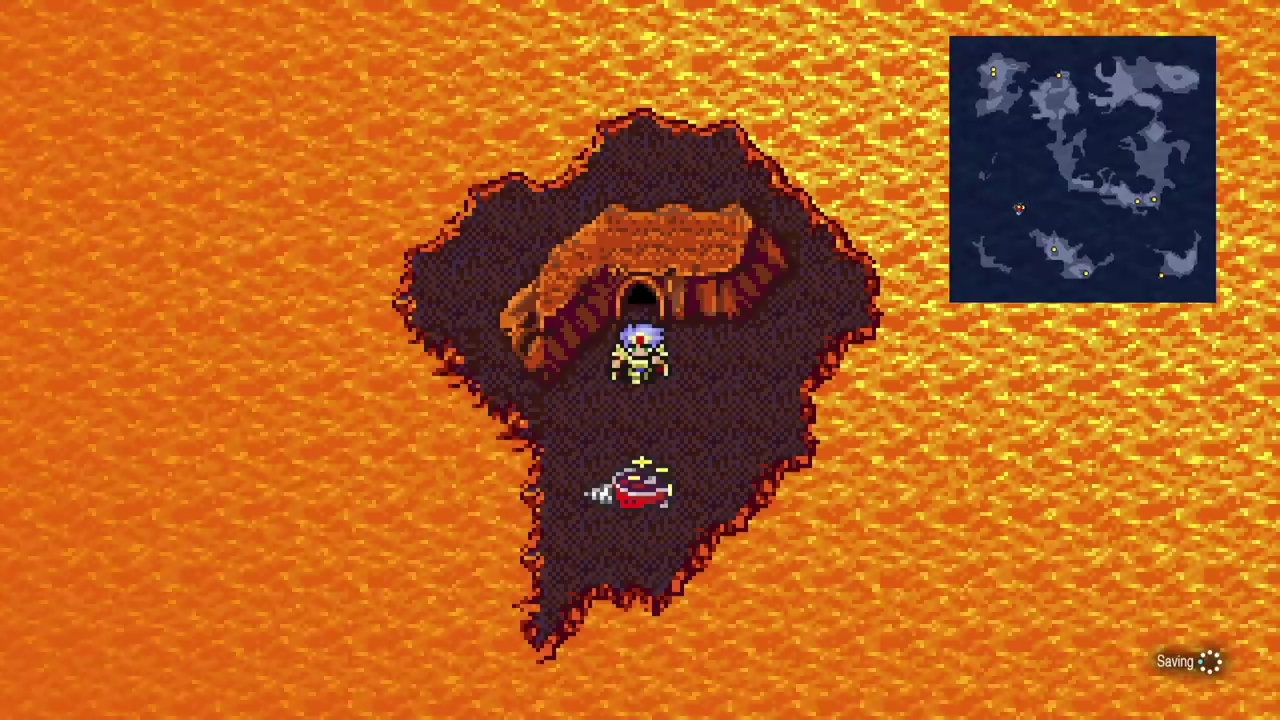
Next, drop into the Underworld and fly to a small three-tile peninsula in the middle-west of the map.
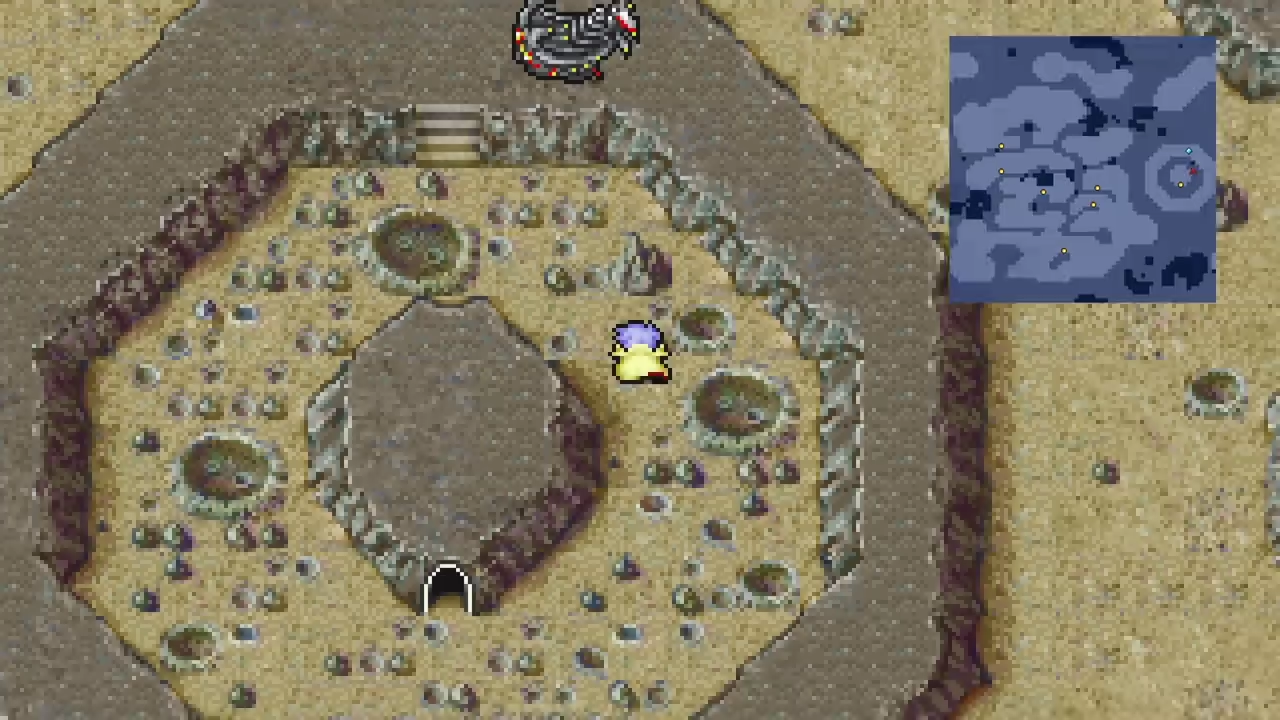
Three Tile Peninsula
All five remaining late-game overworld bestiary entries funnel here. Four spawn from normal random encounters; only the Yellow Dragon needs a Siren to force the pull.
New Enemies


A few to handle carefully:
- Gloomwing & Tarantula: weak to Projectile. Rosa’s Aim with arrows handles both fast
- Yellow Dragon: solo-party Siren pull. Save Sirens for this one; it absorbs Lightning, so skip Thunder spells and use Bahamut or physical attacks
- Gorgon: petrifies with her Ray attack. Keep Gold Needles ready
- Tarantula: Earthquake hits the whole party. Cast Float first or accept the damage
Final Grimoires
Three Grimoires close out the 54/54 hidden item count for the Item Detector trophy.
Visit the Cave of Summons and make your way to the Land of Summons. Check the bookshelf inside the weapon shop for a Grimoire and the armor shop bookshelf for another Grimoire.
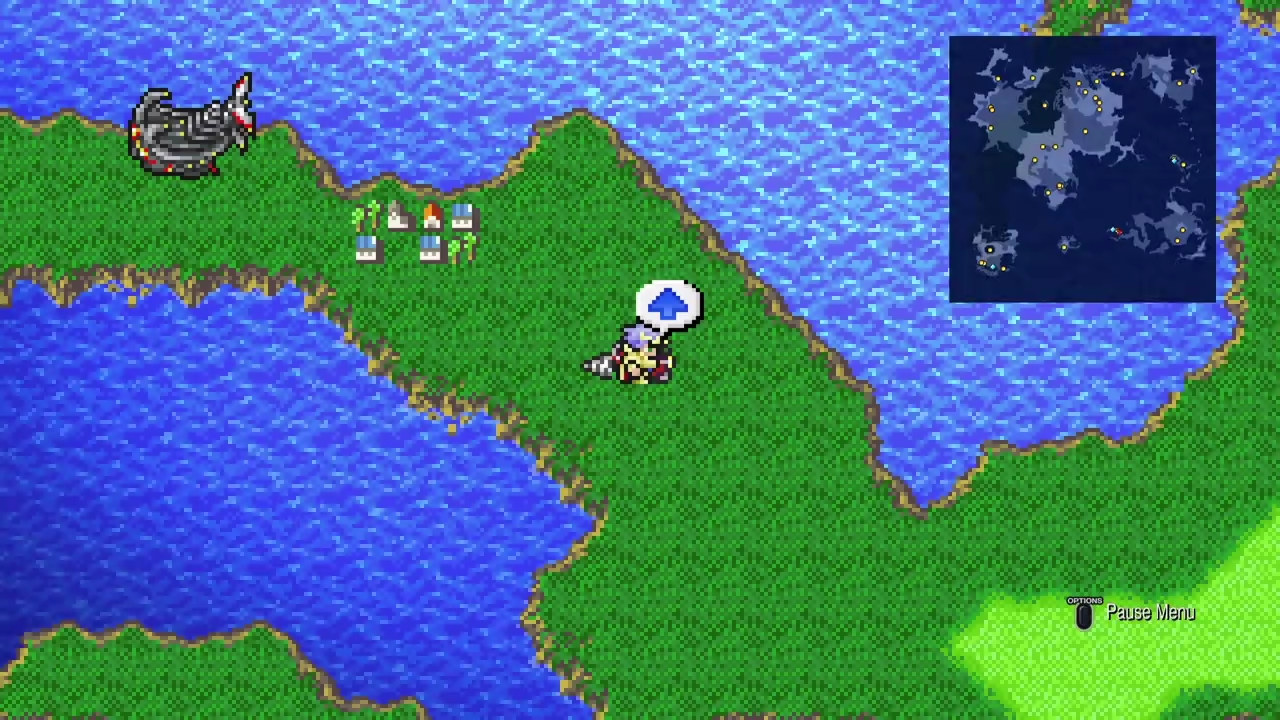
From the Land of Summons, fly back to the Overworld and land at the Sylvan Cottage.
Check the bookshelf beside the bed for the final Grimoire. That’s 54/54 hidden items locked in.
Hidden Summon Farming
Four optional summons (Goblin, Cockatrice, Bomb, Mind Flayer) drop from specific overworld and dungeon enemies at a low rate. None are story-required, but completing all four unlocks the Summon Collector trophy. This can also be saved for post-game if you’d rather fly to the Moon first.
Mind Flayer
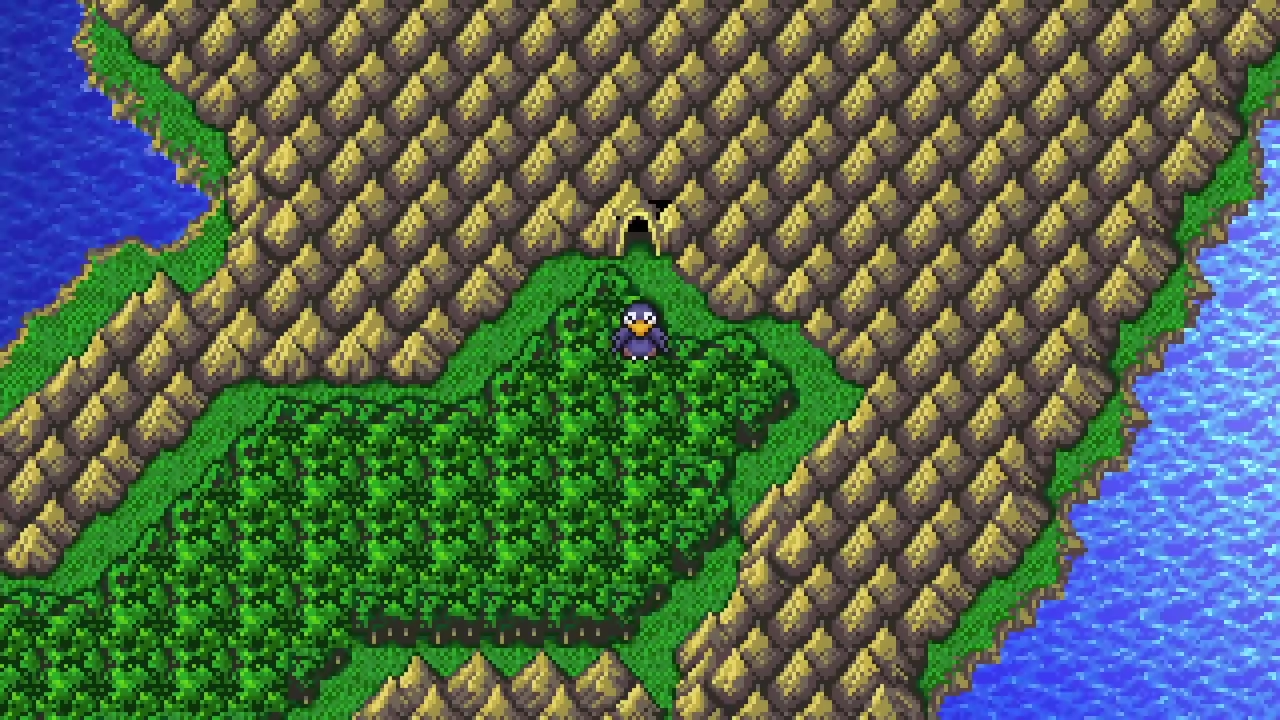
Fly to the Overworld, land near Troia, walk to the Chocobo Forest south of the castle, and ride the Black Chocobo east over the water to the Magnetic Cavern island. No need to swap off your metal gear this time; your late-game stats shrug off the paralysis. Mind Flayer (#057) is most common on B3. Siren-spam there for the fastest drops.
Goblin
Fly to Baron and Siren-spam on the overworld. The Baron-area pool is mostly Goblin parties (3-6 Goblins per fight), so the summon item rolls quickly from the high kill count.
Cockatrice
Fly to the Mysidia-area overworld and Siren-spam; Cockatrice is the dominant party there and drops the summon item.
Bomb
Fly back to the Moon and enter the Western Lunar Path. Dark Grenades drop the Bomb summon and they spawn often here. Sirens don’t force this one; walk the cave until they spawn naturally.
Once all four summon items are in inventory, use each from the item menu to teach Rydia the summon. All four together pop the Summon Collector trophy.