


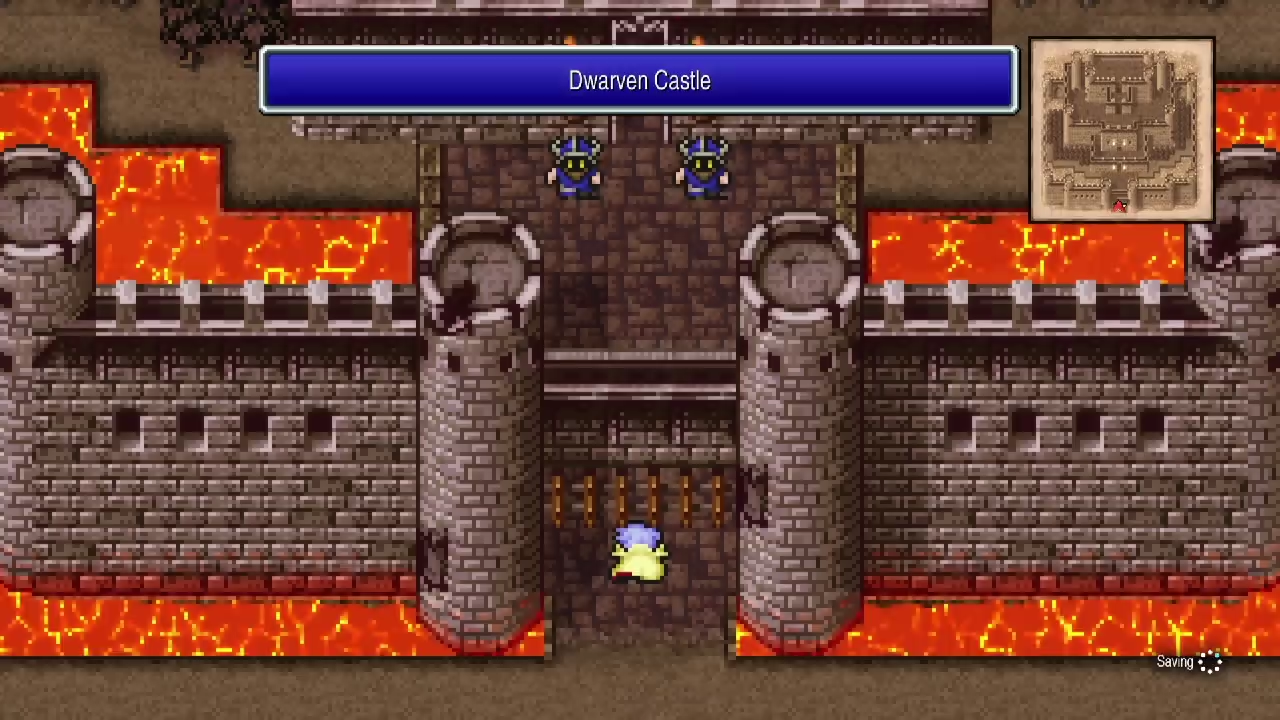
Dwarven Castle
The first major stop in the underworld. 12 chests, 6 hidden items, and 7 new bestiary entries across two towers, the basement, and the throne room.
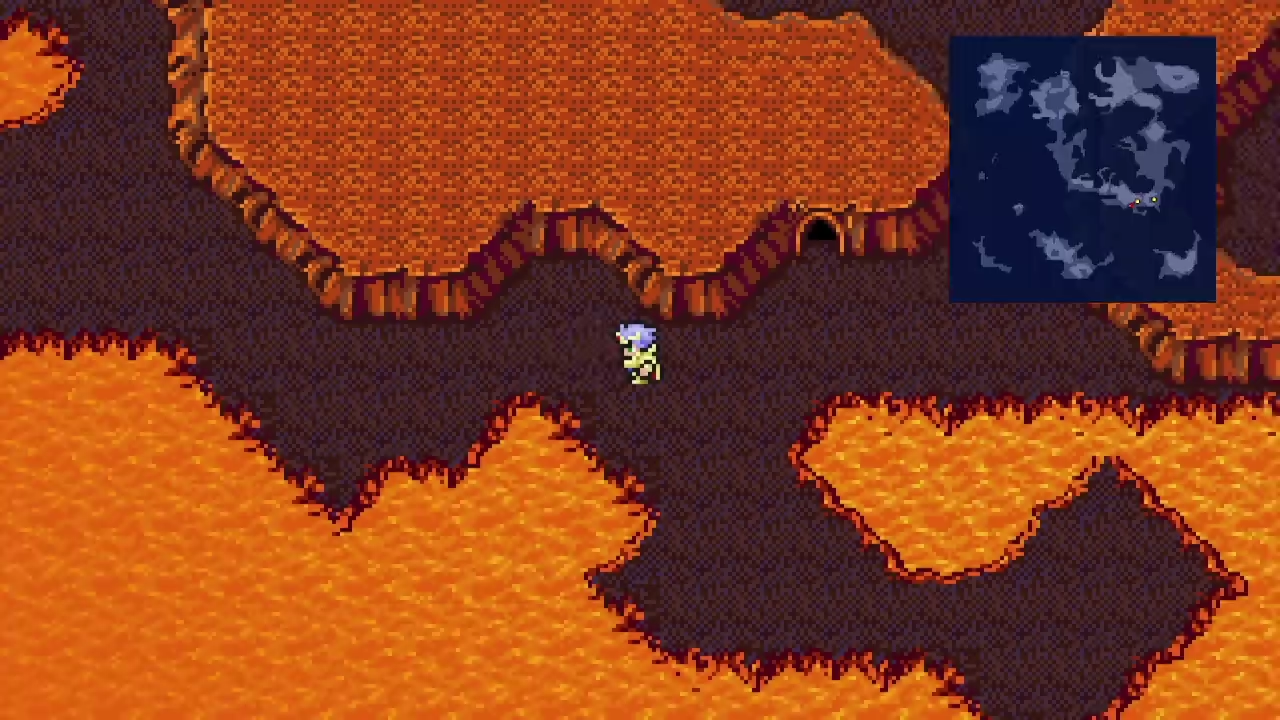
Outside Dwarven Castle
New Enemies


Three new bestiary entries roam the lava fields outside the castle. Fight until all three register before going inside. Magma Tortoise is weak to Ice, so Rydia’s Blizzara handles it quickly.
Throne Room
Most of the castle is locked until after the boss fights. Walk north through the main hall to the throne room. Cid leaves the party during the cutscene.


Shortly after, you’re thrown into battle against a group of creepy dolls: 3 Brinas (369 HP each) and 3 Calcos (1,369 HP each). The Brinas die in one hit. Both Brina and Calco have a Combine action; when enough fall, the survivors merge into Calcobrena.
How to Beat Calcobrena
How to Beat Golbez
Golbez appears immediately after Calcobrena. The first phase is unwinnable: your attacks miss, Golbez casts Ice Bind to paralyze the party, and the Shadow Dragon kills everyone except Cecil. Skip turns until the cutscene plays out and an old friend saves Cecil at the last moment.
Golbez steals the crystal and escapes, but Rydia rejoins the party as an adult Summoner. The castle fully opens up for exploration.
Castle Loot
Twelve chests and six hidden items are spread across the towers, basement, and shops. The west tower connects to the inn and item shop; the east tower connects to the weapon and armor shop; the basement hides three Gysahl Greens in pots.

Inn and Item Shop
From the main hall, walk west and upstairs. Search the pot between the inn counter and the bed for 5,000 Gil. The item shop stocks Remedies (5,000 Gil) and Hi-Potions (150 Gil); restock here.
West Tower
Continue up to 2F. Walk southwest and through the fake wall to reach the bottom of the room. Search the bottom-right pot for Bacchus’s Cider. Climb up to 3F, a maze of fake walls. Cut west through the first secret passage for a Hi-Potion. From that chest, push south through another fake wall for the Black Belt Gi. Continue counter-clockwise through the fake walls to reach the Ether on the east side and the Elixir on the north side. Walk back downstairs and exit the tower.
East Tower
Enter the east tower from the courtyard. On 1F, open the chest north of the central stairs for the Dwarven Axe. Climb up to 2F. Walk south to the wall, push west, and search the pot for Bacchus’s Cider. Continue to 3F and open all four chests: Ether, Power Armlet, Silver Hourglass, and Elixir.
Shops
The weapon shop sells Flame Sword (14,000 Gil), Fire Lance (11,000 Gil), and Dwarven Axe (15,000 Gil). The armor shop has Flame Shield (1,250 Gil), Flame Mail (30,000 Gil), Sage’s Miter (2,000 Gil), Sage’s Surplice (1,200 Gil), and Rune Armlet (2,000 Gil). Pick up Rune Armlets for your mages and any fire-resistant gear you’re still missing.
Basement
Take the stairs down from either shop to B1. Search the left, middle, and bottom-right pots for three Gysahl Greens. A Fat Chocobo summoning spot is here if your inventory is full. Talk to the dwarf next to the northern wall to open a passage. Walk through to B2. Cut west to the two dwarves, then south and east to find three chests: Cottage, Cottage, Cottage. That’s 12/12 chests and 6/6 hidden items.
To the Tower of Babel
From B2, walk south and west to the stairs. Climb up to the Dwarven Base. Walk west and exit through any door. Interact with the pot near the exit to restore HP and MP for free, then take the stairs at the bottom to reach the underworld. Walk west and follow the linear path north. You’ll spot a large tower being shelled by five tanks. The blasts briefly knock the party around and take control away as you approach, so just keep pushing forward until you make it inside. Heal and save before going further into the Tower of Babel.
Tower of Babel is the next chapter.