


World of Darkness
Doga and Unei’s sacrifice warps the four warriors to the final arena. The World of Darkness is a boss gauntlet: four rooms radiate from a central area, each ending at a Dark Crystal guarded by a major boss. Beat all four, then push north for the Cloud of Darkness. This chapter covers the final dungeon for 4 chests, 13 new bestiary entries, and 6 boss fights.
World of Darkness
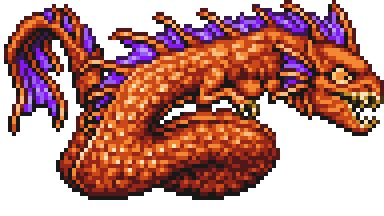
Eight new bestiary entries patrol the floor. One or two regulars per room (Shadow Master and Kage in the northwest, Queen Scylla in the southwest, Garm in the southeast, Yormungand in the northeast), Xande’s Clone as a chest guard in every room, and the two rare entries (Hydra, Twin Dragon) exclusive to the north room before the Cloud of Darkness.
New Enemies
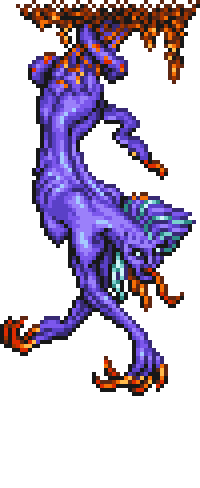

- Yormungand rolls Earthquake on 20% of turns (party-wide Earth damage); the rest is Protect self-buffs and physical swings.
- Queen Scylla spams Firaga, Blizzaga, and Thundaga at 17% each in phase 1; phase 2 swaps Fight rate for a 15% Curaga self-heal. Burst her before she heals.
- Garm drops Thunderbolt on 30% of turns; a Reflect Ring on the Devout redirects it.
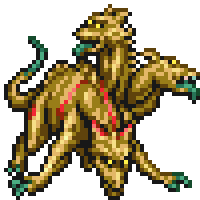
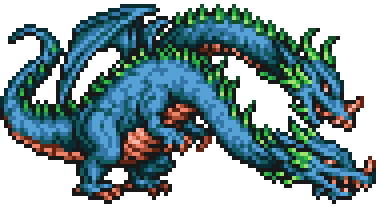
- Hydra and Twin Dragon only spawn in the north room before the Cloud of Darkness. Both are rare and sit at 12-13,000 HP. Loop the room until both register.
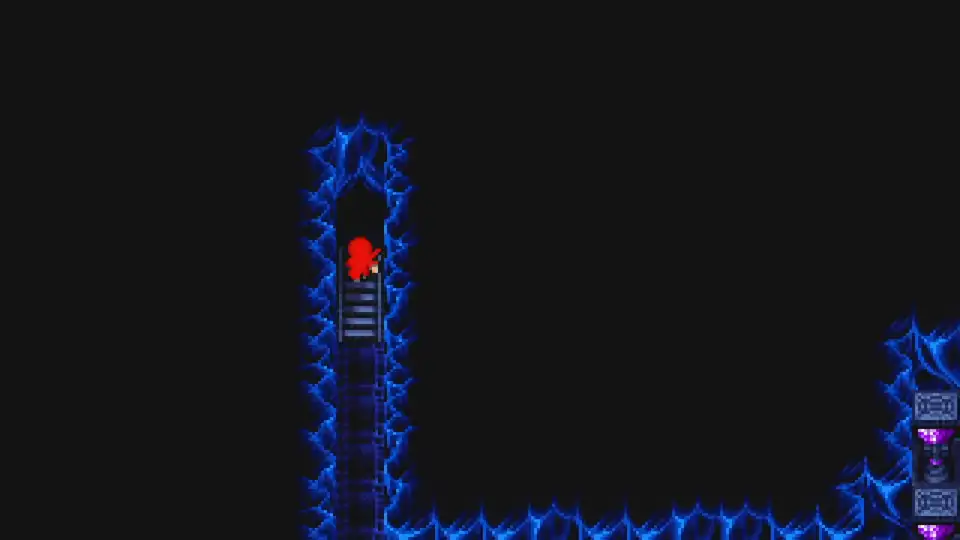
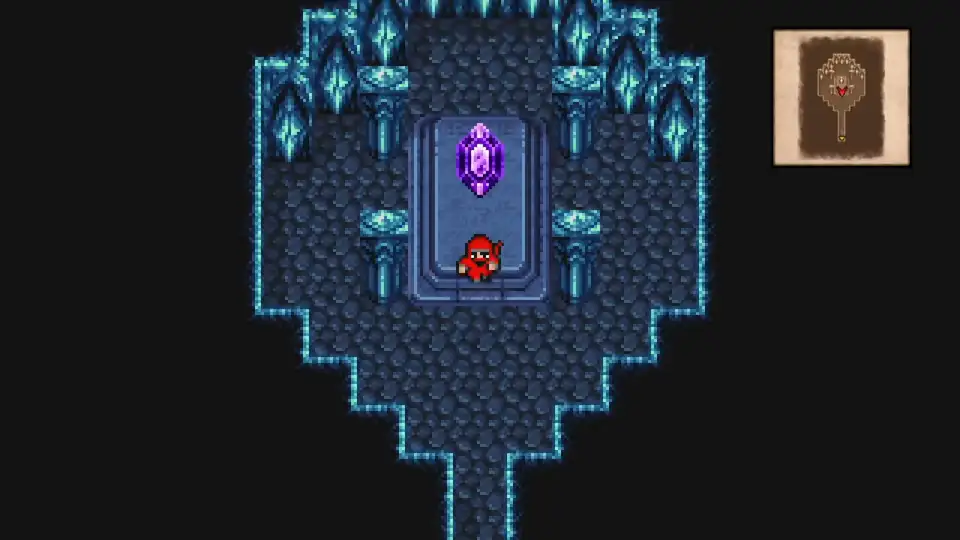
You spawn in the central area. Four rooms branch out at the cardinal corners. Each room winds through a short maze to a chest battle and a Ribbon chest, then opens onto a small chamber with the Dark Crystal and its boss guard. The crystal heals after the fight and acts as the lock that needs to be lit before the central north door opens.
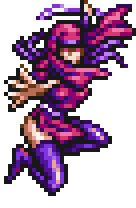
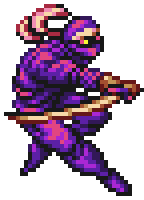
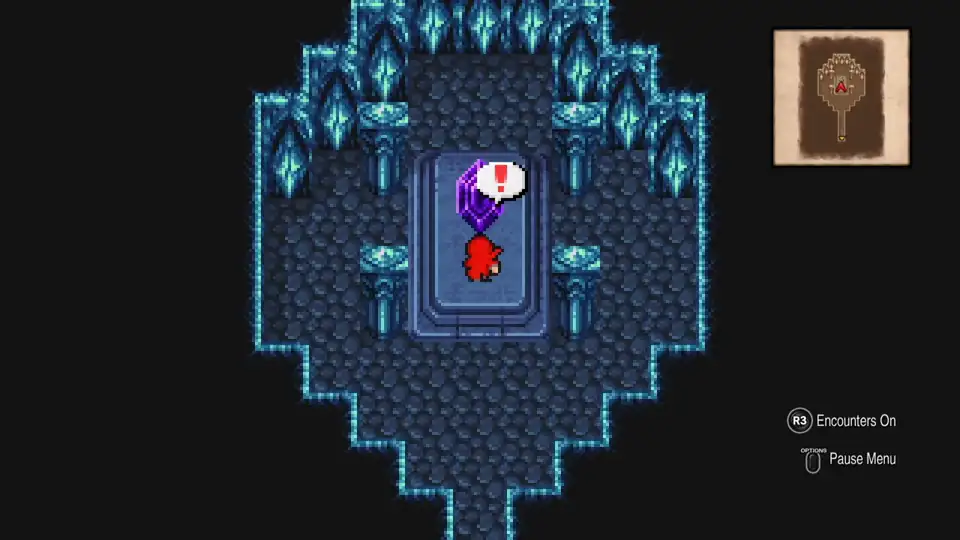
Xande’s Clone
Each of the four chest battles on the way to a Dark Crystal pits the party against a Xande’s Clone. Same sprite, same rotation, weaker numbers than the real Xande. The clone drops a Ribbon that blocks every status ailment, so equip each one as you collect them.
Dark Wind Crystal
Enter the northwest room first. Push north along the wall for a hidden passage, follow the west corridor to the first Xande’s Clone, and beat it for a Ribbon. Drop south from the chest room and take the second hidden passage (not the first) to find the stairs up to the Dark Wind Crystal.
How to Beat Cerberus
The Dark Wind Crystal fully restores HP and MP. Return to the central area.
Dark Water Crystal
Southwest next. Walk south to a dead end, slip through the hidden passage, then west, south, and east to the Xande’s Clone. Beat it for a Ribbon. Backtrack to the cascading paths and take the shortest middle path to find the hidden passage to the Dark Water Crystal stairs.
How to Beat Echidna
Touch the Dark Water Crystal for the heal and return to the central area.
Dark Earth Crystal
Southeast next. Walk south, east, then north into the interior maze. Wind through the corridors to the northeast corner where a hidden path leads to the Xande’s Clone chest. Beat it for a Ribbon. Backtrack to the center of the maze, walk east, and take the stairs up to the Dark Earth Crystal.

How to Beat Ahriman
Crystal heal, then back to the central area for the last room.
Dark Fire Crystal
Northeast last. Follow the spiraling corridor clockwise to the Xande’s Clone chest, beat it for the final Ribbon, and continue clockwise. There’s a shortcut to the stairs partway through the spiral; missing it loops the whole path again.

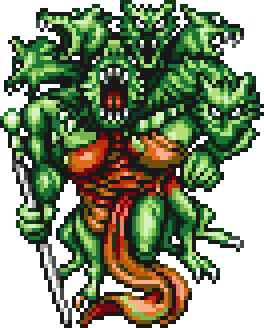
How to Beat Two-Headed Dragon
That’s all four Dark Crystals lit. The platinum Legendary Treasure Hunter trophy pops on the fourth Ribbon (chest 367/367 completes every chest in the game). Return to the central area and walk north through the door.
The final room
The north room before the Cloud of Darkness is also where Hydra and Twin Dragon spawn. Both are rare. Loop the corridors until each registers in the bestiary; the count should read 224/225 before you walk into the final fight (the last entry is the Cloud of Darkness itself).
Walk north along the dark path until a green mass of energy rises from the ground. Heal, equip all four Ribbons, and engage.
How to Beat the Cloud of Darkness
The Cloud of Darkness falls, the Warriors of Light restore balance, and the credits roll. Final Fantasy 3 is complete. Drop back into the walkthrough hub for chapter-by-chapter cleanup if you’re hunting any remaining collectibles on a second save.