Enemy listEnemies
Chest listChests
Your party plummets straight into Altar Cave with zero preparation. Three Goblins attack before you can even open the menu, so beat them for your first bestiary entry. The cave is three floors deep with 14 chests total, though you'll only grab the first 7 on this initial run. And build this habit early: fight every enemy type in each dungeon before you leave. Some later dungeons lock permanently.
Altar Cave
Enemies here are weak. Goblins go down in one or two hits and pose zero threat. Carbuncles and Eye Fangs aren't much tougher. Blue Wisps are the only ones worth noting; they use magic instead of physical attacks, which means they'll hit your back row just as hard as your front. None of them should cause a wipe, but keep Potions handy if you get unlucky with encounter chains. Make sure you register all four bestiary entries before leaving; they count toward the Field Research - Professional trophy:
B3. Head north to grab two chests: a Leather Shield (1/367) and a Potion (2/367). Continue north and interact with the boulder to open a hidden path to the right. Follow that path up toward the stairs for another Leather Shield (3/367), then take the stairs up to B2.
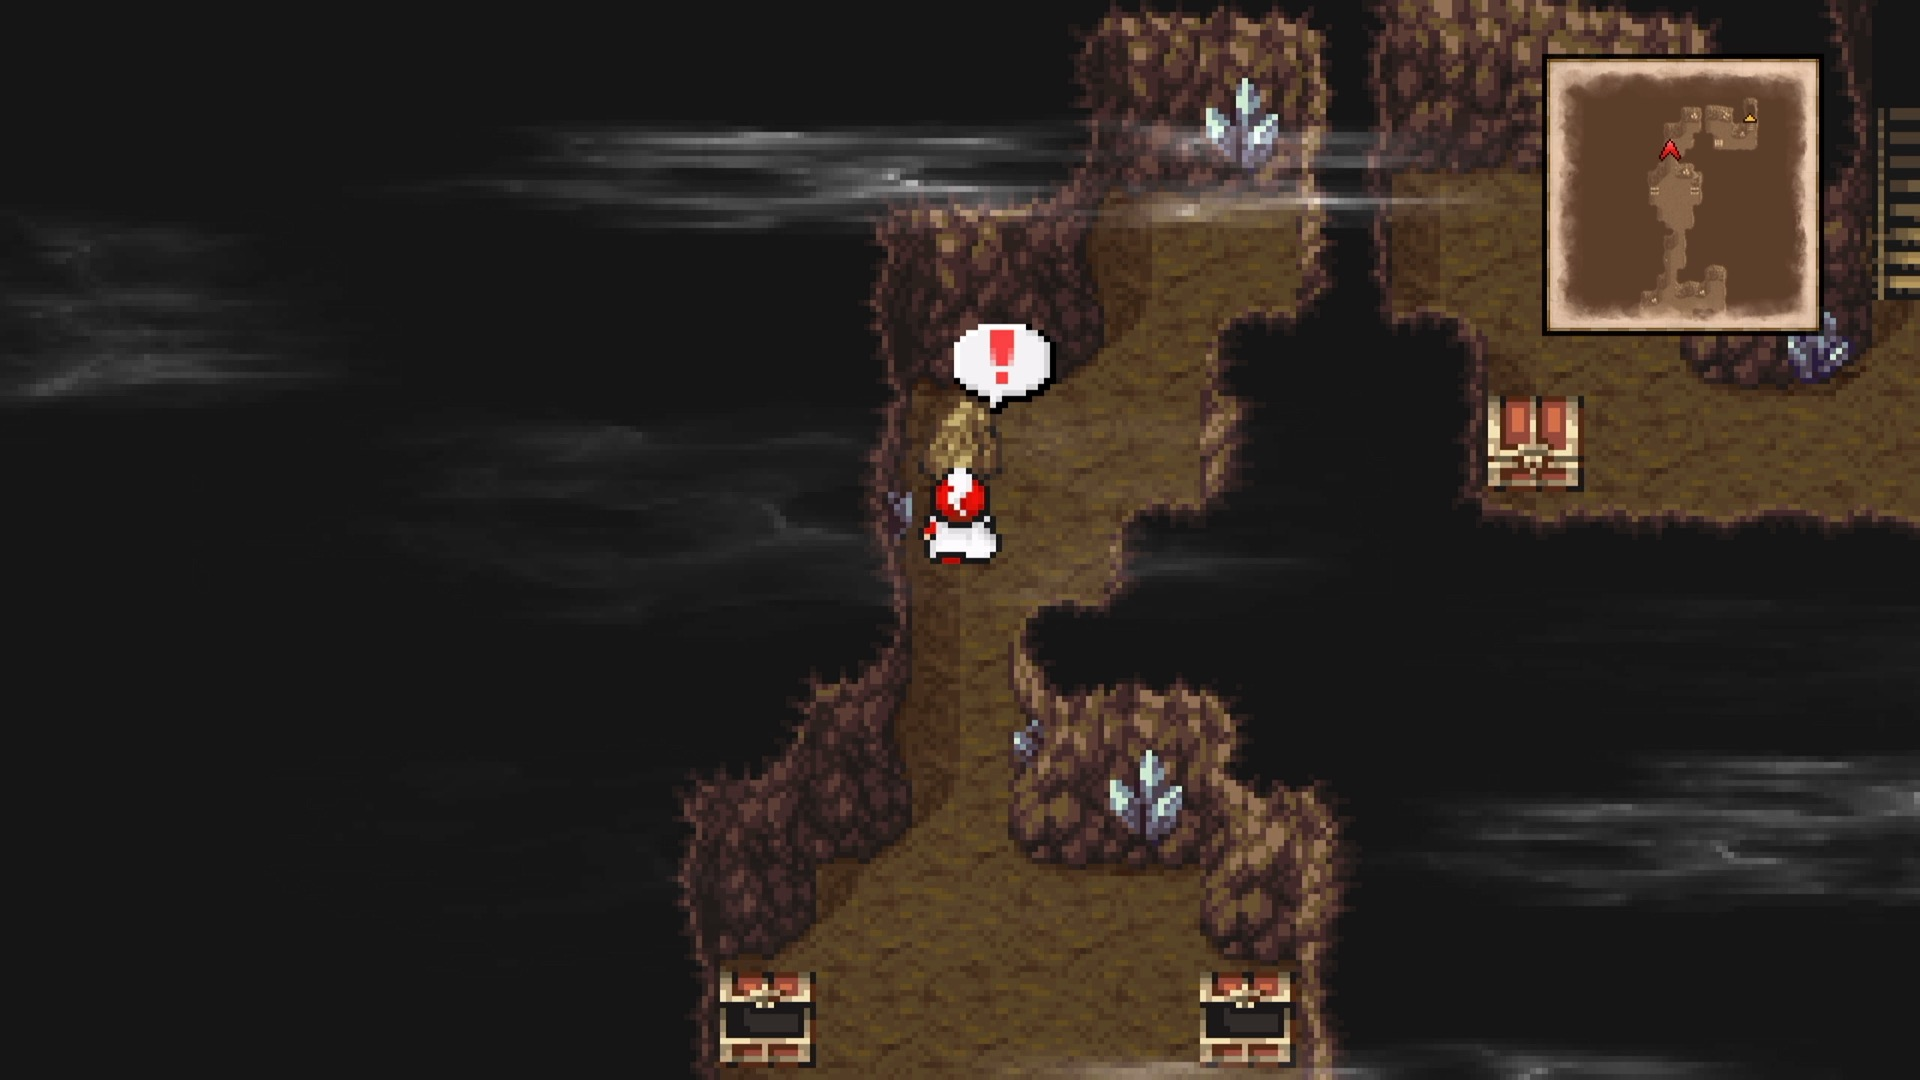
B2. Loot on both sides of the stairs here. Go left first for an Antarctic Wind (4/367), then double back right past the stairs and down the hall for a Potion (5/367). Head up through the narrow corridor and grab the chest at the fork junction for one more Potion (6/367).
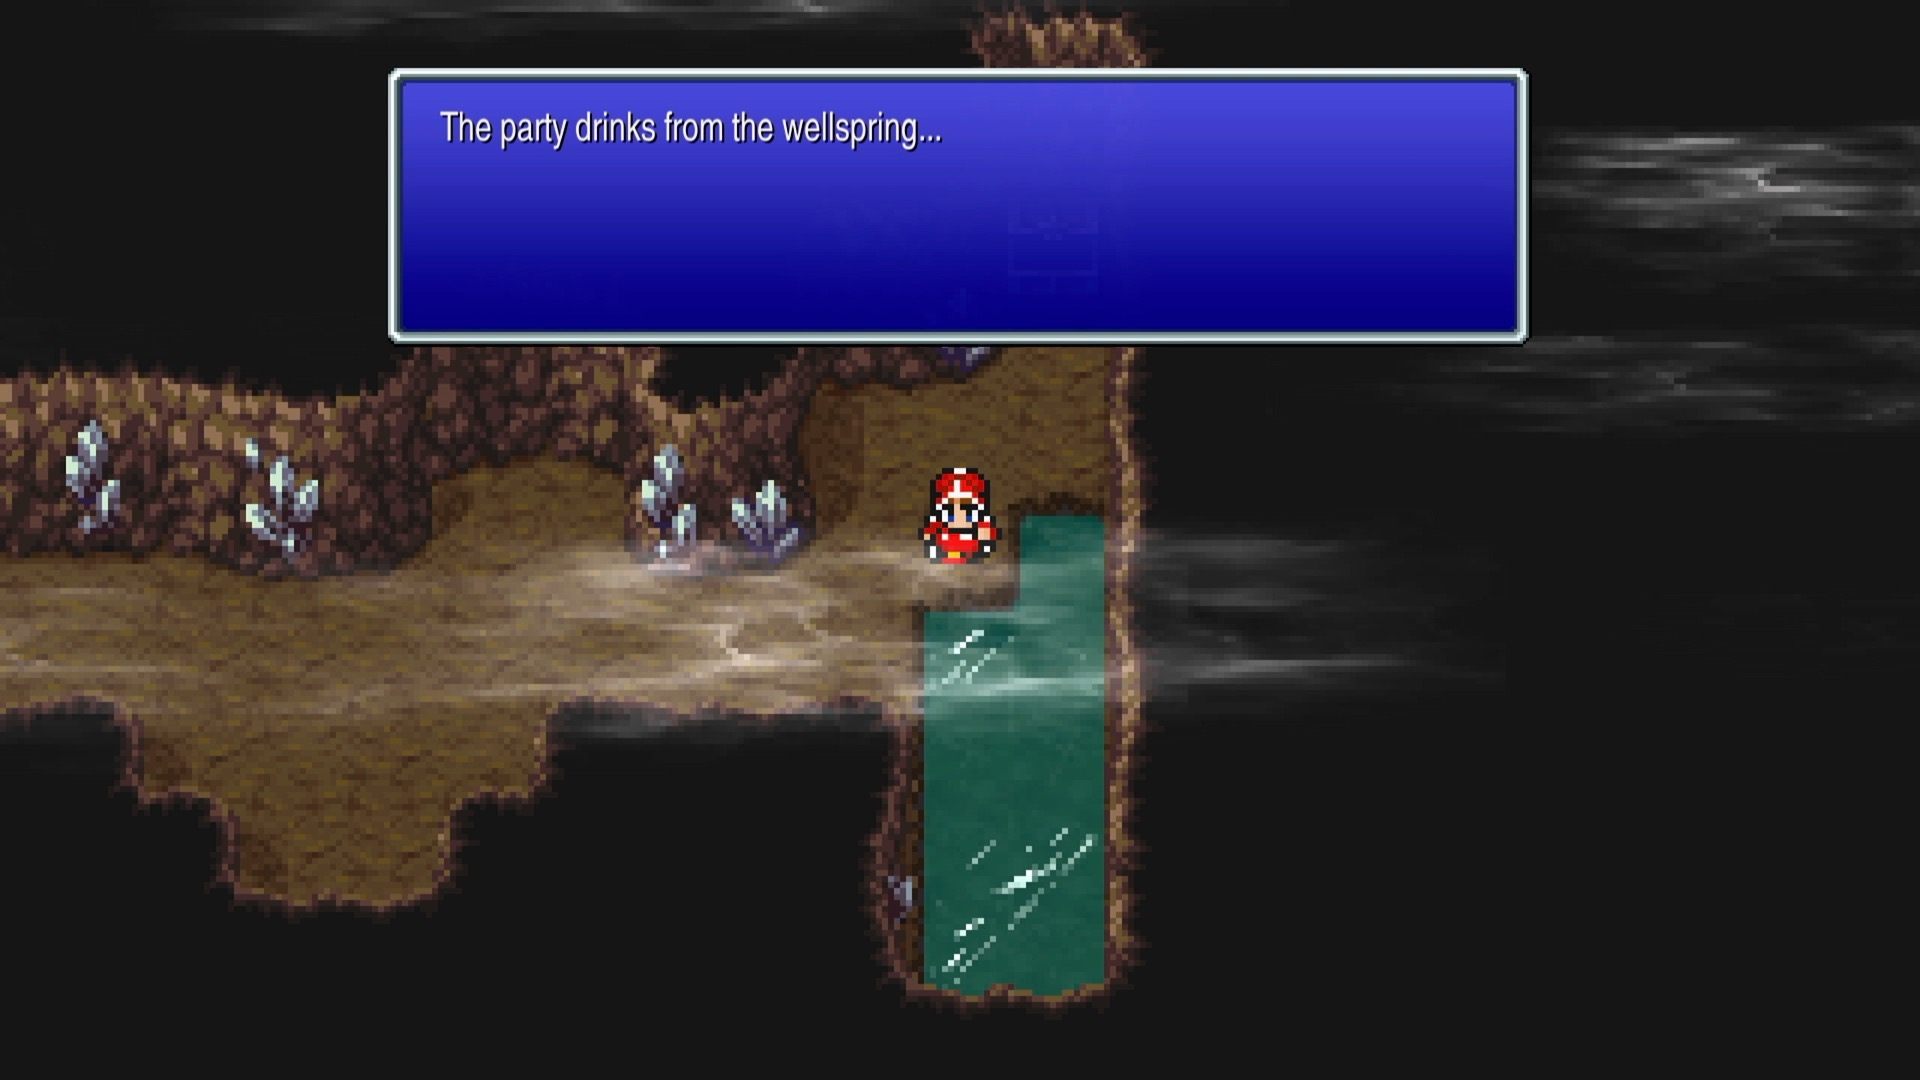
Take the right path from the fork to reach a healing spring that restores all HP, all MP, and revives any dead party members. Use it before the boss. There's an Antarctic Wind (7/367) directly north of the spring. Hang onto both Antarctic Winds; they're your best damage against the boss. Head back to the fork and go left through the door. The Wind Crystal room is just ahead, but you've got a boss blocking the way.
How to Beat Land Turtle
The Land Turtle has 111 HP and is weak to Ice. You don't have jobs or magic yet, so your only options are physical attacks and items. Antarctic Winds deal over 150 ice damage each, meaning two of them will end the fight instantly. Use Potions if anyone drops below 30 HP, but the boss hits lightly and has no dangerous abilities.
Wind Crystal Jobs
Beat the Land Turtle and interact with the Wind Crystal. After a cutscene about your party's destiny (the usual Crystals-in-danger setup), the crystal grants you access to five new jobs:
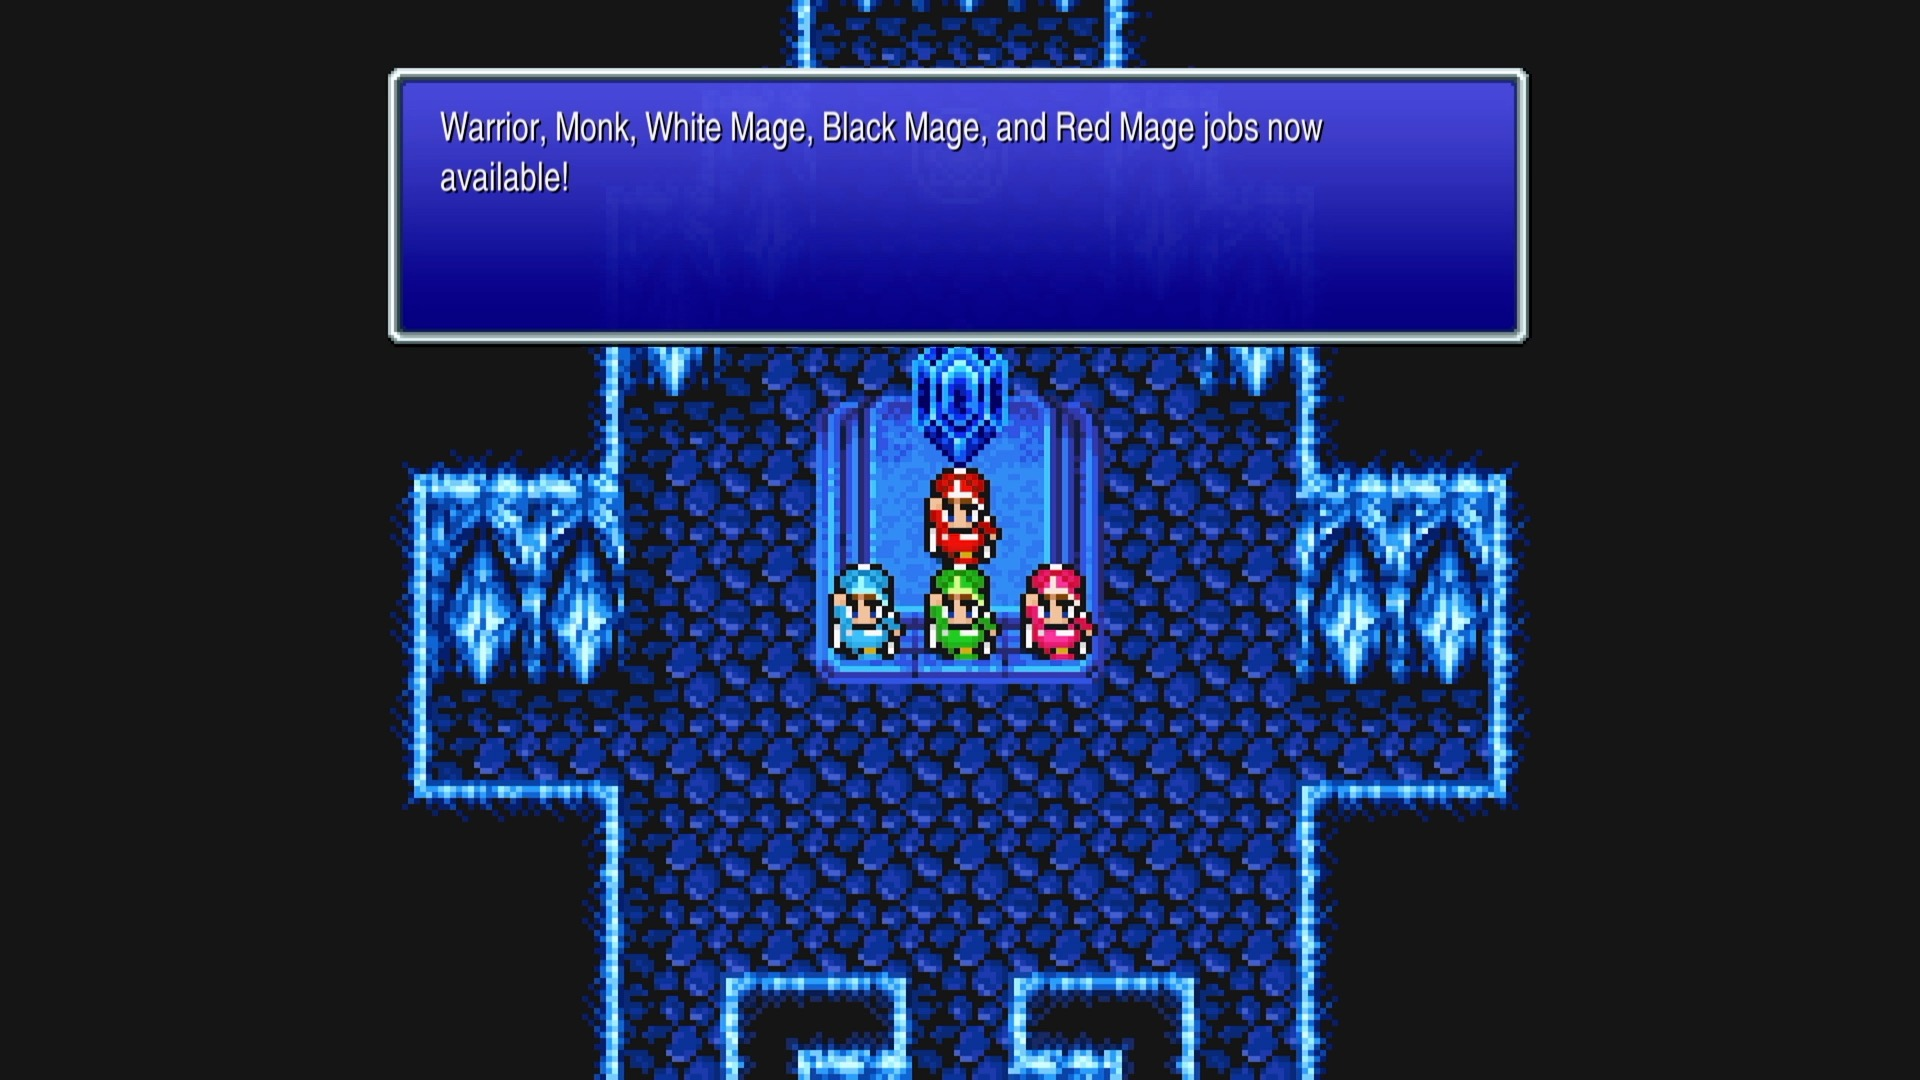
- Warrior - Heavy armor and swords make this your sturdiest front-liner. Bows give it a back-row option when healing runs low.
- Monk - Fist damage scales with level, so bare-handed Monks actually outdamage Warriors. You can skip the weapon shop and spend that Gil on spells instead. Retaliate counters physical attacks automatically.
- White Mage - Essential. Cure and Protect carry the early game. One trick worth knowing: staves used through the Item command cast free spells, saving spell charges over long dungeon runs.
- Black Mage - Your only source of group damage right now. Keep it in the back row permanently; low HP and no armor means it drops fast up front. Save spell slots for bosses and use physical attacks against trash.
- Red Mage - Fewer spell slots, weaker spells, and a painful gear gap by mid-game. Not recommended. Your fourth slot is better spent on a second Warrior or Monk.
The job guide covers all 23 jobs in detail if you want the full breakdown. For now, Warrior, Monk, White Mage, and Black Mage is the standard party that handles everything through the Fire Crystal.
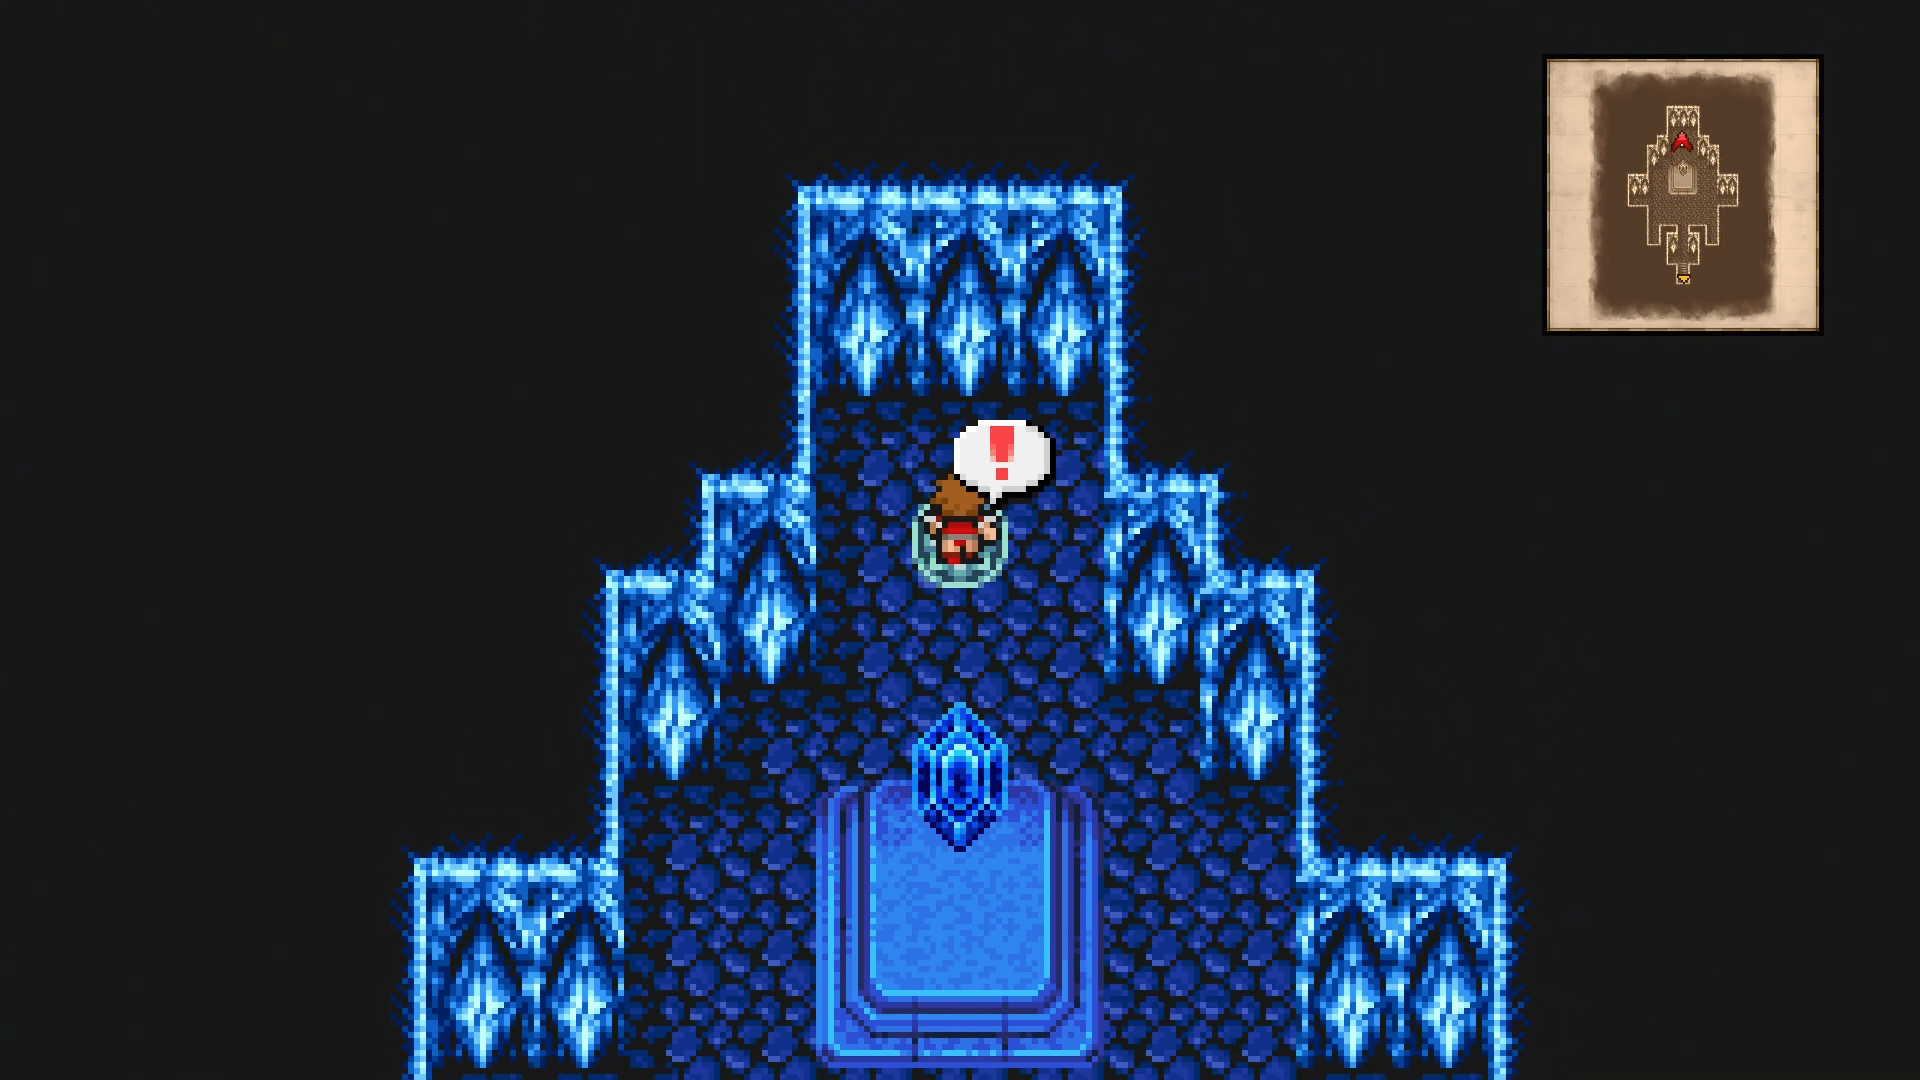
Use the teleporter at the north end of the room to exit to the overworld.
Hidden Path & Remaining Chests
Save immediately; you can only save out here. Assign your jobs now (and bring a White Mage). FF3's job system lets you change any character's job at any save point, and the Pixel Remaster removed Capacity Points entirely, so all abilities are available from level 1. Switching jobs carries a brief stat penalty that clears after a few battles. Check your world map and you'll see Altar Cave shows 7/14 chests collected, so head back in for the rest.
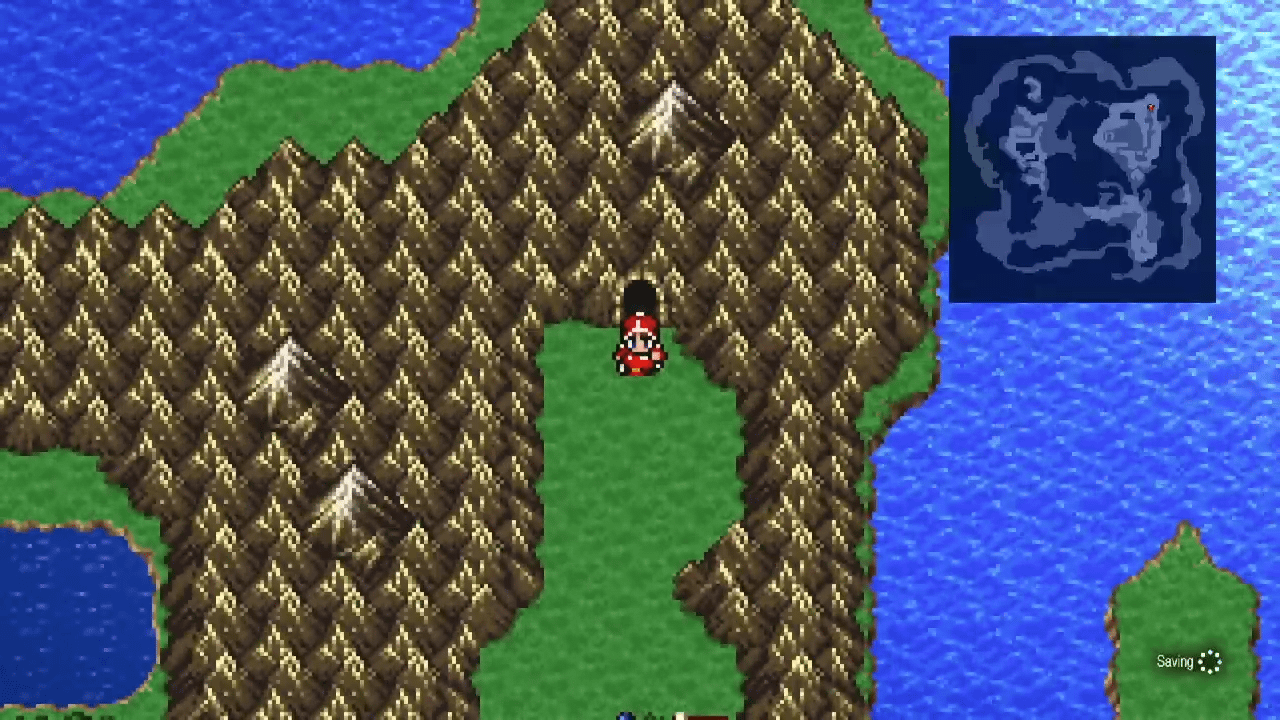
B1. From the entrance, head down and right toward what looks like a dead end. Keep walking right through the wall to find a hidden path with two chests, each holding 1000 Gil (8/367 and 9/367). That 2000 Gil is enough to buy several spell levels in Ur, so don't skip it. Watch for hidden paths like this throughout the game; they tend to hide the better loot.
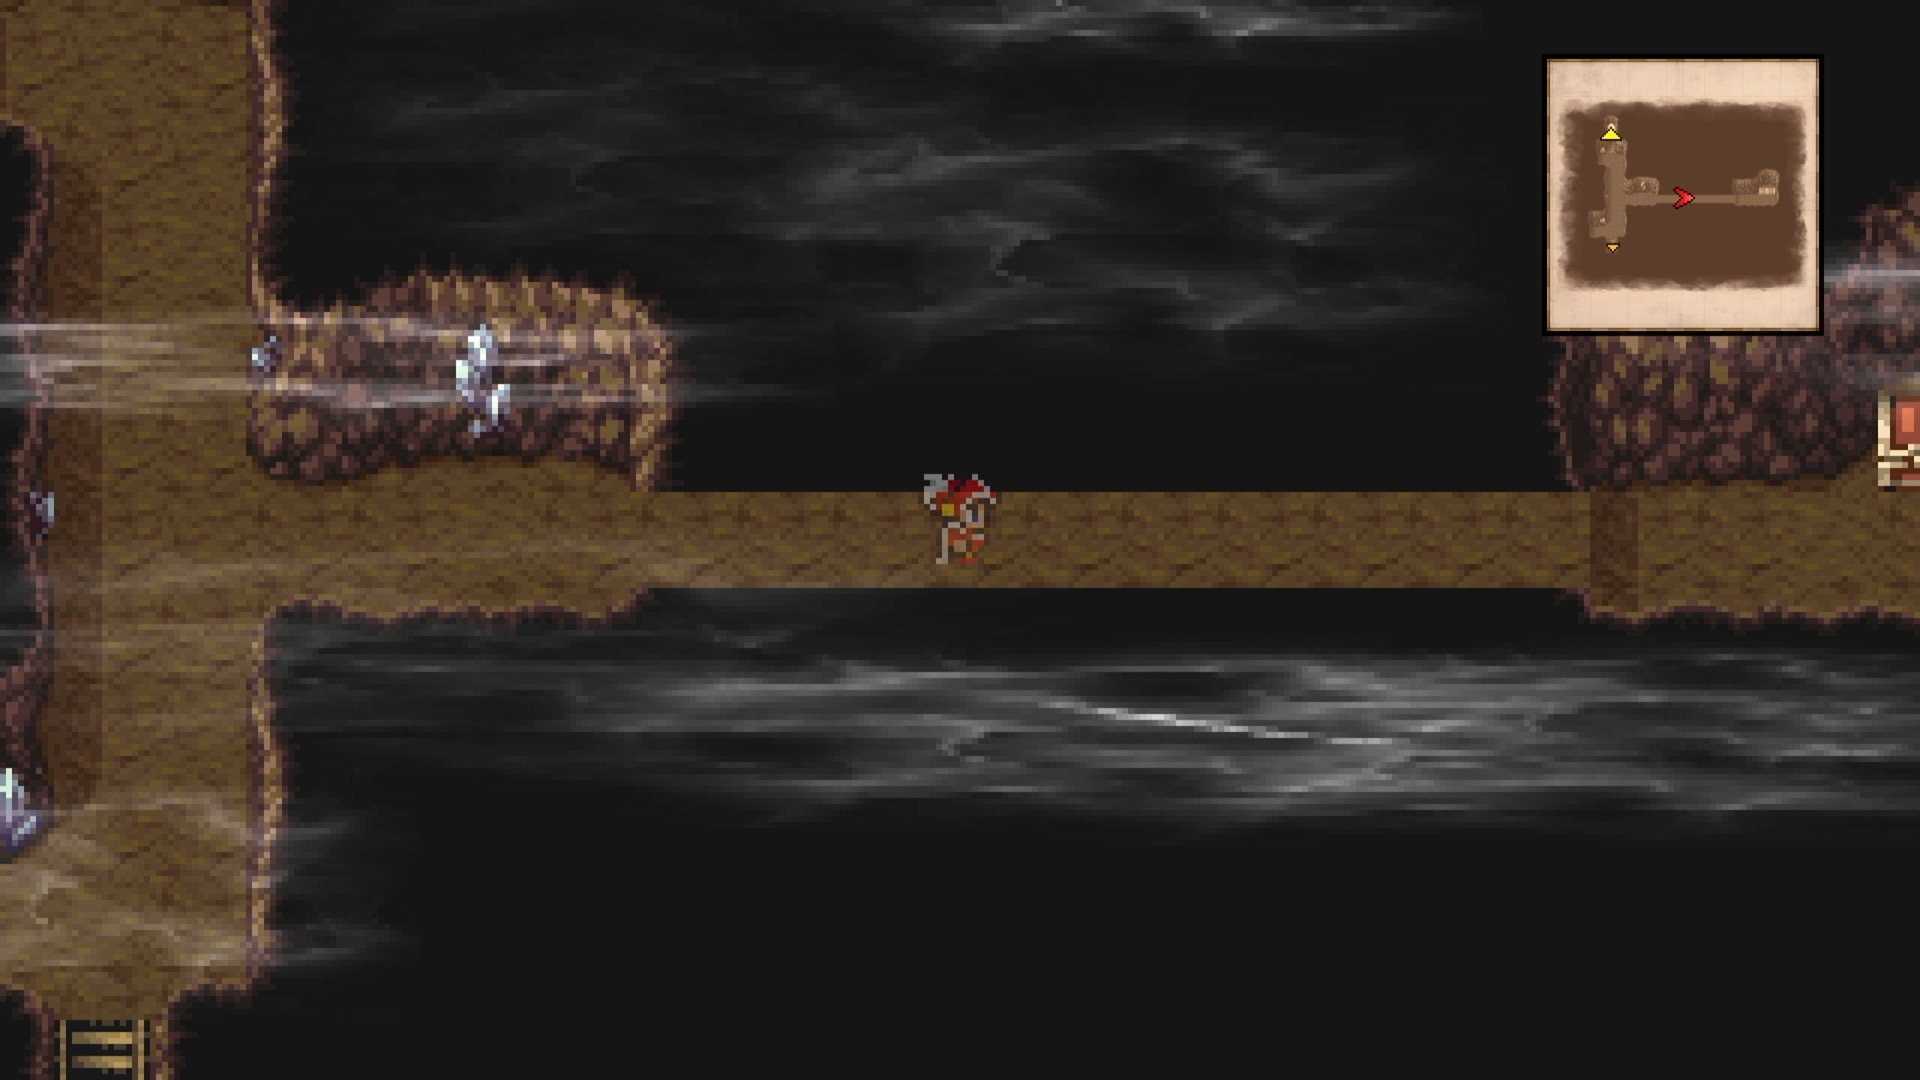
B2. Head back through the hidden path and go south to the stairs down to B2. You'll emerge into a room with five chests arranged around the hole you fell through at the start of the game.
- Top chest: Sleep (10/367)
- Bottom right chest: Longsword (11/367)
- Bottom chest: Bronze Bracers (12/367)
- Bottom left chest: Nunchaku (13/367)
- Far left chest: Longsword (14/367)
Equip the Longswords on your Warrior (or any physical attacker) for an immediate damage upgrade. The Nunchaku goes to a Monk if you're running one, though bare fists will outscale it soon enough. Sleep is your Black Mage's first status spell; it's situational but free to carry.
All 14 chests are accounted for, and there are no hidden items. Backtrack out to the overworld and save.
Head south from the cave exit to reach Ur, your home village. There's a free inn, gear shops, and a magic shop with level 1 spells. Ur also has 8 chests and 6 hidden items tucked into pots, shelves, and grass patches, so explore thoroughly before moving on.