


Amur & Goldor
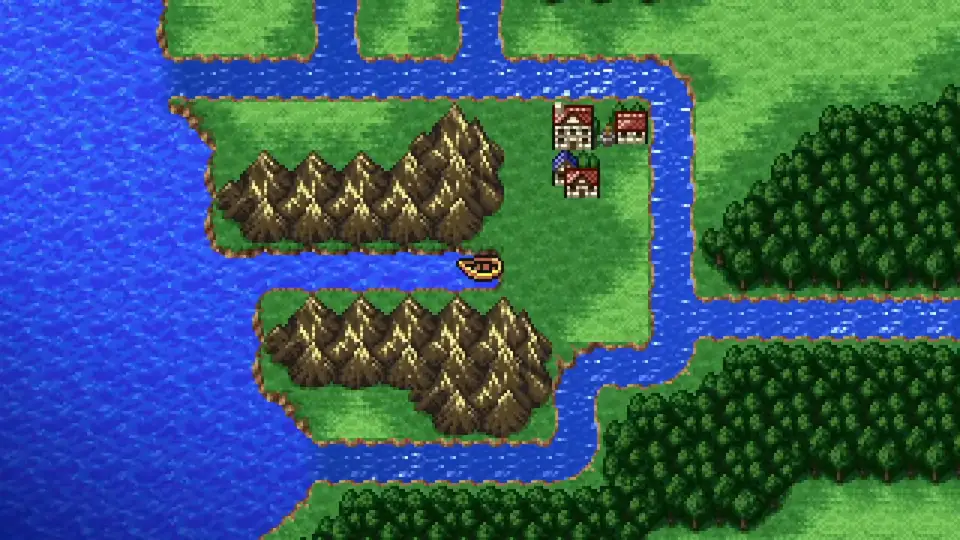
The party wakes up at the Amur inn after the Temple of Water cutscene. Step outside and the Enterprise is chained at the river: no flying, no sailing until the party deals with whoever locked it down. This chapter covers 18 chests, 14 items, 17 new bestiary entries (1 missable), and 1 boss fight.
Amur
Shops
Amur’s shop is the outfitting hub for the new Water Crystal jobs. The Heroic Shield blocks petrify, paralysis, and poison in one slot. The Thunder Spear and Madhura Harp arm the freshly unlocked Dragoon and Bard. Black Garb, Black Cowl, and Thief Gloves cover the Thief in the strongest gear available.
The four Water Crystal jobs are usable from this chapter on:

Has the Terrain command. A no-MP caster whose attacks scale with the current map.
- Equips bells, knives, and robes
- Terrain casts a random map-themed attack with no MP cost
- Damage varies by dungeon (water, fire, earth themes)
- Strong INT tier for back-row safety
Has the Jump command. Equips spears only, plus medium armor. High STR and AGI.
- Jump removes the Dragoon from the field for a turn, then drops a heavy lance attack on landing
- Jump also dodges any incoming attack on the wind-up turn
- Amur sells the Thunder Spear (6,000 gil), so the Dragoon is usable starting this chapter
- Build job levels here: Saronia (next chapter) has a fight that wants a strong Dragoon

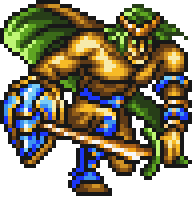
Has the Draw Attacks command. Equips axes, hammers, heavy armor, and shields. The dedicated tank.
- Draw Attacks forces enemies to target this character
- Highest VIT tier of any pre-Earth-Crystal job
- Amur sells the full Viking kit: Viking Mail (8,000), Viking Helm (5,500), Battleaxe (7,400)
- The Thorian Hammer from the Sewers item-casts Thundara, giving the Viking a free Lightning AoE

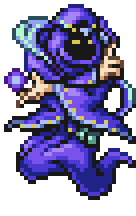
Has the Sing command. Equips harps and robes; the equipped harp determines the buff or status applied.
- Three harps in the game, each with its own Sing effect
- Amur sells the Madhura Harp (10,000); Duster sells the Lamia Harp and Loki Harp later this chapter
- Low STR and VIT, keep in the back row
- Optional pick; the game clears fine without one
Talk to the old man inside the blue-roof house on the east side of Amur. He opens the sewer entrance in the southeastern corner of town.
With the gate unlocked, walk the town for the seven hidden items. The walkthrough video below traces the full route.
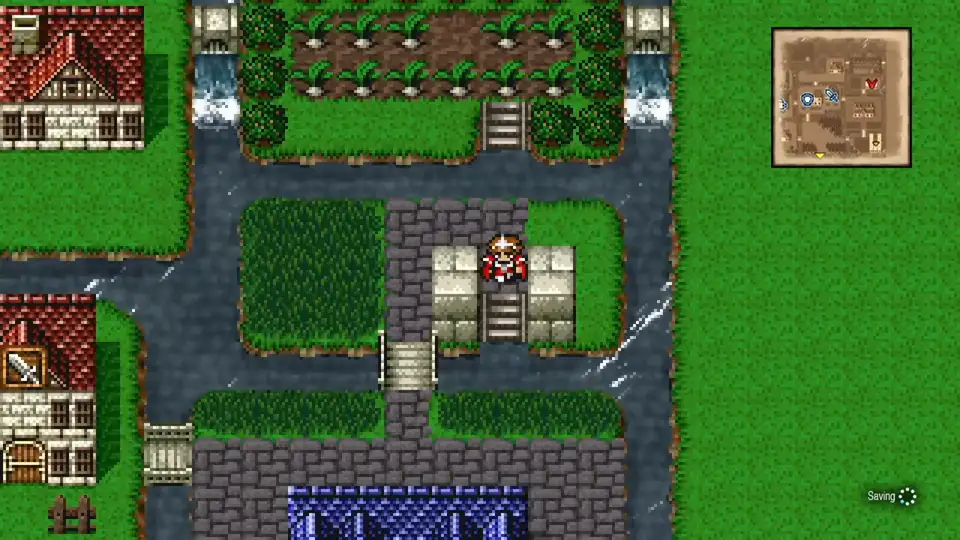
Take the aqueduct north to a turnip patch. The 2nd, 3rd, 4th, and 5th turnips each hold a Gysahl Greens.
Cut back west through the aqueduct to a waterfall. The wall here looks solid but isn’t: walk straight up through the water onto a small grass island on the northern edge of town. Three hidden items sit together on the island: a Black Garb, Thief Gloves, and Black Cowl. All three are Thief-and-Ninja gear, a flat upgrade over anything in your inventory.
Once the seven hidden items are collected, drop into the sewers from the southeastern corner of town.
Sewers
New Enemies


Most sewer enemies go down in one cast of Thundara or Fira from your mages. Stroper rolls Confuse Gaze on 40% of its turns at 370 HP; a physical hit on the Confused ally cures the status. The Thunder Spear and Morning Star from the Amur shop deal Lightning damage on physical swings, which speeds up every Sewers fight.
B1. Walk east and take the stairs down.
B2. Follow the path west. At the split, go south to grab Cat Claws from a visible chest before continuing to B3.
B3. Walk east and a forced battle triggers against 8 Goblins from the four old men’s intro scene. They die in one hit each. After the fight, continue east and drop to B4.
B4. From the central intersection, walk all the way east into a secret room with two chests: Main Gauche and Thorian Hammer. Return to the intersection and go all the way west for a second secret room with Orichalcum and Power Bracers.
The Orichalcum drains HP on every hit, so it pairs well with a front-row Thief alongside the Knight’s Blood Sword. The Thorian Hammer item-casts Thundara, giving the Viking a free Lightning AoE on demand.
From the intersection, continue north, then west, south, and east through a door. Step forward to trigger a cutscene. The party receives the Levigrass Shoes, a key item that lets you walk across the marshes on the surface map. The cutscene teleports the party back to Amur’s entrance.
Outside Amur
Rest at the inn, then exit Amur. Five new bestiary entries roam the overworld between here and Goldor Manor:
New Enemies

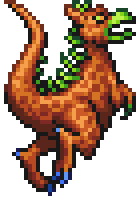

Magician and Vulcan are the dangerous ones. Magician rolls Fira, Blizzara, or Thundara on 90% of its turns; bring elemental resists or just out-damage it. Vulcan casts Blaze for heavy Fire damage at 740 HP but is weak to Ice and Water; the desert south of Amur is the best place to find one. Hellgaroo casts Blind on 40% of its turns. Black Flan (weak Fire) and Dracrocotta (weak Ice) are pure physical at 290-355 HP.
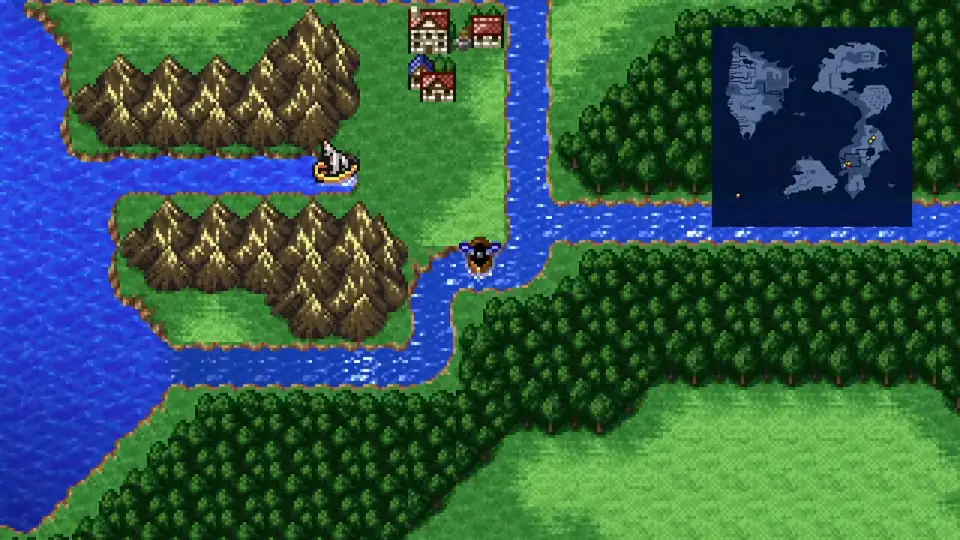
Once all five entries are registered, go south from Amur and loop east and north around the mountains. Wade through the swamp to reach the gold manor on the far side.
Goldor Manor
New Enemies

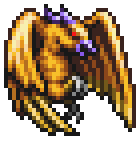
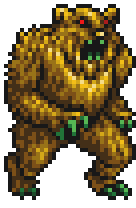
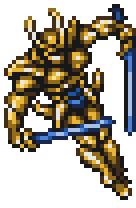
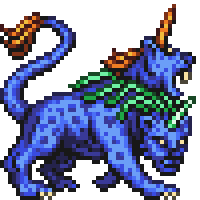
Nightmare rolls Confuse Gaze on half its turns; a physical hit on the Confused ally cures it. Lost Gold can land Toad, Blind, or Poison at low rates, so keep Maiden’s Kiss and Antidotes stocked. Gold Eagle is the only enemy here with an elemental weakness (Wind), and Aero from your White Mage one-shots it. Gold Warrior and Gold Knight cast Thunder on 30% of turns. The rest go down to Knight or Black Belt swings backed by Cura every other turn.
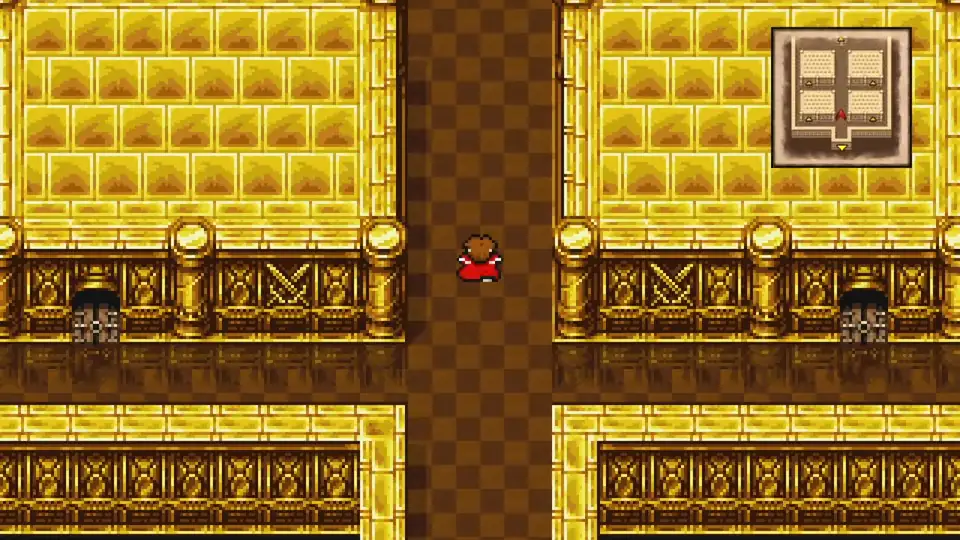
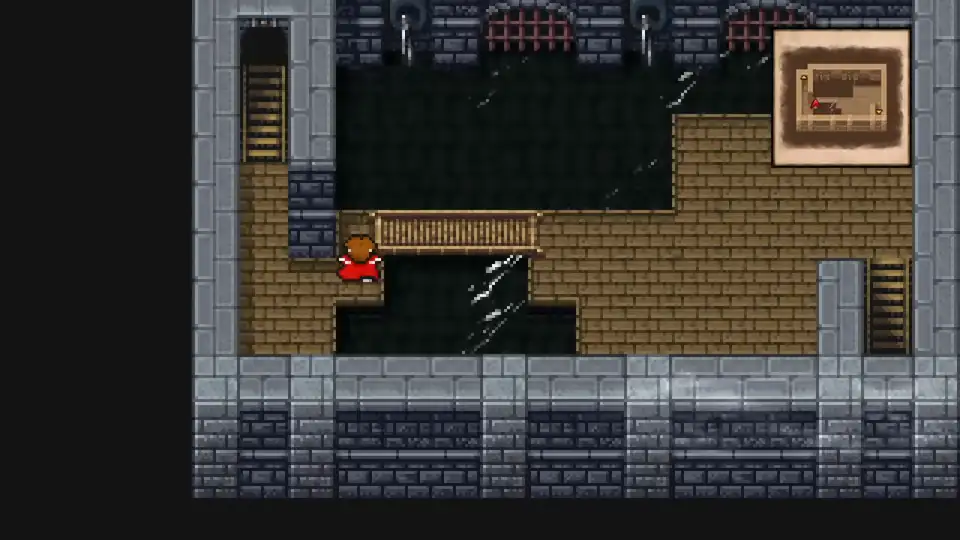
From the 1F entrance, walk straight north and up the stairs. On 2F, take the long path west, then south, then east to find a corridor lined with all 12 chests for the manor: eleven Golden Swords and one Wyvern Claws. The Golden Swords are vendor trash, but each one sells for 2,500 gil, so the full stack nets 27,500 gil. The Wyvern Claws are the strongest claws in the game so far, with a free Aero item-cast on use, for your Black Belt or Ninja.
Return to 1F. From the center of the room, go east to a locked door. A Thief opens it for free with their job skill, or burn one of the Magic Keys from Gysahl’s item shop last chapter.
Inside, cut left past the statue to find a hidden passage through the west wall. Take it past the maze and up the stairs to 3F.
How to Beat Goldor
Goldor drops the key that unchains the Enterprise, but he smashes the Water Crystal into pieces before dying. Backtrack through the manor and return to Amur. Rest at the inn, then board the freed Enterprise.
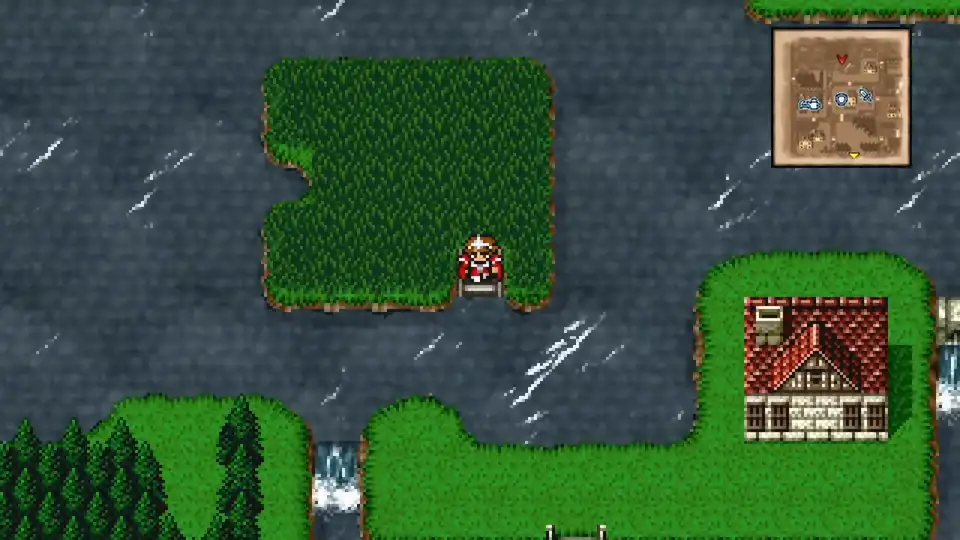
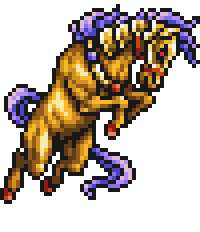
Sea Dragon
New Enemies (*Missable)
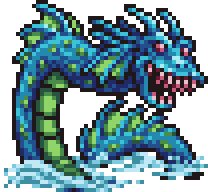
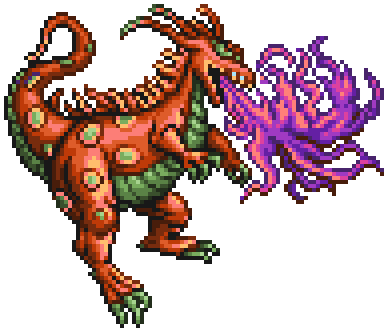
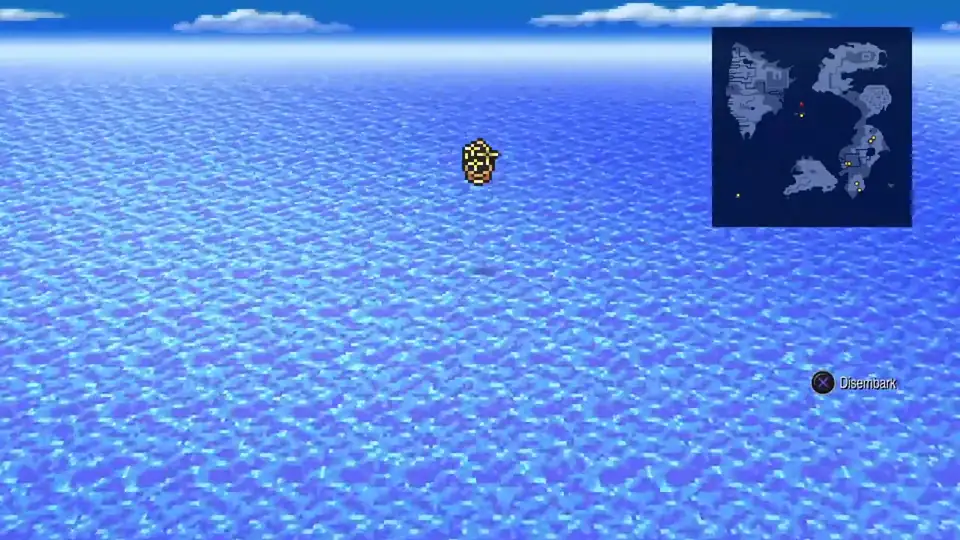
Sail the open ocean east and south of Amur until a Sea Dragon spawns. It’s a rare encounter at 860 HP; weak to Lightning, so Thundara cleans it up.
Duster
Shops
Duster’s shop carries the rest of the Bard’s kit (Lamia Harp at 12,000, Loki Harp at 20,000) plus the Diamond Bell for your Geomancer (4,500). Gaia Vest is the Geomancer’s best body armor for the next stretch, and Rune Bracers block petrify, mini, and toad in a single slot.
Fly the Enterprise southwest from Amur to the solitary island in the middle of the ocean and land near the town.
Search the grass in the northeast corner of town for the first Earthen Drums, then check the grass in the northwest for the second. Both are battle items that trigger an earthquake AoE.
Leave Duster and fly the Enterprise north to a small island. A Chocobo Forest sits on the western side; Replito is just east of it, so swing through the forest first to grab a chocobo before walking into town.
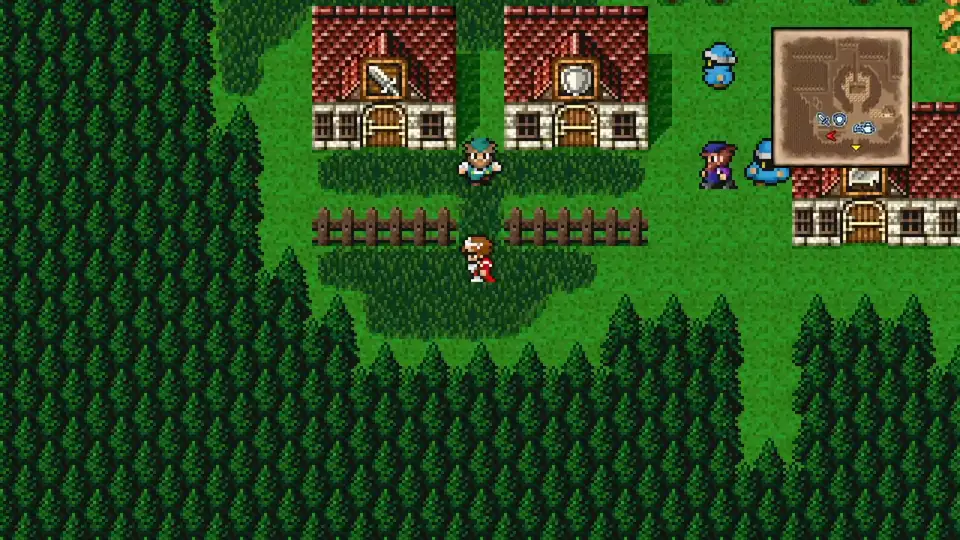
Replito
Shops
Replito doesn’t sell weapons or armor, but the magic shop carries Summon Magic Lv 1-5 (Escape / Icen / Spark / Heatra / Hyper). Buy one copy of each; Evoker and Summoner are Earth Crystal jobs (unlocked later), but a trophy requires learning all summon magic and Replito is the only shop that sells these scrolls.
Search the lone pine tree just left of the town entrance for a Turtle Shell. Then make your way to the northwest section of town where a small grass clearing sits surrounded by trees. Slip through the trees from the right side to find a hidden path. Inside the clearing, check two spots close together for a second Turtle Shell and another Elixir.
Approach the northernmost house next and walk into the bottom tree on its east side; a hidden passage leads inside.
Once inside, touch the right candle to open a secret passage to a chest with another Elixir. Exit the house the way you came in.
Back outside, go to the west side of town. Slip through the tree in front of the pond for one more hidden path, then search the grass for a Phoenix Down.
Fly the Enterprise to Saronia. Make sure you have a Dragoon in the party with some job levels built up; Saronia has a fight that wants Jump.