Dalg Continent
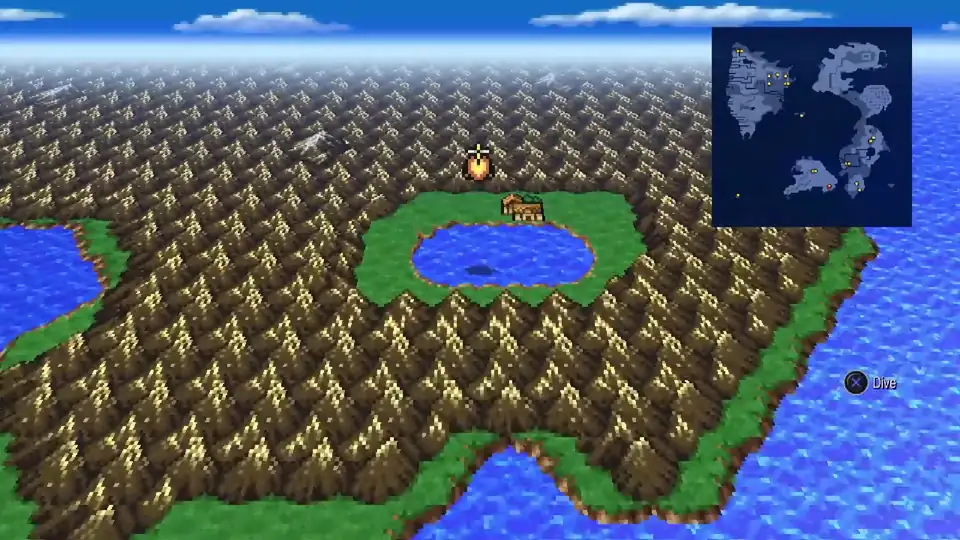
Fly the Nautilus south to the Dalg Continent. Approach from the southern coast and follow the narrow mountain passes that wind through the center of the continent; at the fork, take the northern path to Doga’s Manor. This chapter covers 14 new bestiary entries (4 underwater) and 1 hidden item.
Outside Doga’s Manor
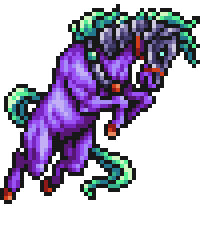
Five new bestiary entries patrol the passes between the southern coast and the manor:
New Enemies
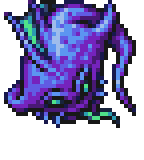
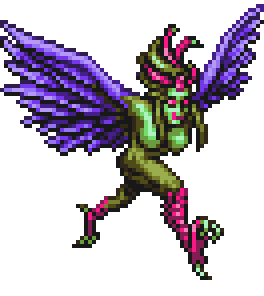
Four of the five are weak to Wind, so Aero or Aerora from your White Mage clears them in one cast. Frostfly is also weak to Fire, so Fira works too. Chimera is the rare spawn of the group with no exploitable weakness; expect a few extra fights to register it.
Doga’s Manor
Shops
The 2F magic shop is the first stop in the game to sell Lv 6 magic, plus Curaga and Raise as backup if you skipped them at Saronia’s NE shop. Aeroga hits all enemies and lines up with the Wind weaknesses on the overworld mobs and Cave of the Circle. Haste is a turn-economy spell worth bringing into boss fights. Warp replaces Ottershrooms for free dungeon escapes. Firaga and Bio are Lv 6 Black Mage damage spells. Stona cures petrification.
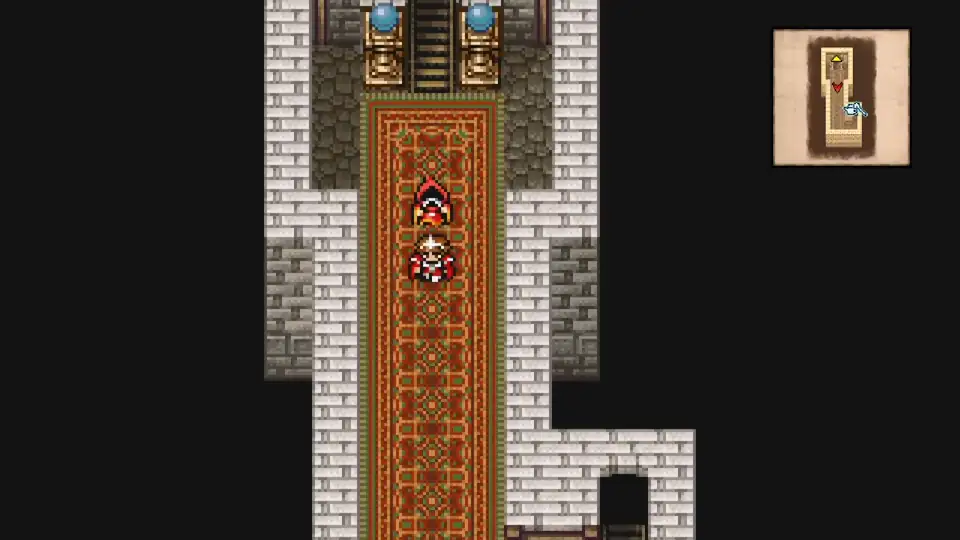
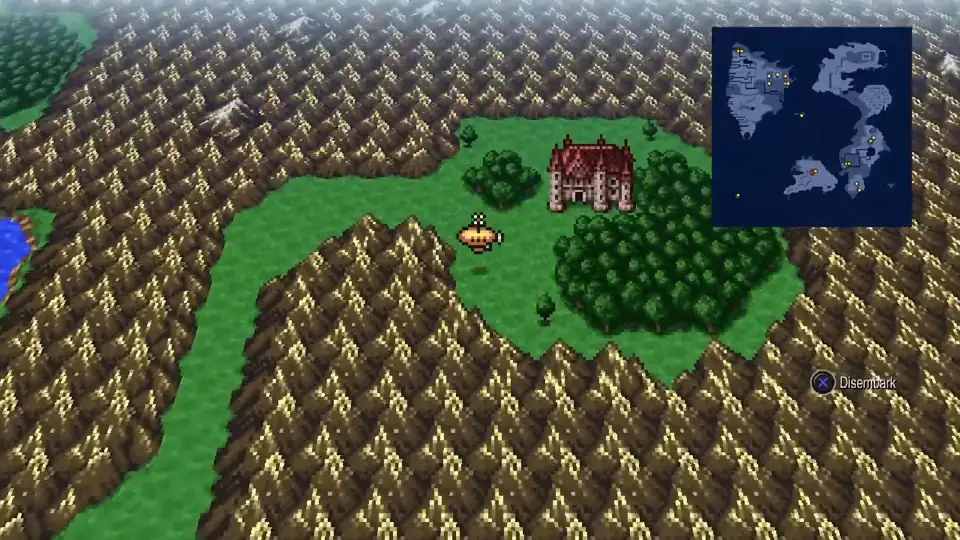
Moogles attack the moment you step inside the manor, on orders from the owner. Doga calls them off once he recognises the Warriors of Light. He explains that Goldor’s crystal was a fake (enchanted gold, not the real Water Crystal) and points at his fellow disciple Xande as the real threat. Doga joins your party as a guest.
Walk north through the door on 2F and interact with the candle in the middle of the room to open a secret passage. The jars on the left fully heal and revive the party for free. Check the bookshelf on the right for a Hi-Potion.
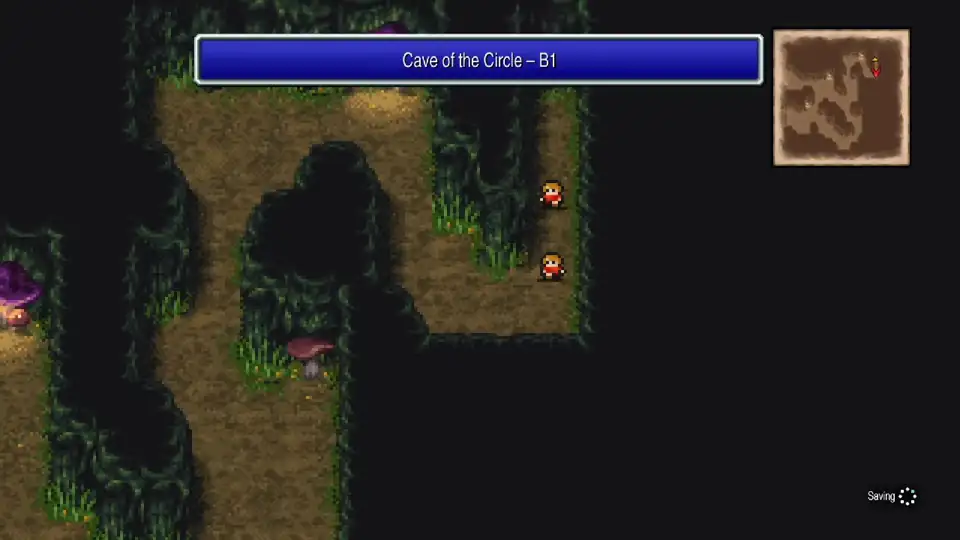
Continue through the passage to a small hole in the wall. Cast Mini on the entire party before crawling through; the Cave of the Circle requires it.
Cave of the Circle
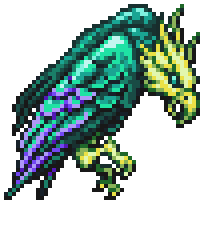
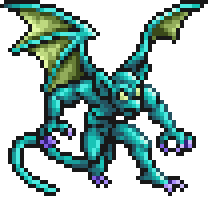
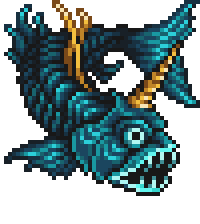
New Enemies
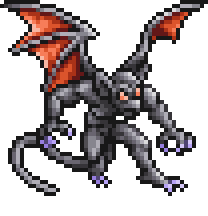
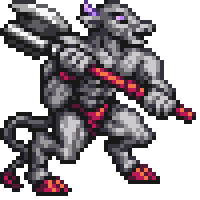
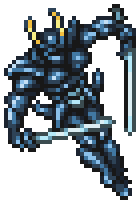
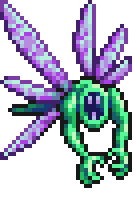
Rock Gargoyle casts Breakga on 20% of turns; one hit can petrify a party member, so keep Gold Needles or Stona ready. Flyer Mage is a pure caster (Fira / Blizzara / Thundara, each 33%); kill it first. Rock Gargoyle and Flyer Mage are both weak to Wind, so Aeroga lands hard. The rest sit around 240-310 HP and die to a couple of casts even at Mini damage.
From B1, go south and take the northwest split to B2. On B2, take the right path and follow it around to the stairs down. From B3, walk northwest, then all the way south to a wooden door.
Inside, Doga grants the Nautilus the ability to dive underwater, turning it into a full submarine. He sends the party to find Noah’s Lute at the Temple of Time, beneath the sea south of Saronia at Cape Twin Horn. Doga leaves the party and teleports you back to the overworld. Cancel Mini and switch back to your preferred jobs before moving on.
Underwater bestiary
Four bestiary entries are exclusive to the underwater sea around Dalg. Fly the Nautilus to the eastern edge of the continent, land on the water, and submerge.
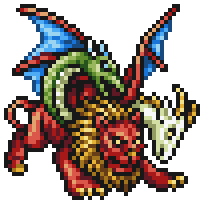
New Enemies
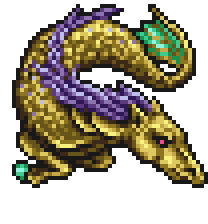
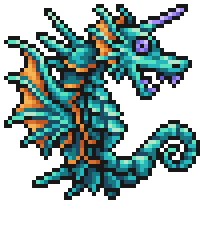
All four are weak to Lightning; Thundara or Thundaga end fights in a single cast. Swim until each entry registers, then follow the underwater path and surface above the lake on the eastern side of the continent.
Doga’s Village
Shops
Doga’s Village is entirely magic shops. Most stock spells from earlier chapters; one shop in the bottom-right corner sells the first Lv 7 magic in the game. Curaja (20,000) replaces Curaga as your primary heal. Esuna clears any status ailment in one cast. Reflect is situational but useful against magic-heavy bosses. The other shops in the village fill in any earlier-tier spells or summons you missed.
Board the Nautilus and dive. Go south to Cape Twin Horn off the southern coast of Saronia; the Temple of Time lies beneath the waves.