


Eureka & Crystal Tower
The Crystal Tower is the last dungeon complex. The Eureka Key warps the party into a side area on 1F for the five sealed weapons (Moonring Blade, Masamune, Excalibur, Elder Staff, Ragnarok); the Syrcus Key opens the rest of the tower for a nine-floor climb to Xande. This chapter covers Eureka and Crystal Tower for 42 chests, 5 items, 24 new bestiary entries, and 7 boss fights.
Eureka
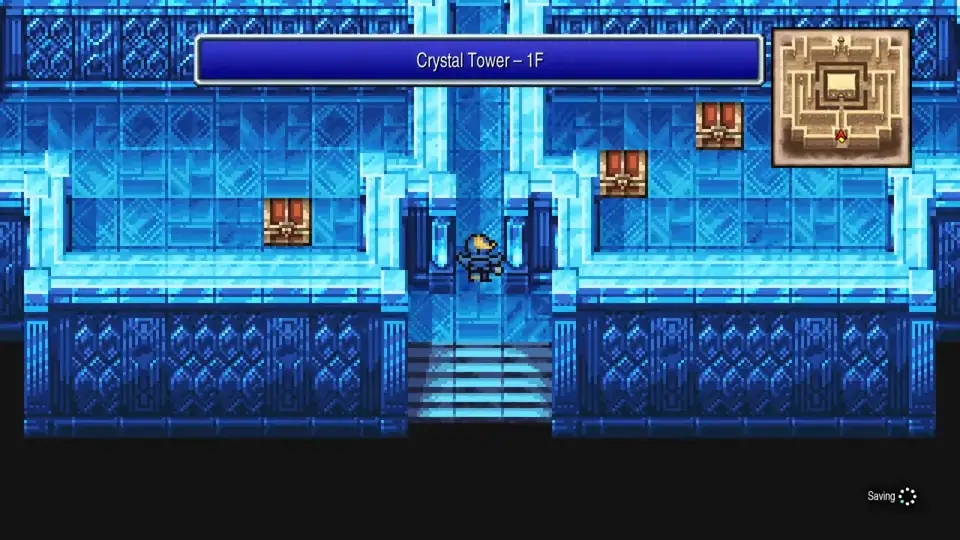
From the Ancients’ Maze exit, cross the short stretch of overworld north and walk straight into the Crystal Tower entrance. Push through the first room and the door at the back drops the party in the mirror chamber. Use the Eureka Key on the mirror to warp to Eureka B1.
New Enemies

- Abaia and Sleipnir are the B1 pair. Both sit around 2,500 HP. Abaia mixes Fira, Blizzara, and Thundara at 7% each, Sleipnir occasionally rolls Toad, Blind, Poison, or Blizzara at 4% each. Status hits are rare, but a Toad ticking on your healer ruins the next turn; keep one Maiden’s Kiss in reach.
- Haokah drops a party-wide Thunderbolt on 30% of turns. They spawn in groups of three or four, so a Thunderbolt lands almost every round; finish them in one wave or stack Reflect Mail on your healer.
- Acheron starts spawning on B4, Oceanus from B5. Both sit near 4,800 HP and cast Quake or Earthquake on 20% of turns (party-wide Earth damage). Keep Curaja flowing through the lower floors; no armor at this point resists Earth, so just out-heal it.
B1. The first room splits left and right with two chests on each side. Loop west for a Bomb Arm and Heavenly Wrath, then east for an Arctic Wind and Elixir. Take the south stairs down.
B2. Walk south to a four-way split. The west room holds a Bomb Arm; the east room hides three chests: Arctic Wind, Heavenly Wrath, and a Phoenix Down. Back at the split, push against the south wall of the west room for a crack. The hidden corridor leads to a chest with a Ninja standing guard.
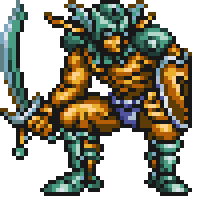
The Ninja is a pure-physical chest battle, no spells. His one Fight per turn lands hard, so keep the party above 700 HP and burst him in two or three rounds.
The chest behind him holds a Ribbon, which blocks every status ailment in the game. Equip it on your Devout immediately.
B3. Two stairwells lead down from B2 (one on each side); each opens onto a separate half of B3, and the two halves don’t connect on this floor. Take the west stairs first for a Shuriken, then come back up and take the east stairs for an Elixir, another Shuriken, and a Phoenix Down. Continue down to B4.
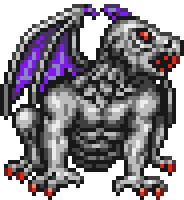
B4. The Moonring Blade sits on an altar at the south end. Amon waits in front of it.
How to Beat Amon
Amon drops the Moonring Blade. It hits twice per swing and lands well on a Dark Knight until the Masamune drops later. Continue south to B5.
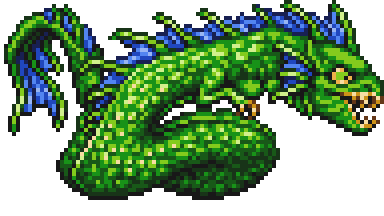
B5. Walk west to the fork. Grab the Phoenix Down sitting in the open before approaching the katana on the east altar; Kunoichi is in front of it.
How to Beat Kunoichi
Kunoichi drops the Masamune, the strongest katana in the game. Dual-wield it with the Moonring Blade on the Dark Knight for the rest of the chapter. Pick up the second Phoenix Down just south of where she stood, then take the stairs down to B6.
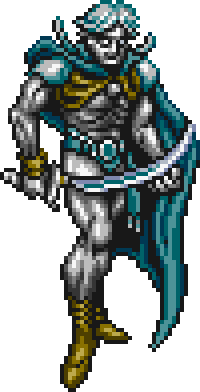
B6. Follow the bridges east to a sword in stone. General stands between the party and it.
How to Beat General
General drops the Excalibur, a 135 ATK / 95 accuracy sword for the Knight or Ninja. Equip it for now; Ragnarok upgrades it shortly. Return to the B6 entrance and take the west path this time. The bridges look broken, but invisible spans connect every gap; walk straight across and take the stairs to B7.
B7. Two altars sit on this floor, the Elder Staff on the left and Ragnarok on the right. The door north opens onto a healing pad that fully restores HP, MP, and any KO’d party members, so step through between fights if Scylla leaves the party limping and come back for the second altar. Take the left altar first.
How to Beat Scylla
Scylla drops the Elder Staff, the strongest staff in the game at 85 ATK. With the Elder Staff in hand, the Sage and Ninja jobs unlock. Sage casts every spell type in the game (White, Black, and Summon) with a single MP pool; Ninja throws Shurikens for 9,999 damage on demand and equips almost every weapon and armor in the game.
Take the right altar next. Guardian waits in front of Ragnarok.
How to Beat Guardian
Guardian drops Ragnarok, the strongest sword in the game at 145 ATK / 99 accuracy. Swap it onto the Knight’s main hand and shift Excalibur to a backup slot or a second Knight. All five sealed weapons are now in hand. The gold Forbidden Weapons trophy fires, and since the sealed weapons are the last items in the game, the gold Item Detector trophy lands here too if you swept everything else along the way.
Eureka Shops
Shops
The left Sage stocks Lv 8 black and white magic: Arise, Holy, Flare, Tornado, Meteor, and Death. Arise is the priority; full-HP revival is what keeps the Xande fight clean. The right Sage stocks the three optional summons (Catastro, Leviath, Bahamur) for second-Sage builds if you want duplicates.
A hidden button on the north wall between the two Sages opens a passage to a third Sage who sells Shurikens at 65,500 gil each and the full Crystal armor set. Spend every gil you have on Shurikens; a Ninja throws one for 9,999 damage against any enemy in the game. Save them for the Cloud of Darkness, since every throw matters in the final fight.
Walk north through the door into the final Eureka room. Four chests sit in the corners holding two Elixirs and two Shurikens.
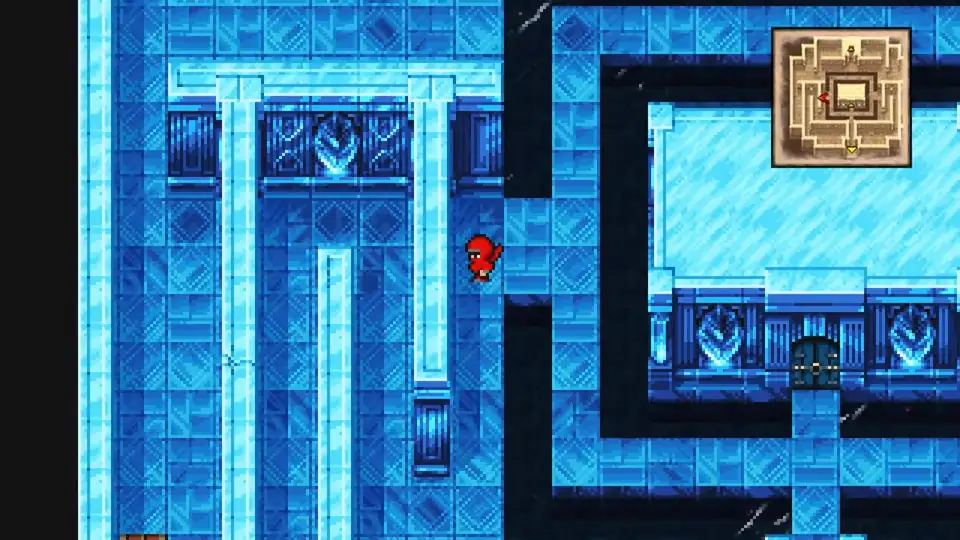
Cast Teleport or use an Ottershroom to exit. The Crystal Tower’s 1F mirror room is where Eureka drops you.
Crystal Tower
Use the Syrcus Key on the north door of 1F to open the climb. Nine floors up, Xande waits at the top, and three rare floor-exclusive dragons sit between you and him.
New Enemies


- Doga’s Clone rolls Breakga on 27% of turns (party-wide Petrify); a Ribbon on the Devout, Gold Needles in the pack, or just kill it first.
- Platinal drops a 30% Breakga in phase 2; same Petrify pressure.
- Qum Qum spams Firaga, Blizzaga, and Thundaga at 27% each, with a 9% Death sneaking in; finish it before the Death roll lands.
- Thor lands Thunderbolt on 30% of turns (party-wide Lightning); a single Reflect Ring on your healer redirects it.
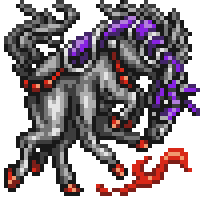
- Yellow Dragon (5F), Green Dragon (6F), and Red Dragon (7F) are the rare floor-exclusive farms with 30,000 / 35,000 / 40,000 HP. Each rolls Firaga, Blizzaga, or Thundaga at 10% on top of Fight; all three resist 8 elements but not Dark. A Dark Knight’s Bladeblitz chips them down, Ninja Shurikens drop them fast, and any sword + Excalibur physical works.
1F. From the mirror room walk west along the winding path for a Shining Curtain. Halfway back, push through the crack in the west wall for a White Musk. Return to the mirror and take the east path for the same layout: Shining Curtain and White Musk, then through the east-wall crack for Chocobo’s Wrath and Earthen Drums. Two more chests flank the north door: Chocobo’s Wrath and Lilith’s Kiss. Eight on this floor.
2F. Walk west through the winding paths to an Elixir at the far edge. Drop south and slip through a crack in the crystal wall, then loop northeast for a Phoenix Down. Backtrack south toward the stairs and grab an Elixir just to their west.
3F. Walk north to the wall, right through two consecutive cracks, then south. Pick up the Elixir above the stairs and continue up to 4F.
4F. Dark General appears here, along with the first Glasya Labolas spawns (8,000 HP, pure physical). Follow the linear path south to a Phoenix Down and Elder Staff at the far end. A second Elder Staff is handy if you want to dual-wield on the Sage. Continue west, loop clockwise, and take the stairs back down to 3F’s hidden area.
3F (via 4F). Walk north from where you land for a Phoenix Down. Then west, through two cracks, to find two Elixirs flanking the stairs back up to 4F. Return to 4F and go south to the 5F stairs.
5F. Yellow Dragon territory; no chests on this floor, just the rare farm target. Walk west, south, then east, south at the split, then west to the 6F stairs. Don’t leave before Yellow Dragon shows on the bestiary; coming back means climbing again.
6F. Green Dragon spawns here. Two chests sit on either side of the swirling paths: a Phoenix Down and a Crystal Mail. Take the 7F stairs south once Green Dragon is registered.
7F. Red Dragon is the final regular bestiary entry; 40,000 HP, so treat it like a boss encounter and keep Curaja up. Two forks branch left and right with the last four chests: Crystal Shield and Crystal Gloves west, Crystal Helm and Phoenix Down east. That completes the Crystal armor set. Walk north to 8F.
8F. A single mirror sits in the center of the chamber. Touching it warps the party to 9F and locks the route behind them.
Interact with the mirror. A long scene plays, and the party lands on 9F to Xande’s throne.
How to Beat Xande
The Cloud of Darkness attacks the moment Xande falls. This is a forced loss; Wavecannon wipes the party regardless of level or gear. Attack a few times for the scene to roll, or just let it land. Doga and Unei appear after the wipe, give the last of their power to revive the party, and send the four warriors to the World of Darkness for the true final battle.