


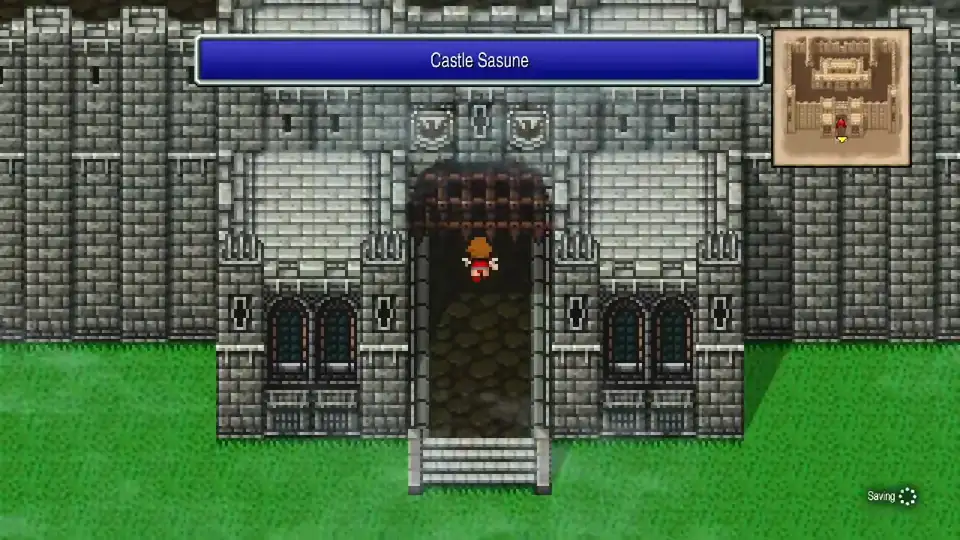
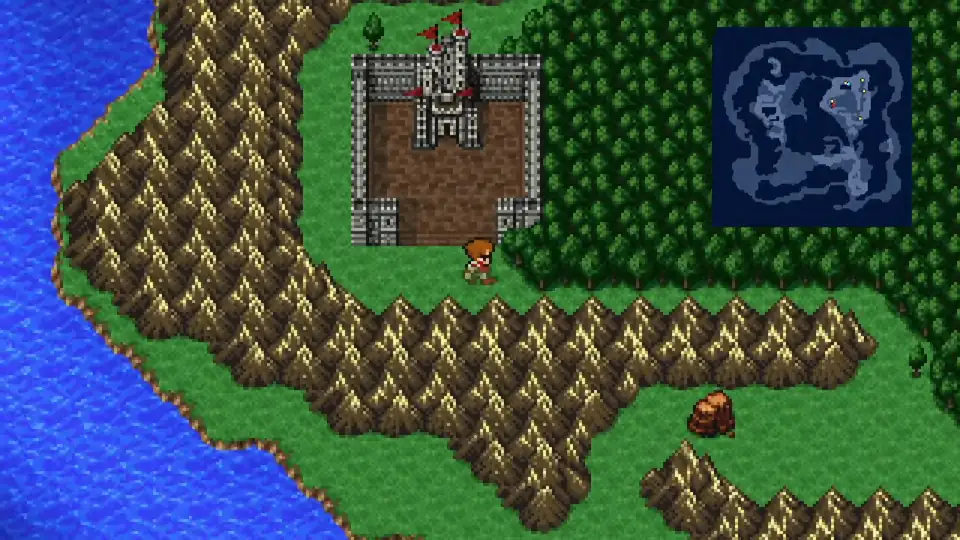
Castle Sasune & Sealed Cave
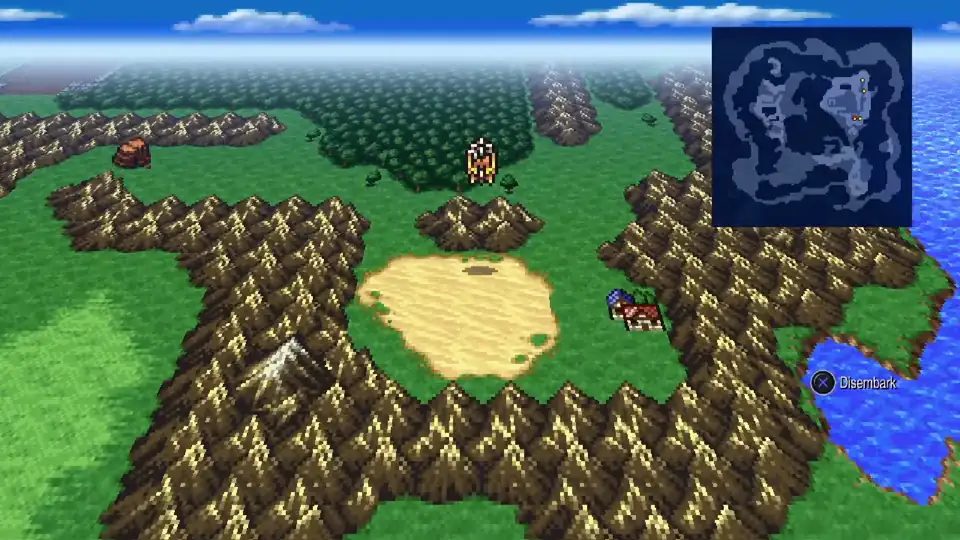
Fly northwest from Kazus to Castle Sasune. The same curse that froze Kazus has gripped Sasune, and the king will send you north to find its source. This chapter covers Castle Sasune, the Sealed Cave, and the Mythril Mines for 20 chests, 14 bestiary entries, 1 item, and 3 missable sea enemies on Sasune Lake.
Castle Sasune
The castle splits into a Western Tower, an Eastern Tower, and a Main Castle. The Western Tower is the only part with random encounters; the rest is enemy-free aside from the Griffon chest battle on 4F.
Western Tower


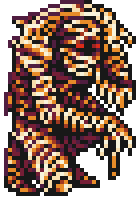
Red Wisps cast magic, so back-row mages take just as much damage as front-liners. Dark Eyes are the most common spawn and go down to a couple of physical hits. Zombies are sturdier but slow and take bonus damage from any Holy source. Climb to 3F for a Holy Arrow and Hi-Potion, then continue to 4F.
The lone chest on 4F holds a Wightslayer, but opening it triggers a Griffon ambush. There’s a free bed at the top of the Eastern Tower (across the courtyard) that fully restores HP and MP; rest there first if you took damage in the Western Tower.
Take the Wightslayer from the chest. It’s a Holy-element sword that Red Mage can equip; the Holy damage hits the undead in the Sealed Cave and Mythril Mines for double damage.
Eastern Tower
Cross the courtyard to the Eastern Tower. No enemies spawn here. On 3F, grab Eye Drops and an Antidote. Continue up to 4F for a Phoenix Down, Bow, and Wooden Arrow. There’s a bed on 4F that fully restores your party for free, so use it after the Griffon fight.
Main Castle
Cross the courtyard south into the Main Castle. Take the stairs to 2F and walk left past the first hallway. Look for a hidden wall behind a banner on the left side and walk straight through it.
Follow the hidden path (it shows up on your minimap once you enter) and climb to 3F. Two chests up here hold a Leather Shield and Blizzard.
Continue along the hallway and through another banner; between two statues there’s a second secret passage to a Tonfa. Backtrack to 2F, go north, and take the stairs down to 1F for two chests with 1000 Gil each.
All 13 Castle Sasune chests done. Speak with King Sasune in the throne room; he points you toward the Sealed Cave to the north. Fly your Airship over Sasune Lake and land near the cave entrance.
Sealed Cave
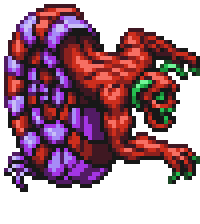
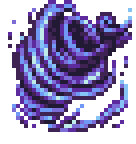
New Enemies
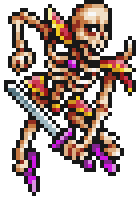


Every enemy here is undead and weak to Holy, so the Wightslayer is your Red Mage’s best weapon for this stretch. Cursed Coppers poison; pack Antidotes from Ur or have Poisona ready. Revenant is the rarest spawn at 20% on B3, so loop the floor a few times if it hasn’t registered.
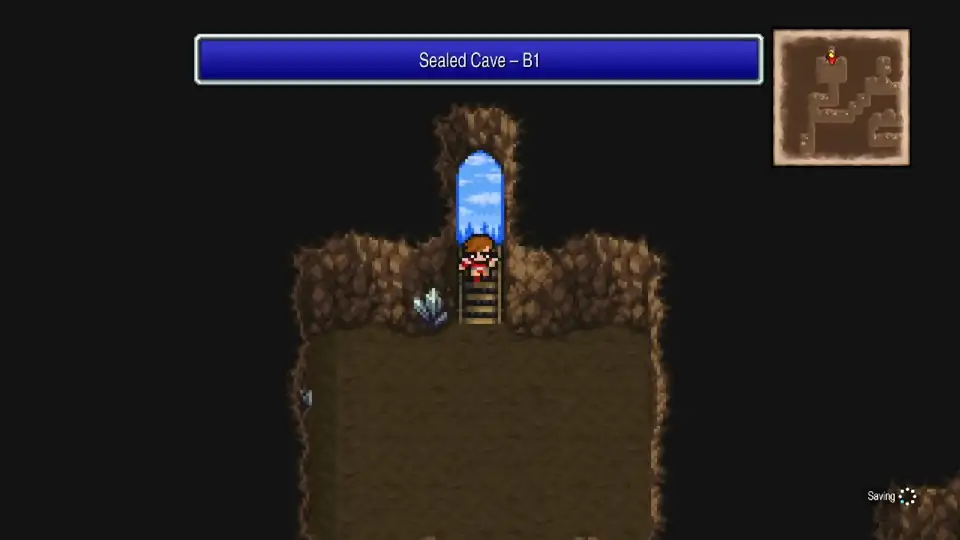
B1. Take the first fork south for a Potion. Double back and follow the right path north for a Cure, then south to the stairs.
B2. Grab 500 Gil from the chest in the southeast corner. Walk northeast and interact with the pile of bones to open a hidden passage. Princess Sara is on the other side and joins your party as a guest. Take the stairs down to B3.
B3. Go south to the dead end for an Antarctic Wind. Turn around and walk north, picking up Eye Drops along the way. That’s all five Sealed Cave chests.
Check your bestiary before approaching the boss. If you’re missing the Revenant, run a few more encounters on B3 until it shows up. You can revisit the Sealed Cave later, but you’ll be teleported out right after the Djinn fight, so handling it now saves a trip.
How to Beat Djinn
Sara seals the Djinn and teleports the party back to Castle Sasune. The curse lifts immediately. Speak to King Sasune in the throne room for the Canoe, a quest-reward key item that lets you cross shallow water on the overworld map.
Back to Kazus
Leave the castle and walk north toward the lake. Use your Canoe to cross. Killer Fish, Hermit, and Sea Elemental all spawn on the water.
New Enemies (*Missable)

All three are weak to Lightning, which means the Zeus’s Wrath you picked up in Kazus deals serious damage to them. They also resist Ice and Water, so Blizzard and Antarctic Winds are wasted here. Sea Elemental has the most HP of the three (123) and is the toughest to chip down with physicals alone, so save a Zeus’s Wrath for it.
Pick up your Airship on the far side of the lake and fly back to Kazus. Cid joins your party at the entrance. Before visiting the shops, walk into the cave at the northern edge of town for the Mythril Mines.
Mythril Mines
The Mythril Mines are short and linear. Walk north on B1 and press the button on the wall to open a secret path.
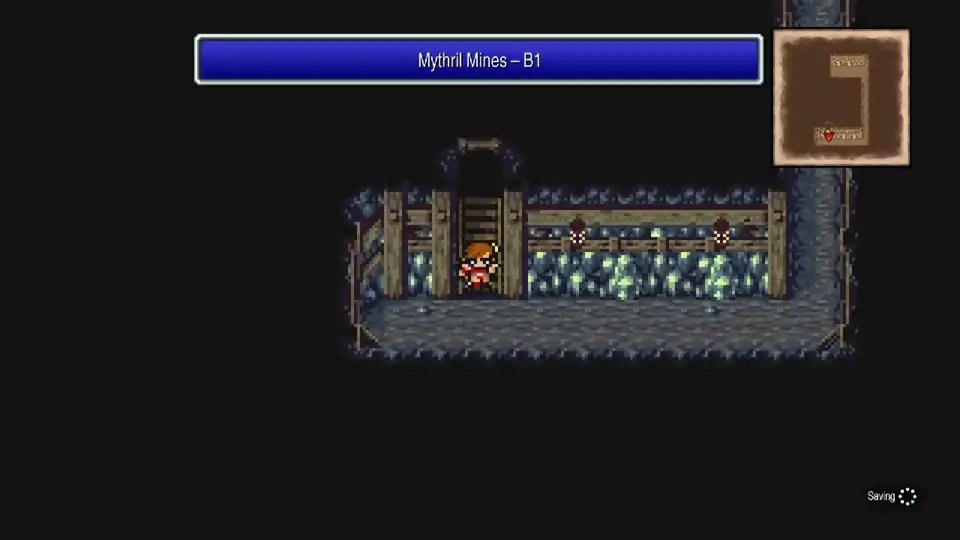
Follow the path down to B2 for two Mythril Swords. The same undead from the Sealed Cave spawn here (minus the Revenant), so there’s nothing new to register for the bestiary.
Kazus (post-curse)
With the curse lifted, Kazus’s shops are finally open and Cid has joined your party.
Shops
The weapon shop has the full Mythril line: Mythril Swords (500 Gil) for Warrior, Mythril Knives (500 Gil) for Thief or any caster, and Mythril Rods (400 Gil) for White or Black Mage. Two Mythril Swords drop in the Mines, so you only need to buy one if you’re running two Warriors. In the armor shop, Mythril Armor (350 Gil) and Mythril Shields (180 Gil) go on Warrior or Red Mage. Mythril Bracers (120 Gil) are caster-only and boost Intellect and Spirit by 1 each, and Mythril Gloves (120 Gil) are the Warrior counterpart for the Gloves slot. The magic shop carries the same Ur stock (Poisona only), so skip it if you bought already.
Speak with Cid and he points you to Takka, the blacksmith in the northernmost house. Takka installs a Mythril Ram on your Airship, letting you smash through the boulder blocking the path west. Fly through the gap and make for Canaan to bring Cid home.