


Temple of Time & Sunken Cave
Submerge the Nautilus south of Saronia at Cape Twin Horn to enter the Temple of Time. Noah’s Lute wakes Unei at her shrine to the north, and the Sunken Cave off the small triangular island in the southeast corner of the map rounds out the chapter. This chapter covers 29 chests, 2 items, and 18 new bestiary entries (4 of them inside monster-in-a-box trap chests).
Temple of Time
Three floors deep (B1 - B3) with 10 chests and Noah’s Lute waiting on B3. Several rooms are behind locked doors; use a Magic Key each time or keep a Thief in the party for free unlocks.
New Enemies
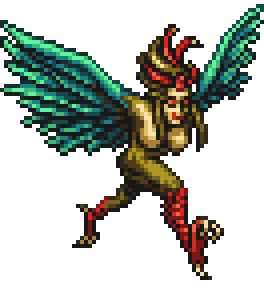
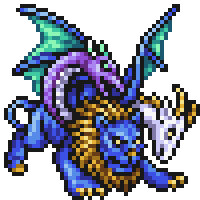
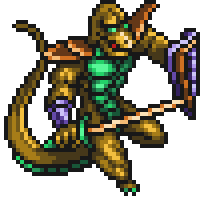
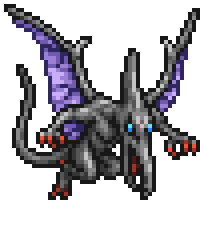
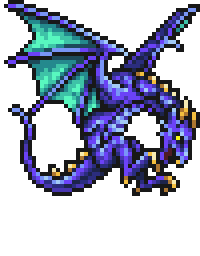
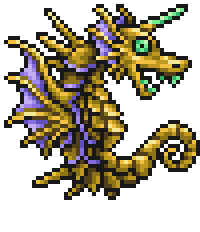
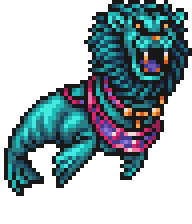
Difficulty jumps a tier from the Dalg Continent. Behemoth has 4,500 HP and casts Meteor on 5% of its turns; one Meteor can wipe a party that isn’t healing every round. Dragon sits at 4,000 HP with a 30% Blaze cast for heavy Fire damage to the whole party. Chimera Mage casts Thunderbolt on 80% of turns; the Diamond Helm, Mail, Shield, and Bracers from these chests all resist Lightning, halving Thunderbolt damage. King Lizard and King Seahorse are weak to Lightning; Dira, Pterodactyl, and Wyvern are weak to Wind.

B1. Walk south from the entrance. The first locked door on the left holds a Diamond Helm; use a Magic Key or have a Thief open it. Continue west to the next door for Diamond Bracers. Drop down the nearby stairs into the water, go north, then east to the next set of stairs.
B2. Grab the Defender at the bottom of the stairs; using it as a battle item casts Protect on the user. Go south through the door, then east through another locked door for Diamond Mail. Leave the room and take the nearby steps to a watery open area. Enter the left door first for Orichalcum and Diamond Gloves. Return to the open area and take the right door for the stairs down.
B3. Drop down the waterfalls and climb the rightmost cascade. Press against the right wall at the top to reveal a hidden passage.
Three chests sit at the end of the passage: two Protect Rings and a Lamia Harp.
Backtrack to the bottom of the waterfalls and walk south to a fork. Go left through a locked door for a Diamond Shield.
Take the right path to the Noah’s Lute room, open the door, and grab Noah’s Lute. Use Teleport or an Ottershroom to exit.
Unei’s Shrine
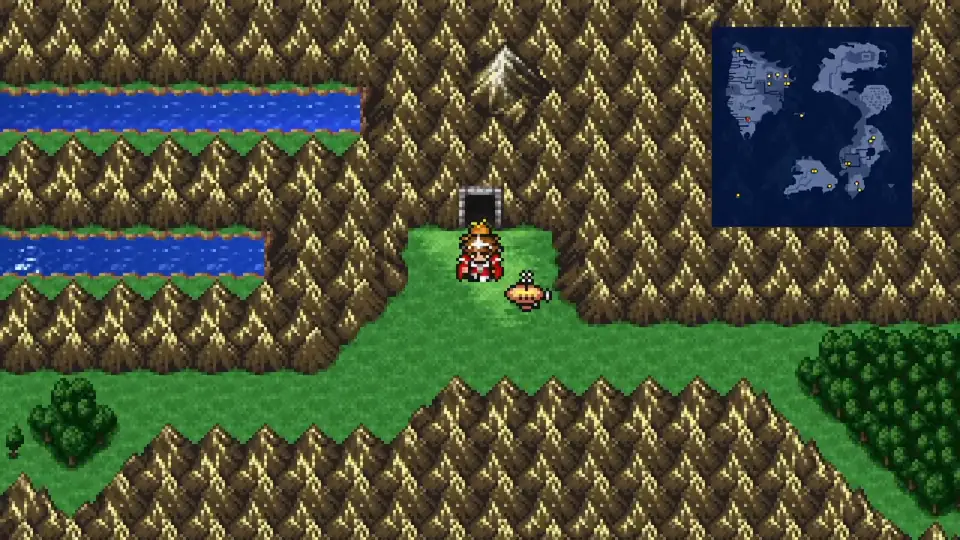
Surface the Nautilus and fly north along the Saronia coast. Unei’s Shrine is a small cave tucked into the northern mountains.
Walk to the back bedroom and approach the bed from the left side. Play Noah’s Lute to wake Unei. She explains that the Invincible, an ancient airship that flies over mountains, sits hidden in the Ancient Ruins to the north. Unei joins the party and hands over the Fang of Fire, the third of four Fangs needed to bypass Xande’s statues.
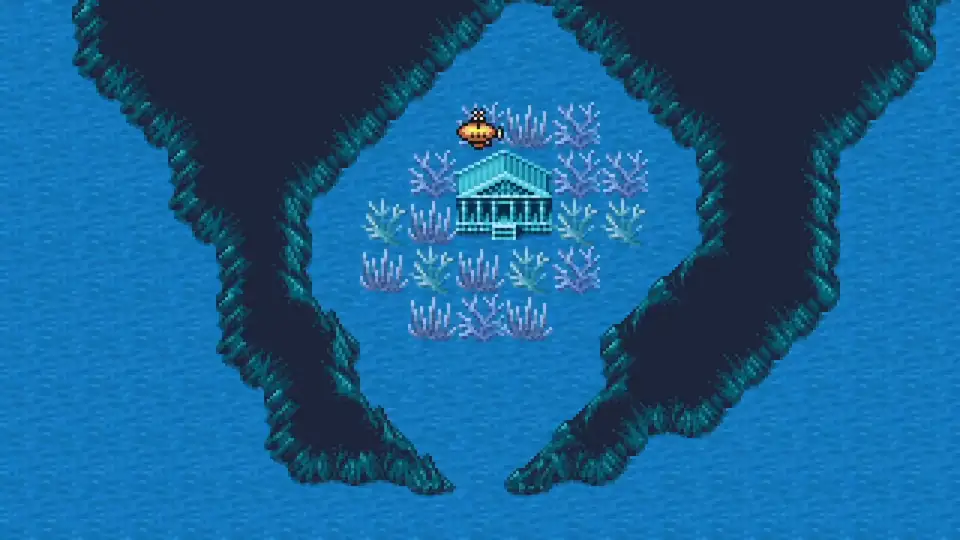
Sunken Cave
Fly the Nautilus to the small triangular island in the southeast corner of the map, submerge, and enter the cave.
The cave runs three floors deep with 19 chests split between B1, B2, and B3.
New Enemies


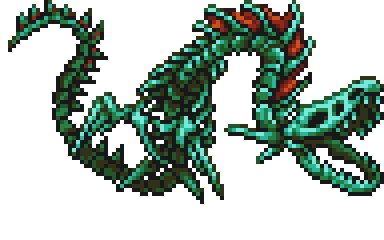
Sea Witch (Blizzara 50%) and Aegir (Blizzara 20%) cast Ice spells; Dozmare casts Fira 50% of turns. Five of the six regular enemies are weak to Lightning, so Thundara and Thundaga end most fights in a single cast. Dozmare is the outlier with a Wind weakness.
B1 - B2. Walk south from the entrance through B1’s linear corridor and down to B2. Grab the Diamond Shield immediately to the left. From the stairs, follow the northeast path for a Defender. Return and take the curling south path for a Dual Tomahawk. Walk northeast and take the stairs down.
B3 main loot. Cross two bridges south and west to four chests in a row: Diamond Mail, Air Knife, Loki Harp, and Diamond Bracers. Cross the next bridge south for three more: Power Bracers, Diamond Gloves, and an Elixir. The Air Knife item-casts Aero on use; a Thief or Ninja can fire it off for free Wind hits each turn.
B3 trap chests. From the seven chests above, walk left through a hidden wall to reach four trap chests. Each one triggers a fight on open.
New Enemies (*Missable)


- Top-left: a Peryton (3,500 HP, weak to Wind). Aeroga from a White Mage one-shots it. Reward: Blood Lance.
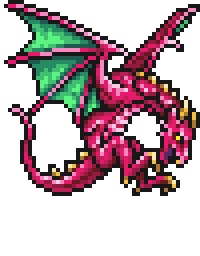
- Top-right: a Zombie Dragon (3,000 HP, weak to Holy). Phoenix Down or Raise can one-shot it but occasionally misses; Fire spells are the safer kill. Reward: Aegis Shield.
- Bottom-left: two Death Claws (1,300 HP each). They duplicate unless killed in the same turn, so use a Black Belt’s Boost + Kick to wipe both at once. Reward: Reflective Mail.
- Bottom-right: two Eaters (1,150 HP each, weak to Holy). They also duplicate; focus fire on one at a time and finish it before the other can split. Reward: Triton Hammer.
B3 final area. Backtrack toward the B3 entrance and take the south bridge. Grab the Ancient Sword on the left, then continue south for four final chests: Diamond Shield, Bacchus’s Cider, Diamond Helm, and Black Hole. Exit via Teleport or an Ottershroom.
The Blood Lance drains HP on every hit and pairs with Jump damage for a self-sustaining Dragoon. Aegis Shield adds magic evasion that stays relevant through the final dungeon.
Surface and fly back to the Saronia continent. Land near the city, follow the river west, and continue north to the cave entrance of the Ancient Ruins.