Optional Summons & Chocobo Woods
Three optional dungeons sit between Doga’s Grotto and the Crystal Tower, each guarding a summon boss. Their spells make the final stretch easier and the chests across the three dungeons round out almost every consumable stockpile you’ll need. This chapter covers 45 chests, 3 summon items, 17 new bestiary entries, and 3 boss fights, plus the remaining Chocobo Woods scattered across the map for the location trophy.
Saronia Catacombs
Four floors deep (B4 to B7), with 13 chests and Odin waiting on Castle Saronia B3 at the top of the climb.
New Enemies


- Fachan is the priority target: it casts Breakga on 20% of its turns and one petrified party member shuts down a Dark Knight quickly. Stock Gold Needles, or kill Fachan first.
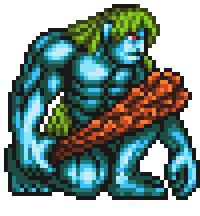
- Balor casts Blizzara on 30% of turns; everything else here is pure physical.
- Cenchos (chest guard, weak to Lightning) and Ouroboros (chest guard, weak to Lightning) appear inside the B4 trap chests. Thundaga clears both quickly.
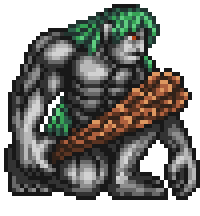
- Kyklops, Boss Troll, and Balor sit around 535-560 HP with no exploitable weakness.
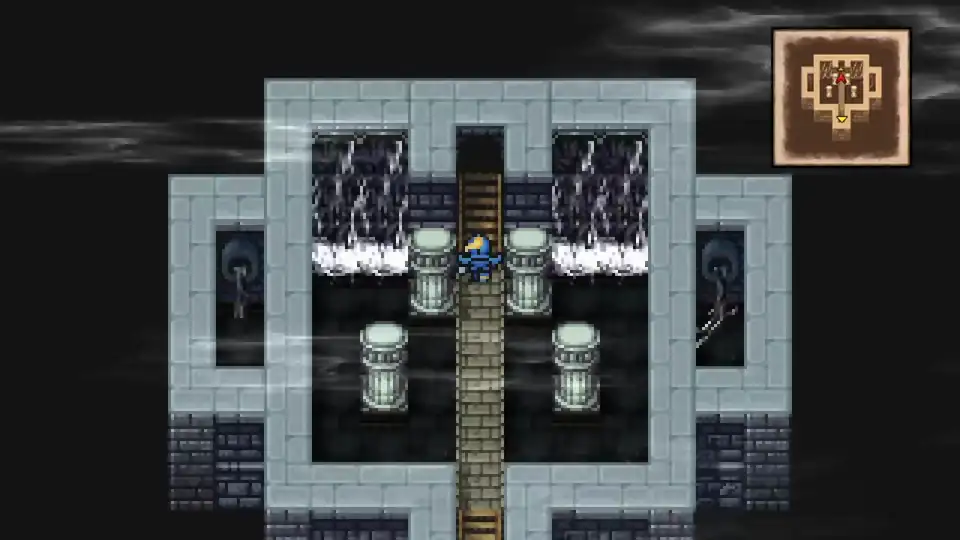
B7 - B6. You enter on B7, the deepest floor. Walk north to B6, then follow the short path up to B5.
B5. Walk east and loop around to a Golem Staff. Continue to the northeast corner for an Aegis Shield and Gaia Vest. Return to the entrance and take the opposite path west for a Reflective Mail, then northwest for a Diamond Bell. Take the south stairs up to B4.
B4. Before entering the large room to the west, look east for a hidden passage. Eight trap chests sit at the end: four Ouroboros-guarded Elixirs and four Cenchos-guarded Phoenix Downs, alternating between the two rows. Head back west through the main room and take the stairs up to Castle Saronia B3.
The knight standing on Castle Saronia B3 was unreachable from the upper floors during the main story. Heal, save, and approach him.
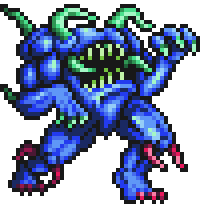
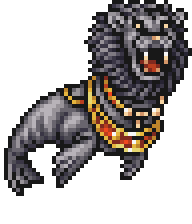
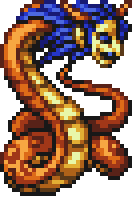
How to Beat Odin
Odin grants the Catastro summon spell after the fight, teaching Odin to your Summoner.
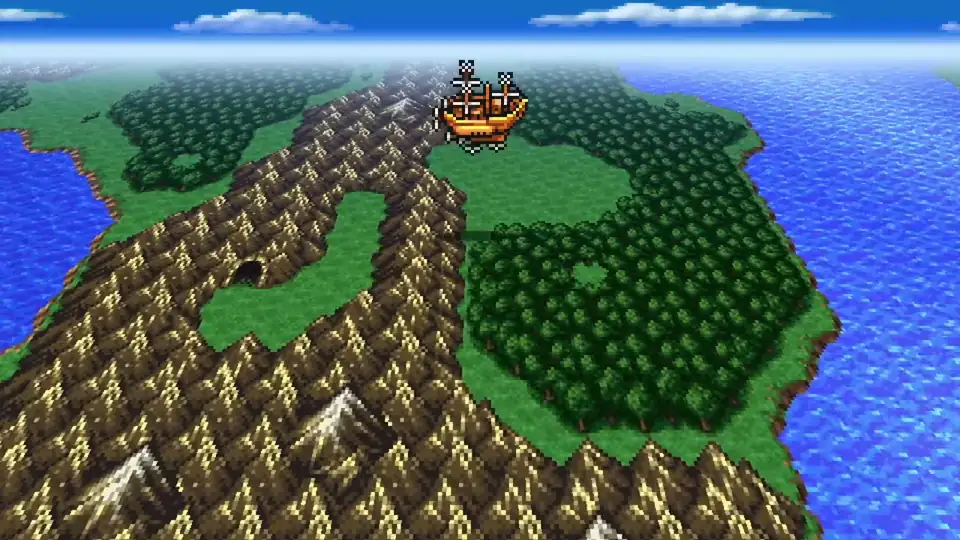
Exit back down to B4 and Teleport out. Board the Invincible and fly to the Floating Continent for the next boss.
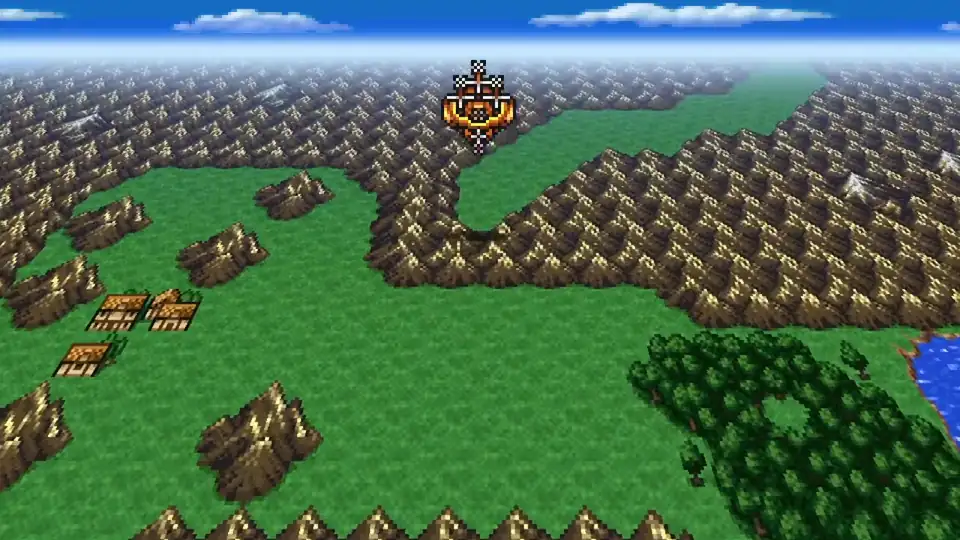
Lake Dohr
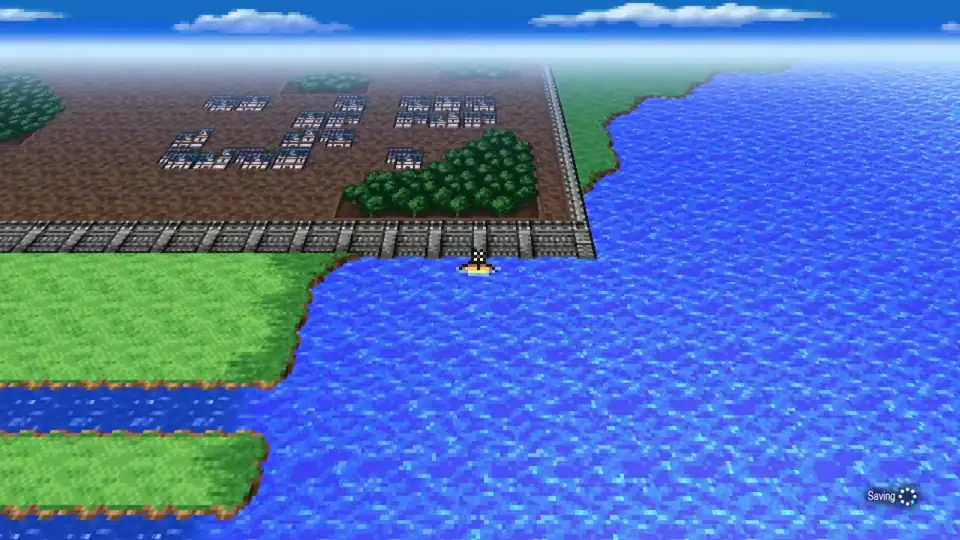
Fly to the lake south of Gulgan Gulch on the Floating Continent. The Invincible hops the mountain range; disembark on the grass and canoe to the shadow below the surface. Four floors deep with 19 chests and Leviathan at the bottom.

- All three new entries are weak to Lightning; Thundaga from a Magus or Summoner ends each fight in one cast.
- Plancti rolls Sleep Gaze on 30% of turns; a sleeping party member is a wasted turn until cured.
- Remora rolls Blizzara on 30%; physical-only otherwise.
- Ouroboros returns from the Catacombs as a regular encounter on B1 and B2.
B1. Walk south from the entrance and all the way southeast for four chests: Phoenix Down, Heavenly Wrath, Arctic Wind, and Earthen Drums. Go west and north to four more near the stairs: three Hi-Potions and an Elixir. Take the stairs down.
B2. Take the northeast fork at the split. Pick up a White Musk along the path, then grab four more in the northeast alcove: Aegis Shield, Lamia Scale, Bacchus’s Cider, and Turtle Shell. Return to the fork and take the southeast path down.
B3. Go north at the first split for three chests: Black Hole, Thorian Hammer, and Reflective Mail. One more sits just west of those: a Black Musk. Return to the split and go southwest for Lilith’s Kiss and Raven’s Yawn. All 19 chests collected. Continue north to the stairs.
B4. Follow the bridges until you reach the shadow from the surface. Heal, save, and engage.
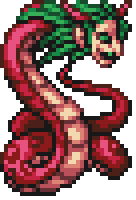
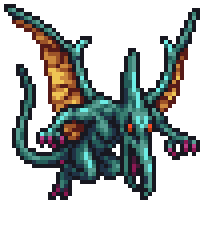
How to Beat Leviathan
Leviathan grants the Leviath summon spell.
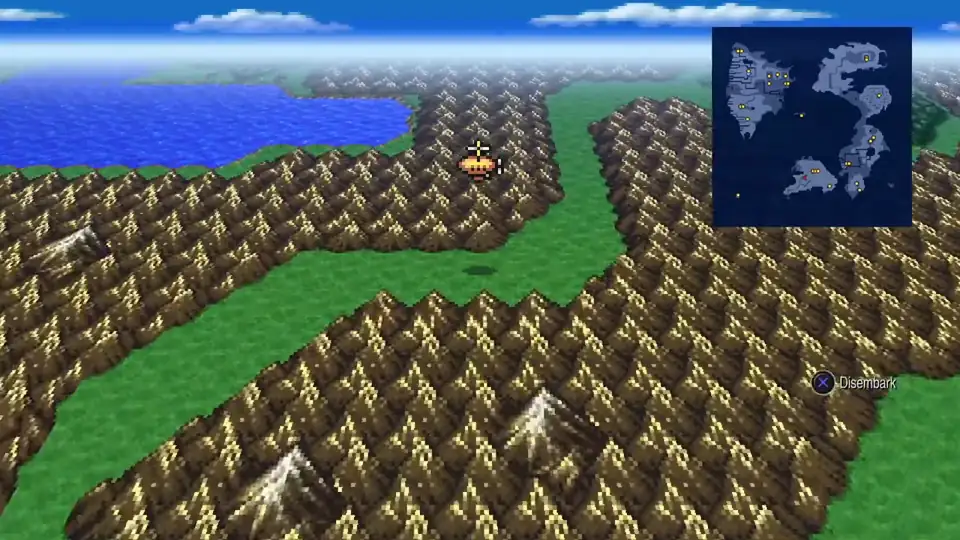
Teleport out and reboard the Invincible. Fly southeast across the Floating Continent, clear the mountain range near the southeastern tip, and disembark near the cave entrance.

Bahamut’s Lair
Three floors with 13 chests. Five new bestiary entries plus Bahamut waiting on the overworld above the lair.
New Enemies


- Grenade Self-Destructs at low HP for heavy AoE damage; finish it in one round or burst it before it cracks open.
- Greater Boros rolls Fira, Blizzara, or Thundara on 17% of turns each plus a 49% Fight; weak to Lightning so Thundaga ends it in one cast.
- Queen Lamia rolls Confuse Gaze on 70% of turns, the highest Confuse rate in the game. She only spawns on B3 and at 20% per encounter, so expect several fights to register her; bring Echo Herbs and stay ready to cure a confused front-liner before they swing on the party.
- Drake is weak to Wind; Aeroga from a Devout one-shots it.
- Sabertooth Liger is a pure physical bruiser with no exploitable weakness.
B1. Grab Heavenly Wrath and Earthen Drums south of the entrance. Walk east toward the stairs, then north at the fork for a Phoenix Down and Arctic Wind. Return south and take the stairs down.
B2. Cross the bridges west for a Golem Staff. Follow the linear path across more bridges for Bacchus’s Cider and a Lamia Scale, then Chocobo’s Wrath and a Turtle Shell on the island just south. Take the stairs down.
B3. Four chests sit to the north: Phoenix Down, Black Musk, Kotetsu, and an Elixir. Register Queen Lamia from the B3 encounters before leaving. The door north leads outside, where Bahamut waits on the overworld. Heal and save before exiting.
How to Beat Bahamut
Bahamut grants the Bahamur summon spell.
Reenter the cave to exit; Teleport drops you back at the boss arena instead of outside. Board the Invincible and return to the surface world for the Chocobo Woods sweep before the final dungeons.
Chocobo Woods
13 Chocobo Woods are scattered across the map and every one needs visiting for a trophy. None auto-register, so each wood needs a deliberate enter-and-exit. Full per-wood map shots on the Chocobo Woods page.
Floating Continent. One new wood sits east of the Village of the Ancients on the continent’s southwestern rim. The other two on this continent were visited during the main walkthrough.
Near Saronia. Five woods ring the kingdom: south of the gates on a peninsula; at the river mouth southwest of the city; along the continent’s western coast; north of the continent west of Replito; and east of Falgabard (redline the Invincible over the central mountains to reach it).
Eastern coast. Five more fill the remaining stretch: north of the Temple of Water; south of Goldor Manor; southeast of Amur; northwest of where Xande’s statues once stood (redline over the mountains); and west of the Cave of Shadows.
With every location registered, the chest count should read 306/367. Board the Invincible and head for the Ancients’ Maze.