Enemy listEnemies
Chest listChests
The Dreadnought is gone. Now the rebellion needs allies. Castle Deist has 14 chests, 2 new keywords, and 6 new bestiary entries (3 of them missable).
Altair After the Dreadnought
Go to the Rebel Hideout and talk to the King in the right room. Then visit the throne room and speak with Gordon. Ask him about the rebellion's next move.
Gordon brings up the Dragoons. Learn this keyword and ask about it. He then mentions Wyverns, so learn that too. Gordon leaves the party after this conversation. Strip his equipment before you go since you won't see him again for a while; sell what you don't need. Make for Paloom to find passage to Deist.
Recruiting Leila
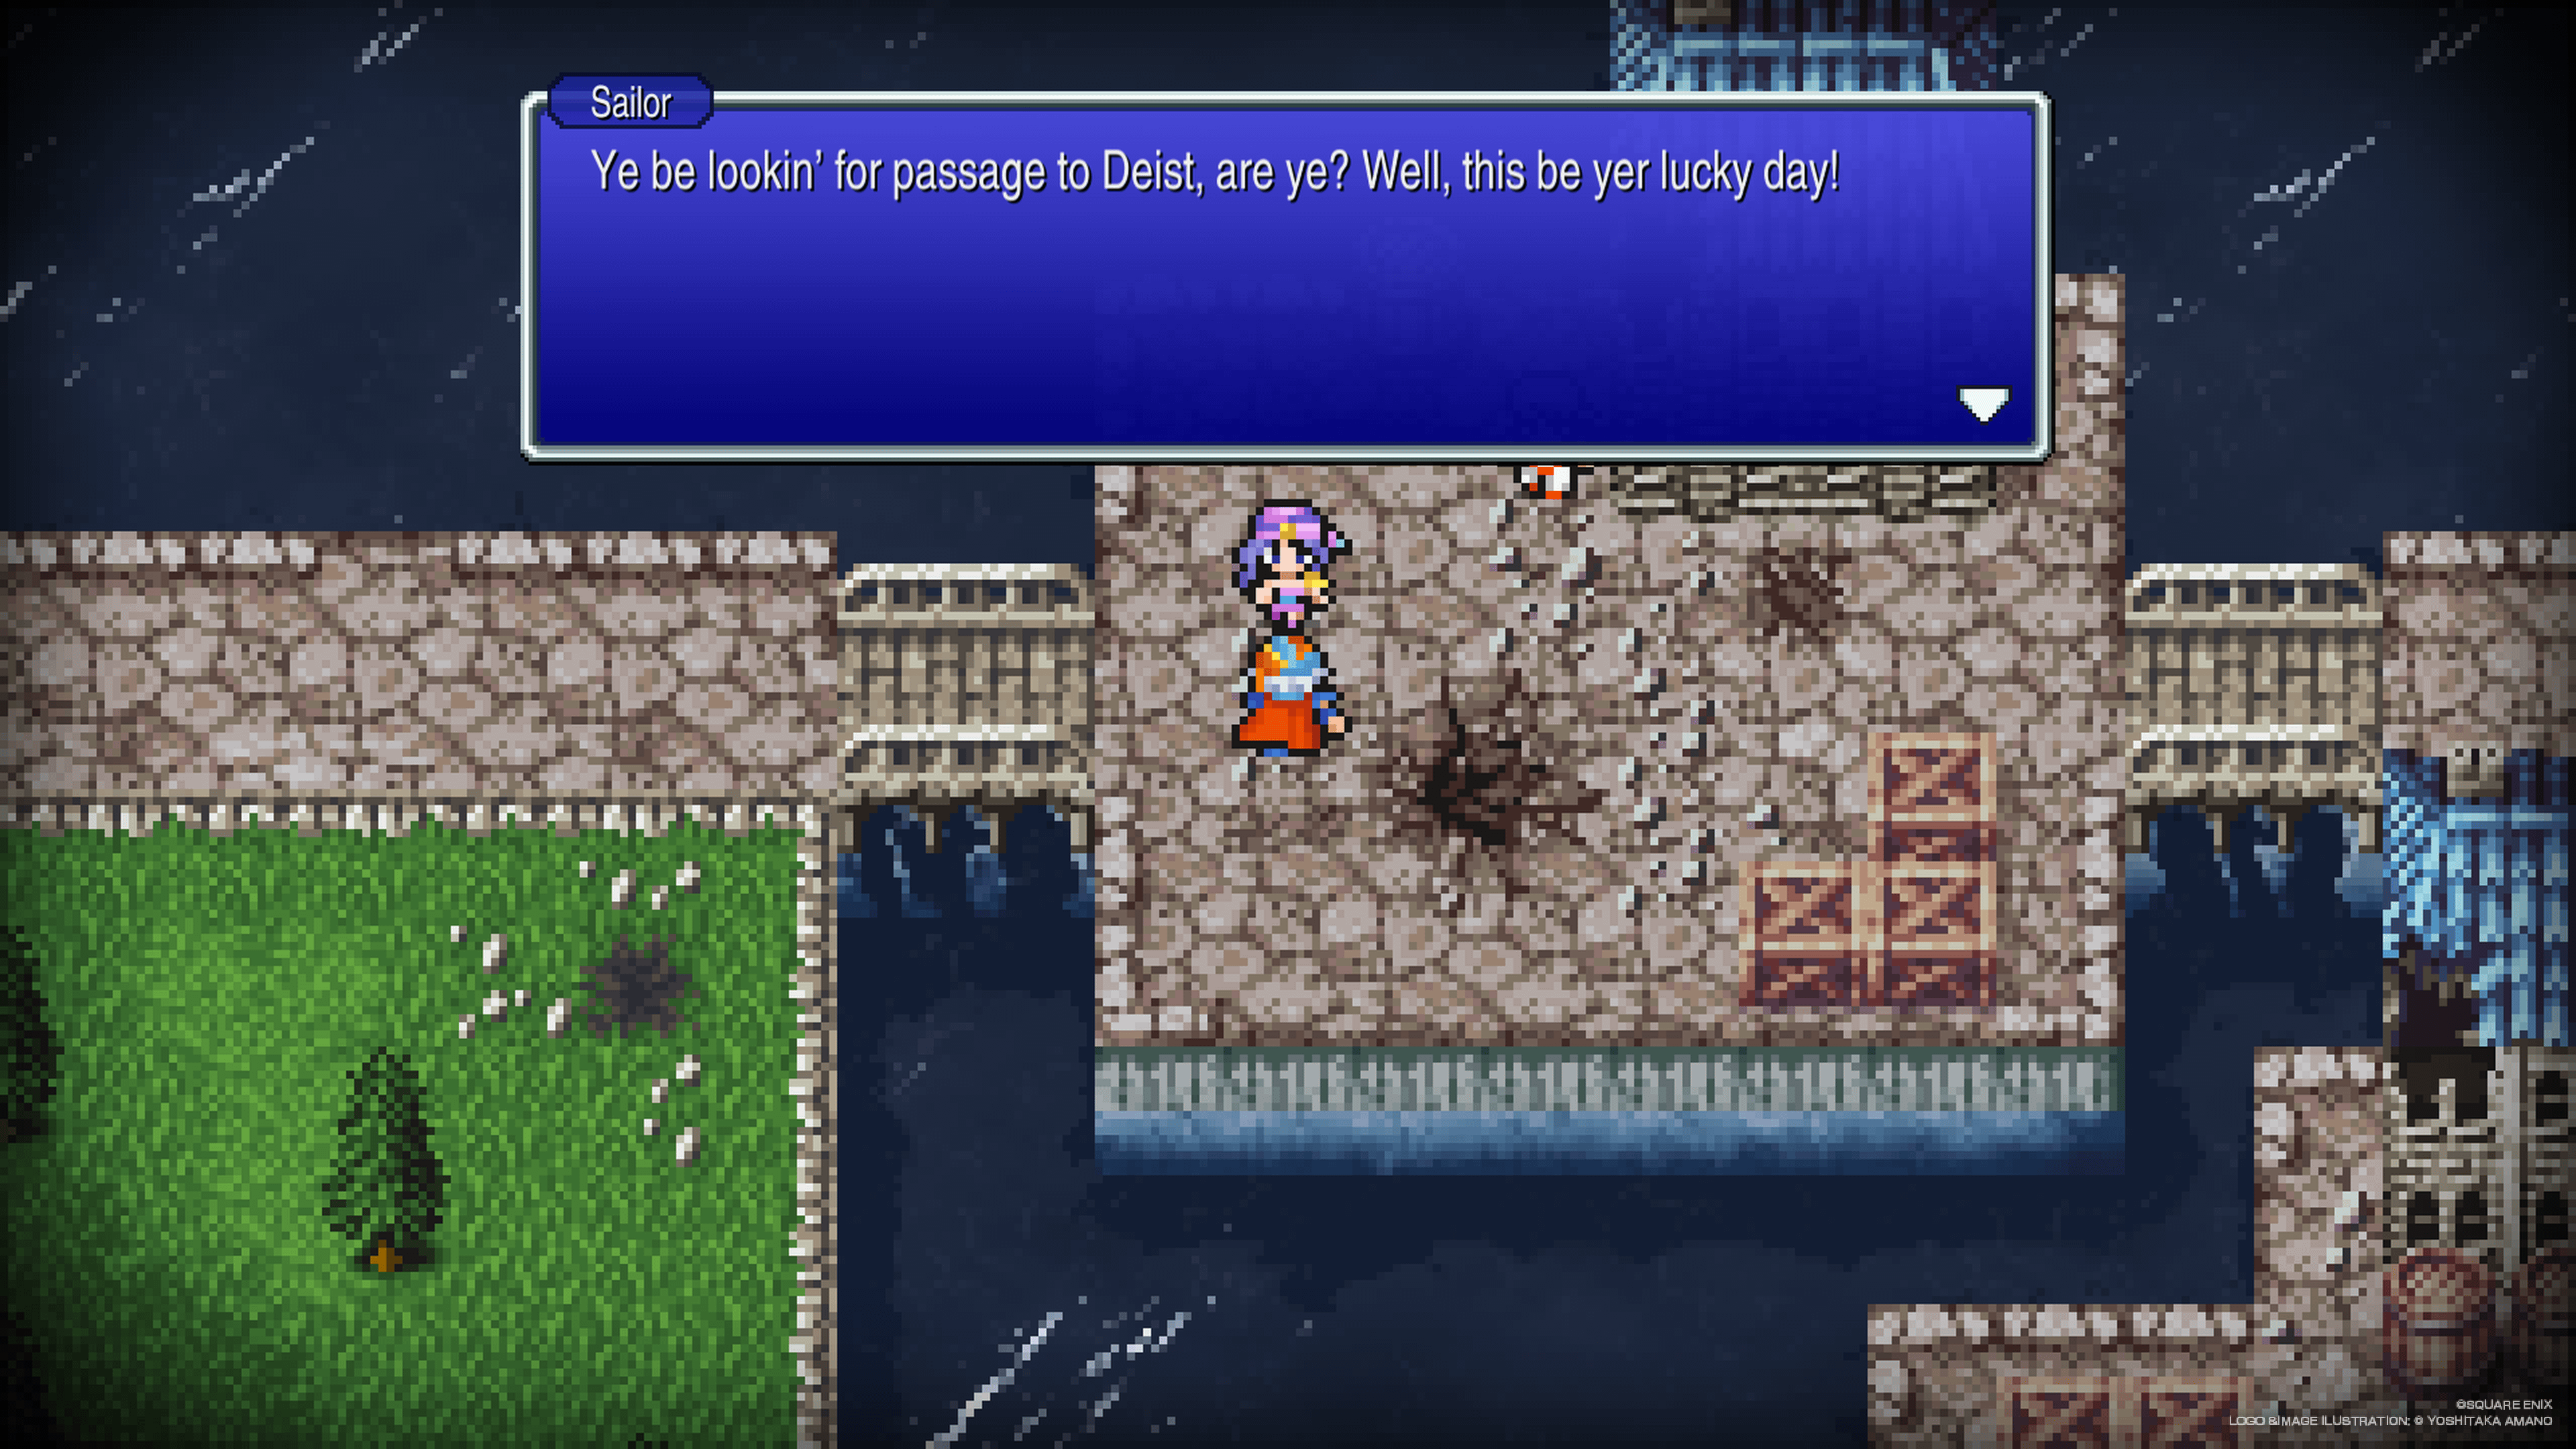
At Paloom's pub, a woman named Leila offers ship passage. She'll take you to Deist.

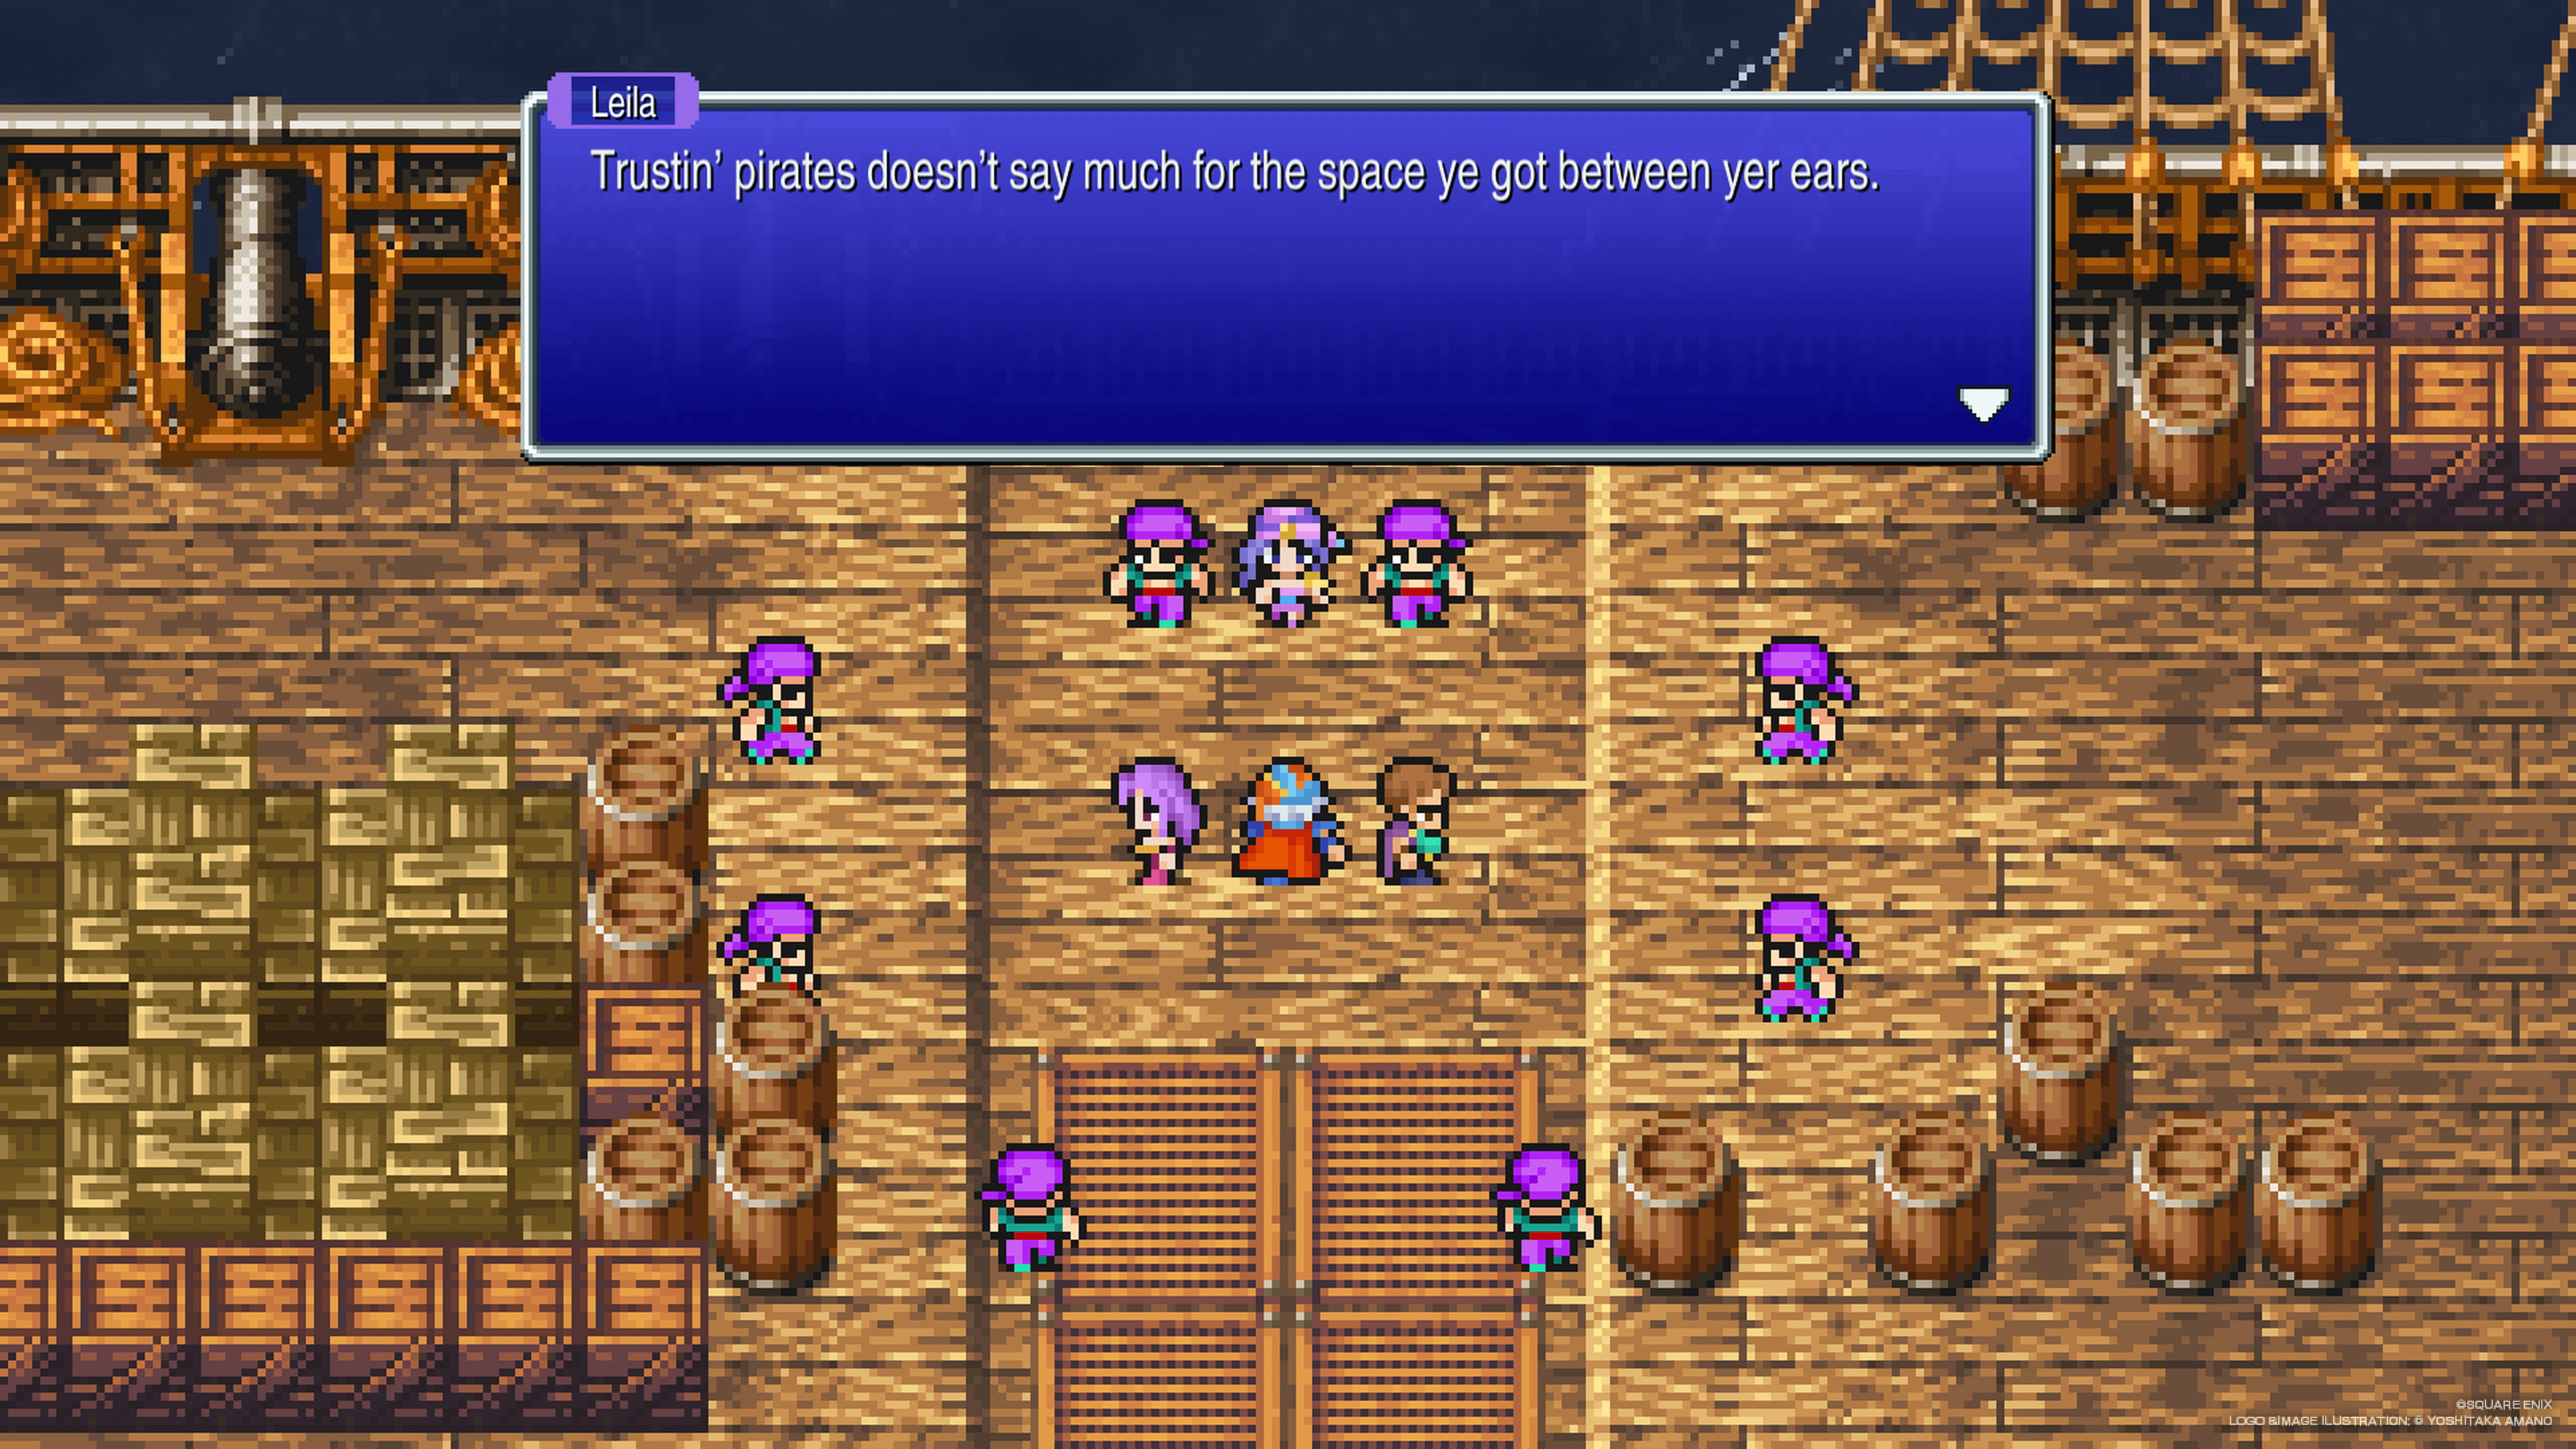
Leave Paloom and you'll see her ship docked at the harbor. Board it. The moment you step on deck, Leila springs a trap. She's a pirate captain, and her crew surrounds you.

After the fight, Leila's impressed and offers to join for real. Accept her; she's a solid fourth member with decent agility. Give her a better weapon from your inventory first.
You now have a pirate ship. This lets you sail anywhere on the world map that's accessible by sea.
Sailing to Deist
Sea Snakes (300 HP, 40 ATK, 40 DEF) are the real danger at sea. They hit twice as hard as anything you faced outside the Hill Gigas. Killer Fish (100 HP) and Buccaneers (80 HP) are manageable but show up in groups. Protect is worth casting at the start of every sea battle.
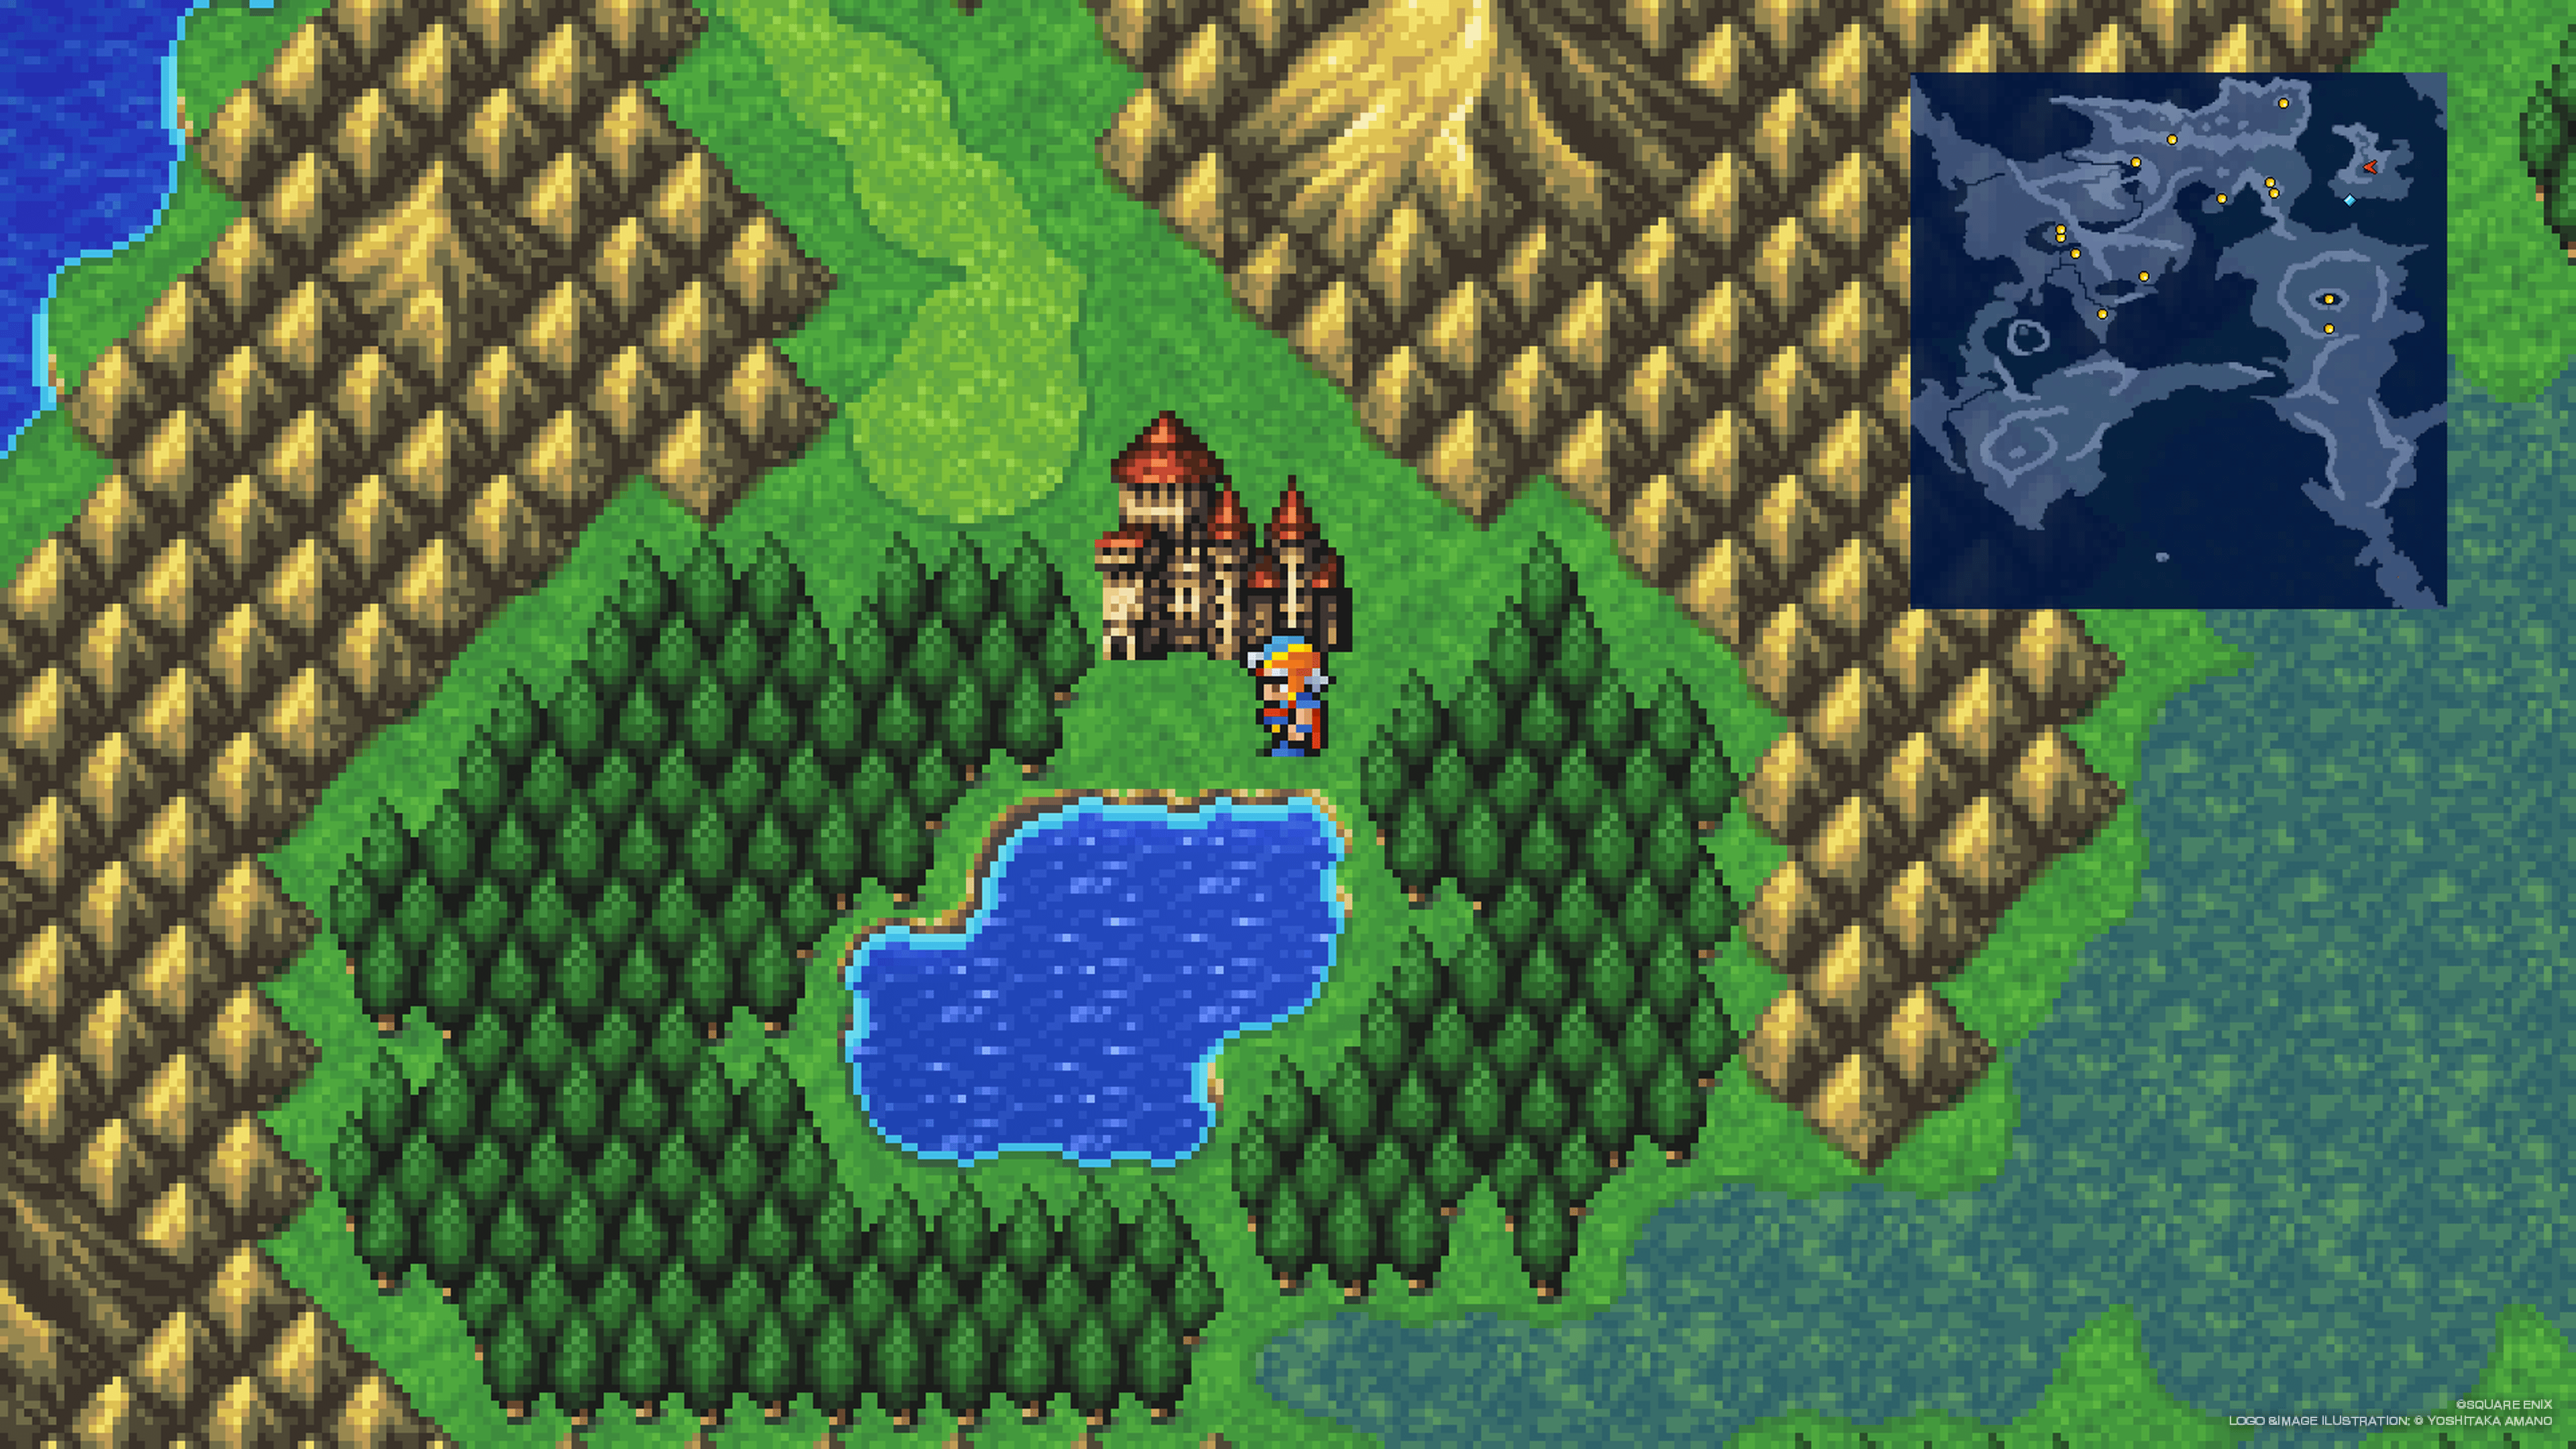
Sail east from Paloom, then south through the passage between the landmasses. Continue south and then northeast. Deist is on the large island in the top right corner of the world map. Dock on the southern coast and head north on foot. Stalactites appear on the island's overworld but aren't dangerous.

Castle Deist
Castle Deist isn't a dungeon. No random encounters and no bosses; just 14 treasure chests scattered across two floors. Enter the castle and talk to the boy near the entrance. Go straight up and speak with him again by the statues, then take the stairs up.
Only one chest up here. Chest 1 (Cottage) is in the top left corner. Grab it and walk right to the top right of the floor. Take the stairs down to 1F.
All 13 remaining chests are on this floor. From the stairs, head south to the dead end for Chest 2 (Unicorn Horn). Go back up and enter the door on your left; Chests 3-5 (Stop Tome, Stun Tome, Curse Tome) are inside.
Leave the room and go right. Continue up, then head left toward the top left door. Eight chests in one room: Chests 6-13 (Gold Needle, Eye Drops, Antidote, Sage's Wisdom, Cross, Saint's Spirit, Mallet, Wing Sword). But the real prizes are Sage's Wisdom and Saint's Spirit; these permanently boost Intelligence and Spirit. Use them on your primary caster.
Head out and double back to 2F. Follow the path down toward the bottom left and take the stairs back to 1F. Chest 14 (Phoenix Down) is near the stairs. Once you've grabbed everything, go upstairs to find the boy and his mother in the center of the floor.
The Last Wyvern
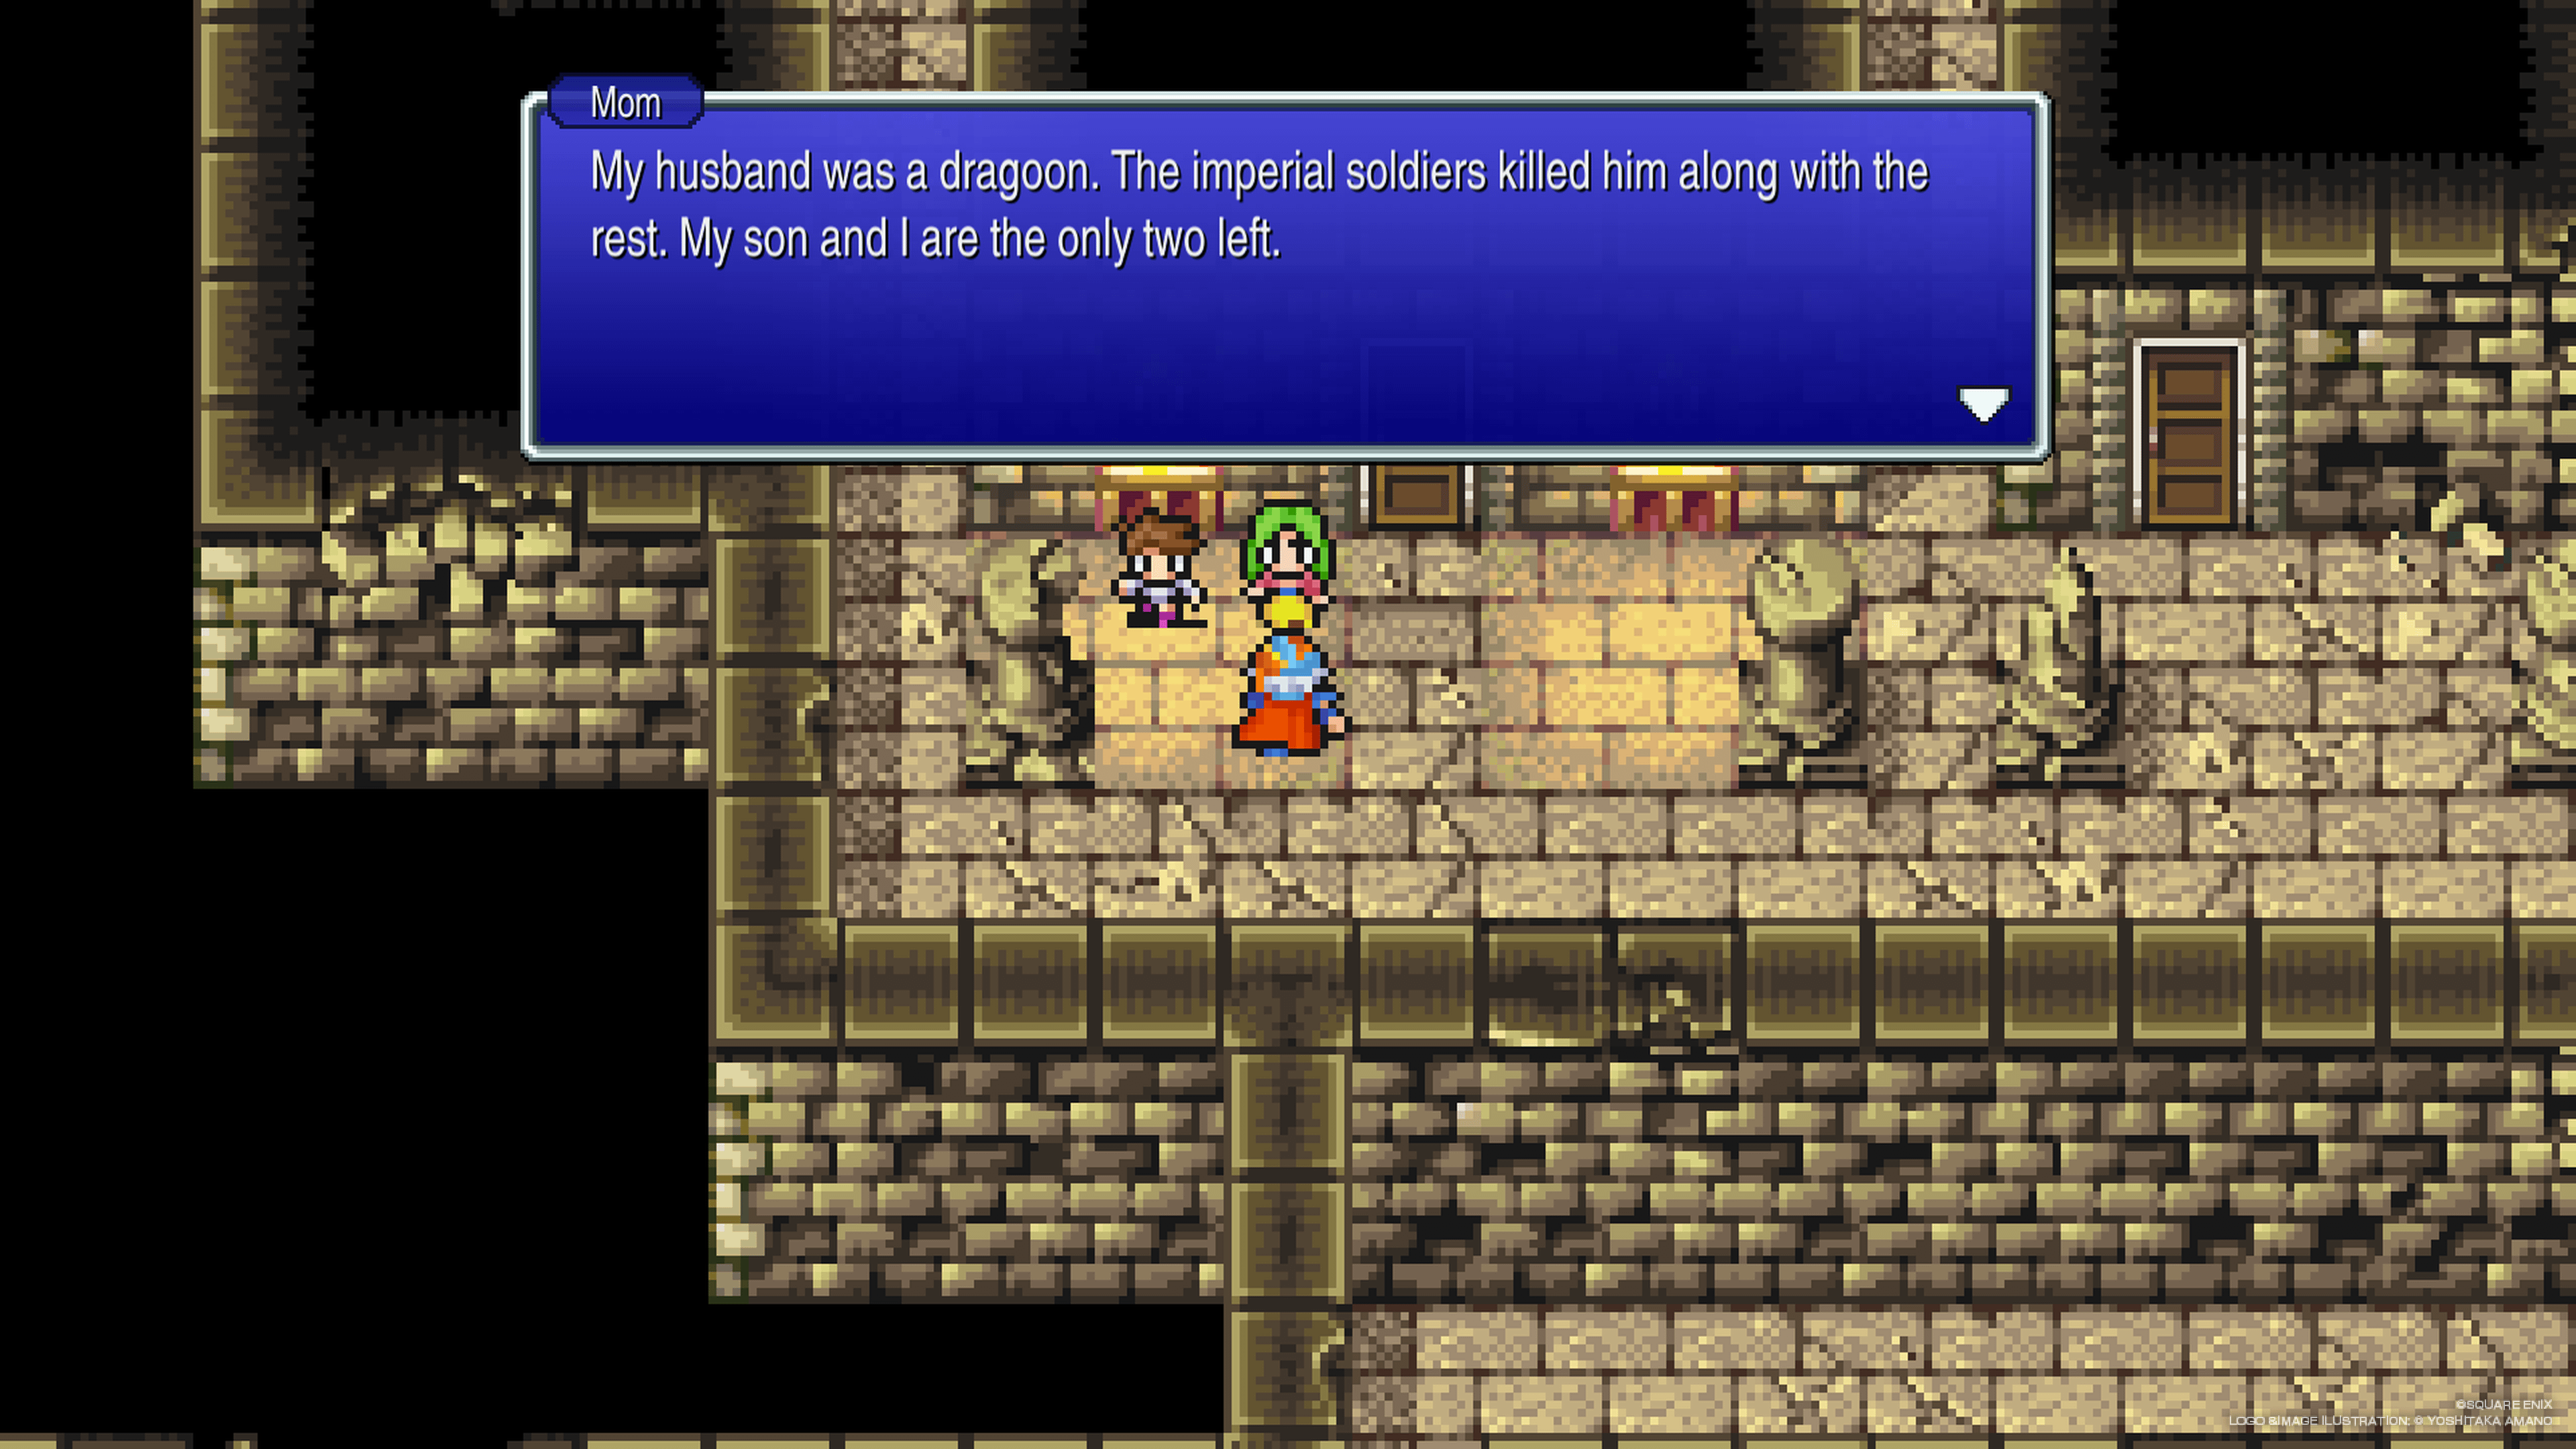
The mother tells you her husband was a Dragoon. All the Dragoons are dead now; she's been guarding the last surviving Wyvern.

There's a Wyvern in the room behind her but it can't communicate with you yet. You need the Pendant from Deist Cavern, just north of the castle. And the cavern is tougher than anything since the Dreadnought; bring Antidotes for Venom and make sure your healing magic is leveled.