


Mirage Tower and Flying Fortress
It’s time to fight the last fiend. There are two dungeons to clear back-to-back: Mirage Tower and the Flying Fortress. This chapter has 16 new bestiary entries and 51 chests.
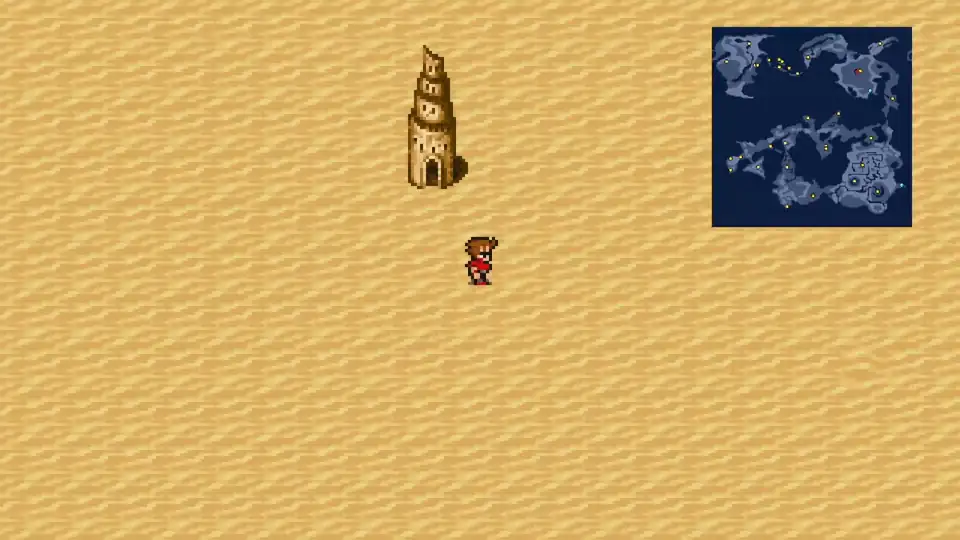
Mirage Tower


Mirage Tower is three floors with 18 chests. Most enemies here are weak to Ice so keep Blizzara ready. Guardians are the exception; use Thunder on them instead.
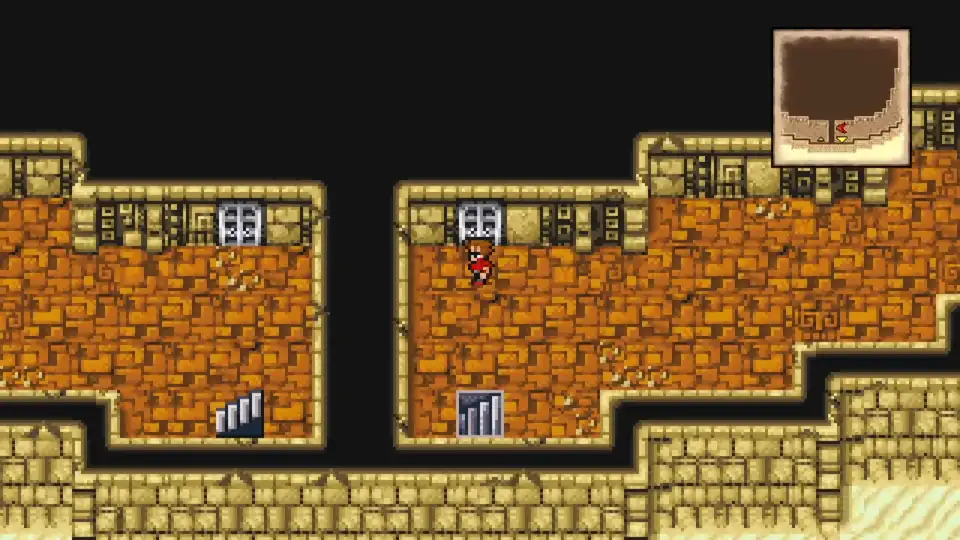
1F. Enter through the first door into the large center room and stay on the inside, following the path around until you get to the center. There are 8 chests on this floor to collect. From the first door you came in, there is a door on the left. Go through it and take the stairs up to 2F.
2F. Circle the outer ring until you hit a gap in the wall and pass through two more gaps until you reach the treasure room with 10 chests. After collecting all of them, exit the room but hug the wall until you see a robot and a set of stairs. Ignore the robot and go up to 3F.
3F. Follow the path around until you see a door. There’ll be a Blue Dragon enemy blocking the way. We count it as a mini-boss.
How to Beat Blue Dragon
After defeating the dragon, step onto the red teleporter to reach the Flying Fortress.
Flying Fortress
New Enemies


The Flying Fortress is five floors with 33 chests. The enemies hit harder here so keep your party healed between fights. There’s also a super rare boss on the final floor called Warmech that some players spend hours hunting.
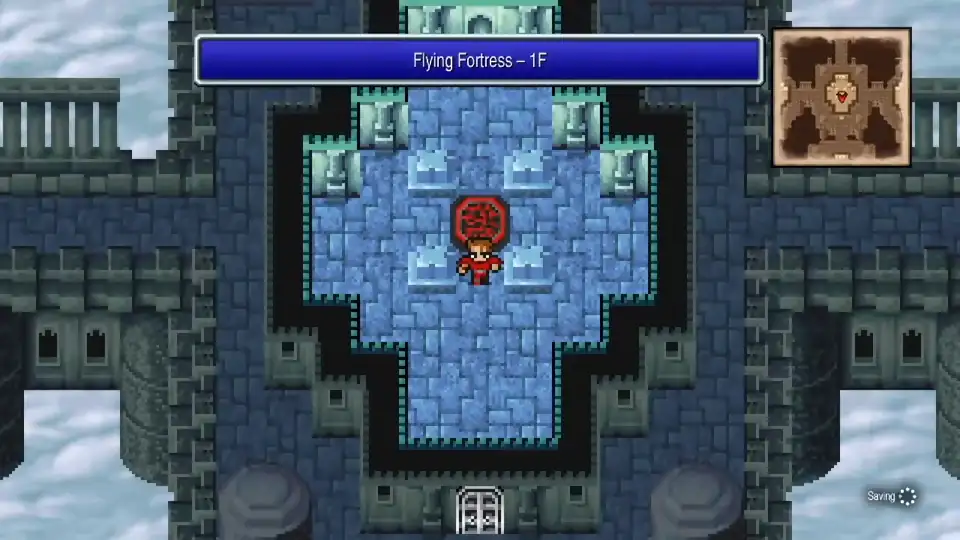
1F. There are 10 chests on this floor. The east, south and west rooms all contain chests. After looting them all, go north and the teleporter will take you to 2F.
2F. There are also 9 chests on this floor plus the Adamantite (we’ll be using this later so be sure to collect it). Every room here contains treasure with the Adamantite in the southwest. Visit each room and pick up the chests, then go south to take the teleporter to 3F.
3F. The remaining 14 chests are on this floor. There are rooms with chests in all directions except south. Loot all the rooms and then from the central teleporter you came in from, take a left and walk south to the teleporter.
4F. Walk two rows left, then two rows south. This leads to a teleporter.
5F. Heal up and restore MP with Ethers before taking a step on this bridge. Every random encounter here has a small chance to spawn Warmech, a superboss tougher than Tiamat herself. Walk north across the bridge to reach the Wind Crystal.
How to Beat Warmech
Warmech is incredibly rare. He’s needed for the Field Research - Professional trophy.
After defeating Warmech, heal up. You’re going to fight the last of the four fiends, Tiamat, the Fiend of Wind.
How to Beat Tiamat
Defeat Tiamat and the Wind Crystal is restored. All four crystals now shine. Use the portal to exit.
Return to Mount Duergar
Take your airship and fly to Mount Duergar on the western continent. The dwarves will turn that Adamantite you found into something useful.
Find Smyth the blacksmith in the northern room. Show him the Adamantite and he forges Excalibur, one of the strongest swords in the game. Equip it on your Knight immediately.
With all four crystals restored and Excalibur in hand, it’s time for the final dungeon.