


Elfheim and Marsh Cave
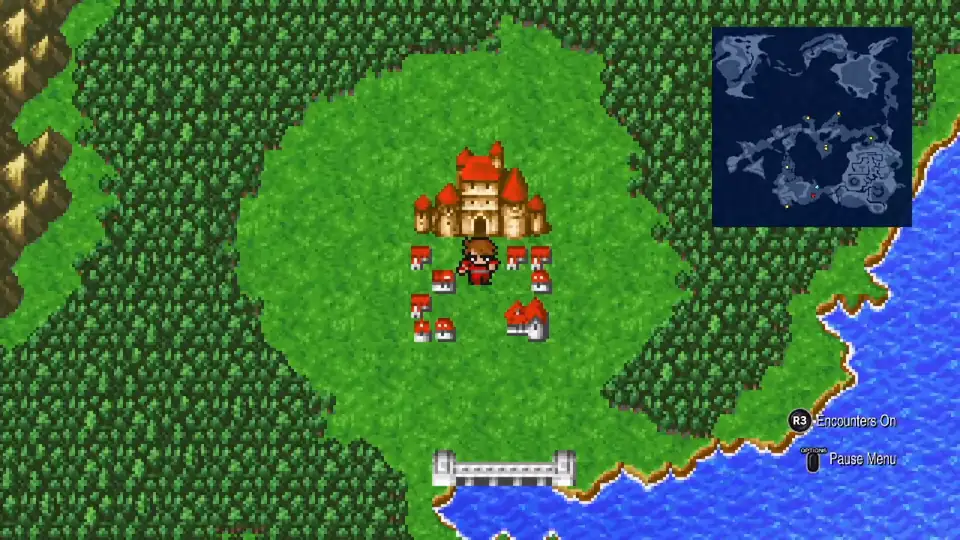
You’ve defeated Bikke and his pirates in Pravoka and sailed to Elfheim. This is a big chapter with 13 bestiary entries and 44 chests. Before visiting the town, walk into the castle just north of it.
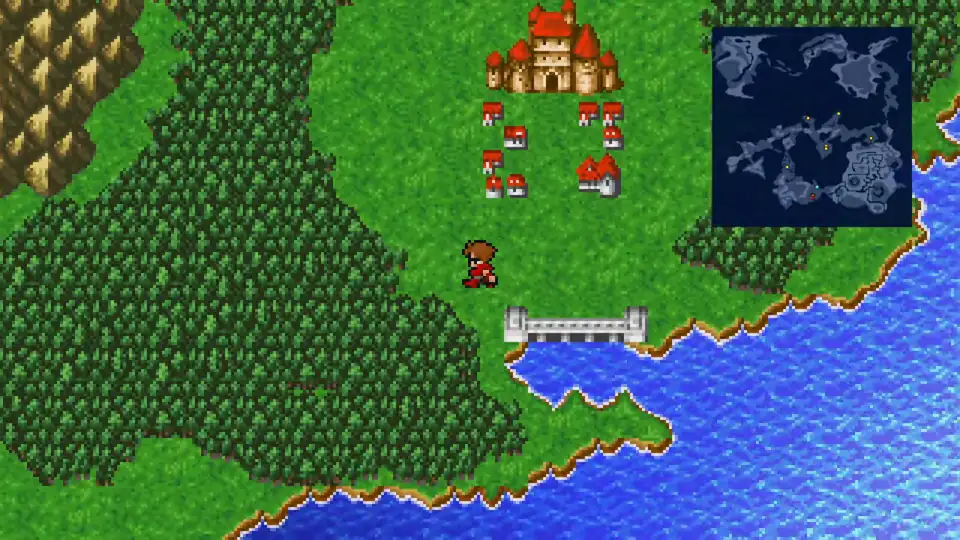
Elfheim
Walk into the Elven Castle first. Inside you’ll find the Elf Prince in a deep sleep, cursed by the dark elf Astos. His attendant mentions a concoction that can wake him, but doesn’t know where to find it.
The castle has locked chests you can’t open yet. They require the same Mystic Key as the other locked doors in Chaos Shrine. After speaking to the attendant, walk into Elfheim Town.
Elfheim Town
Shops
Elfheim has Level 3 spells in the central magic shops and Level 4 spells in the eastern ones. Both are a big jump in power but pricey, so you may need to grind or come back later. If you can afford it now, prioritize Fira, Thundara, Cura, and Haste.
Once you’re ready, rest up at the Inn and leave town.
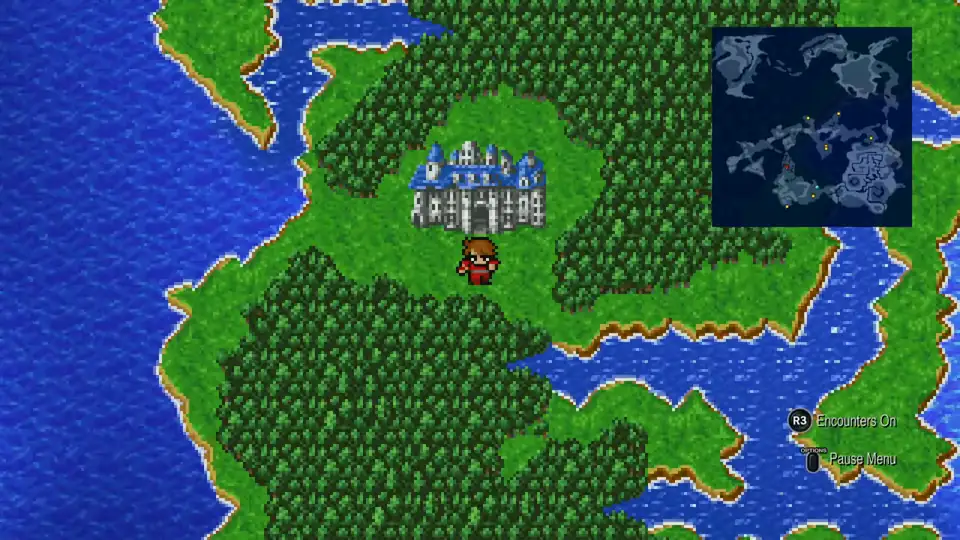
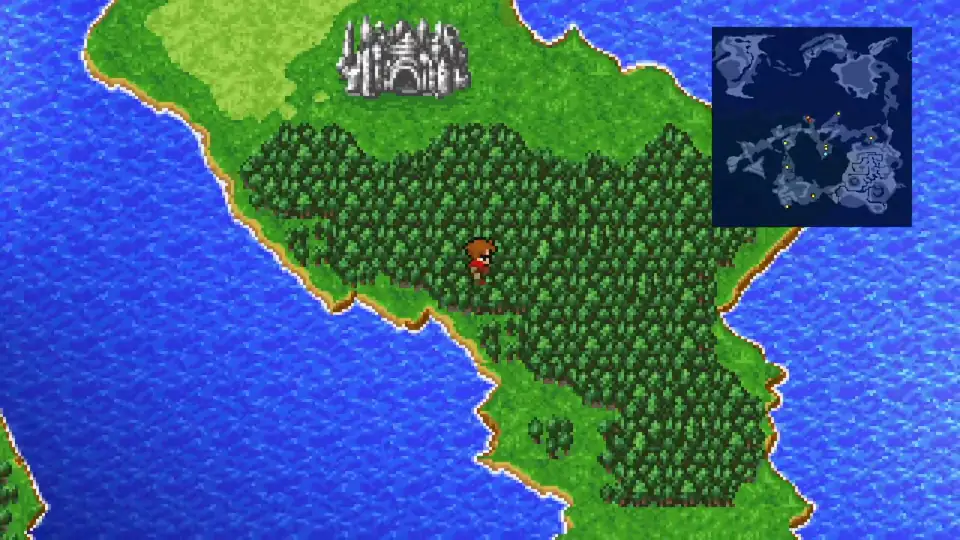
Western Keep
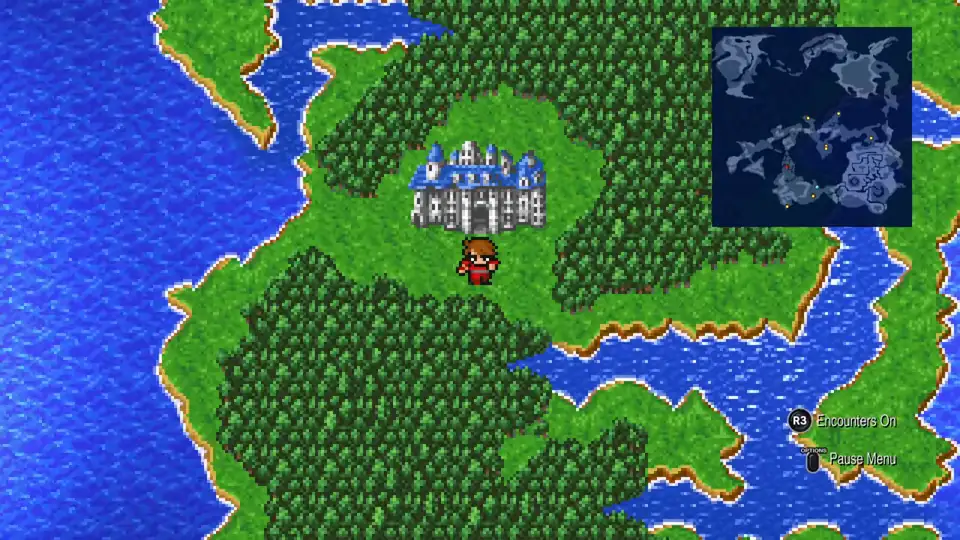
Walk northwest from Elfheim through the forests and mountains until you reach a ruined castle called Western Keep.
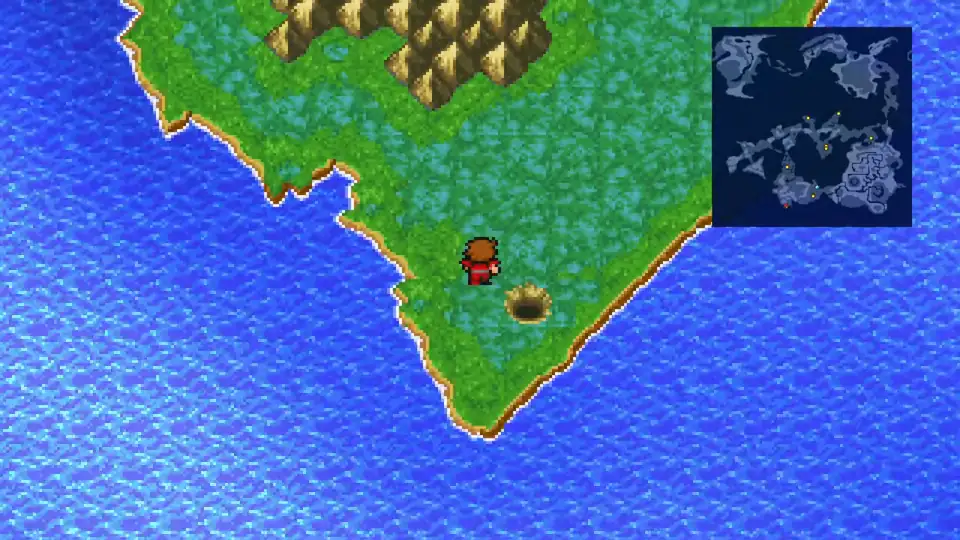
Inside is a room where a king sits on his throne. He’ll ask you to retrieve his Crown from the Marsh Cave south of here. There’s a locked room here too; we’ll be back for it with the Mystic Key. Exit the keep and walk south to the Marsh Cave. You’ll come across a hole in the ground surrounded by wetlands.
Marsh Cave
New Enemies
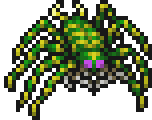
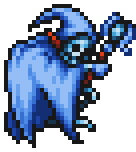


Marsh Cave is your first real dungeon. It contains 18 treasure chests and a boss fight. On this visit, we’ll collect 15 of the 18 chests and come back for the others once we have the Mystic Key. A lot of enemies inflict poison so keep your Antidotes and Poisona handy.
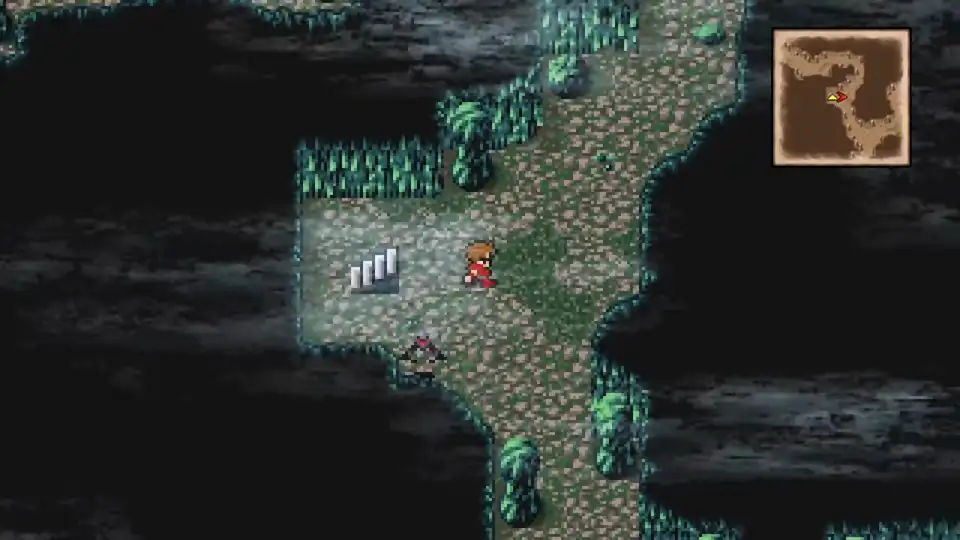
Once inside, walk north and take the stairs down to B2 North. Grab the 4 chests from the side rooms: a Dagger, 1,180 Gil, a Potion, and 1,120 Gil. Return to B1 and take the southern stairs to B2 South. Three more chests here (a Potion, Broadsword, and another Potion), then stairs in the southeast corner lead to B3.
B3 is a maze of 16 rooms in a 4x4 grid. Clear the treasure rooms before grabbing the Crown (Room 10) since it triggers a fight with four Piscodemons. Rooms 13-16 are locked until the Mystic Key.
| Col 1 | Col 2 | Col 3 | Col 4 | |
|---|---|---|---|---|
| Row 1 | Phoenix Down | Empty | Empty | 1,045 Gil |
| Row 2 | Copper Armlet | Cottage + Potion | Empty | Empty |
| Row 3 | Empty | Crown (Boss) | 1,135 Gil | Potion |
| Row 4 | Locked | Locked | Locked | Locked |
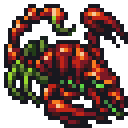
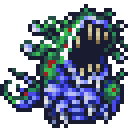
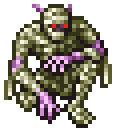
Work through Rows 1 and 2 first, then Row 3. Grab Rooms 11 and 12 before approaching Room 10. The Crown chest is surrounded by rocks and triggers a fight with 4 Piscodemons.
How to Beat Piscodemons
After the fight, you receive the Crown. Exit the Marsh Cave the way you came in.
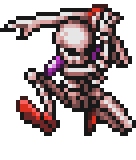
How to Beat Astos
With the Crown in hand, walk north back to Western Keep.
Speak with the king and he’ll reveal his true form: Astos, King of the Dark Elves.
After Astos falls you receive the Crystal Eye. Take it to Matoya for the cure she promised.
Waking the Elf Prince
Return to your ship and sail north to Matoya’s Cave.
Inside the cave, speak with Matoya and she’ll trade you the Jolt Tonic for her eye. You’ll need this to wake the prince.
Sail back to Elfheim and go to the castle.
Inside the Elven Castle, speak to the attendant and he’ll administer the Jolt Tonic to wake the prince. The prince will reward you with the Mystic Key.
Mystic Key Treasures
Time to go back and open every locked chest we’ve passed. Several chests are guarded by enemies you haven’t encountered yet, so you’ll pick up 3 new bestiary entries along the way.
New Enemies

Since you’re already in the Elven Castle, start here.
Mystic Key locations
Click each location to see the chests inside and a quick path to them.
Walk toward the entrance and turn right, then head up hugging the wall. You'll find a room with 4 chests: Mythril Hammer, 800 Gil, 700 Gil, and Bronze Gloves.
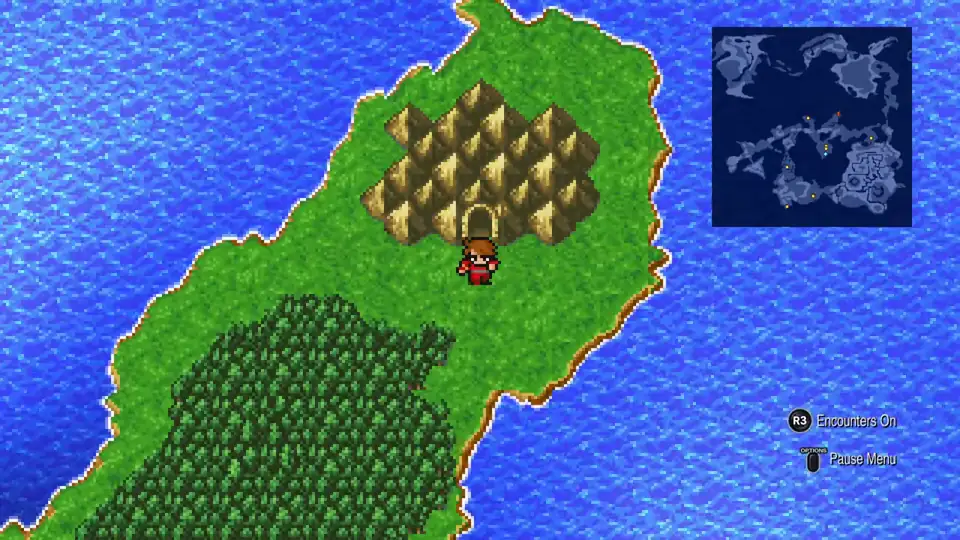
Mount Duergar
With the Nitro Powder in hand, walk back to your ship and sail northeast. Follow the coastline until you come across a port. Dock here and walk southwest on foot to find a cave entrance in a ring of mountains. This is Mount Duergar, home of the dwarves, with 10 chests inside.
As soon as you enter, visit the room to the north to grab 450 Gil and 575 Gil. Exit and walk to the far left side, then head south. You’ll hit an intersection; take either path until you reach a room full of treasure chests.
Once you’ve looted everything, step outside the room and take a right. Talk to Smyth the blacksmith in the north room first (red hat); he mentions needing Adamantite to forge a legendary weapon. Then talk to Nerrick, the dwarf with the green hat. Give him the Nitro Powder and he’ll blow open a canal connecting the inner sea to the outer ocean. Your ship can now sail anywhere.
Exit Mount Duergar and head back to your boat. Stock up on Gold Needles before sailing through the canal toward Melmond. Enemies in the next area can petrify, and getting caught without a cure is a party wipe.