


Crescent Lake and Mount Gulg
With the Earth Crystal restored, the next stop is Crescent Lake. This chapter has 19 new bestiary entries and 37 chests to collect.
Sailing to Crescent Lake
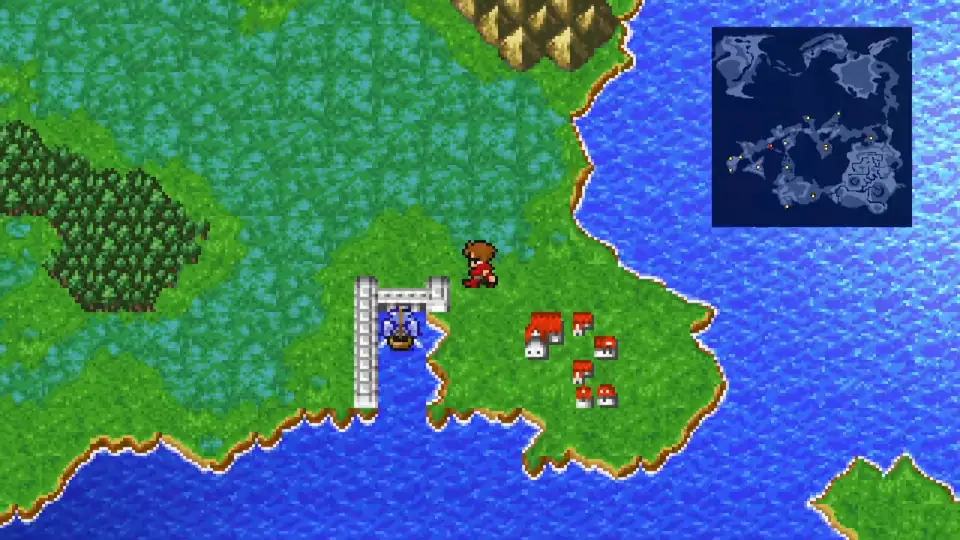
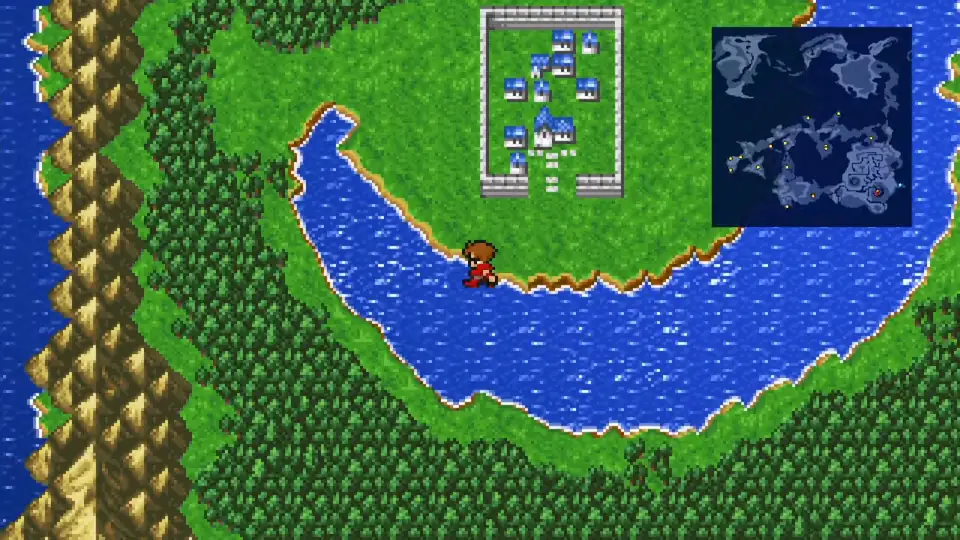
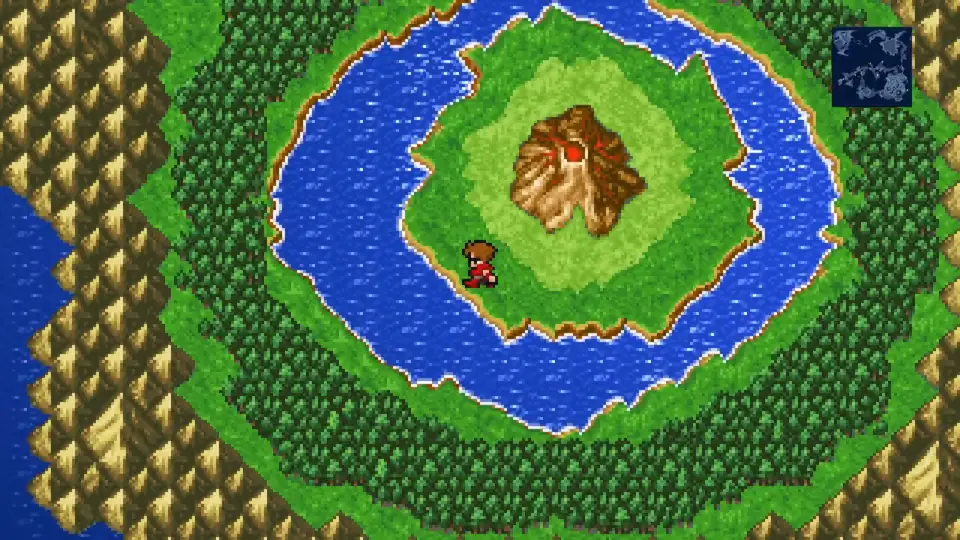
Exit Melmond and board your boat. Sail west until you reach the next continent and dock at the port on the eastern shore. Walk southwest through the forest and around the crescent-shaped lake until you reach the town.
Crescent Lake
Shops
You’ve got two tasks at Crescent Lake. First, visit the shops. There are new Level 6 spells like Thundaga, Quake, and Protera you’ll want to pick up. Mythril Sword and Mythril Axe are worthwhile weapon upgrades. The next dungeon has plenty of armor drops so limit your Mythril armor spending if you’re running low on Gil; Mythril Mail is the one upgrade worth grabbing now.
Second, speak to the sages in the Circle of Sages at the northeast corner of town. The map below shows the path.
If you want to explore the lore, speak with every sage. Otherwise, find the sage in the bottom-right of the Circle (next to the blue-robed sage). He’ll hand you a Canoe that lets you travel down shallow rivers.
After speaking with the sages, rest at the Inn, stock up at the item shop, and exit town.
River to Mount Gulg
New Enemies


Walk west until you reach the mountains, then north until you hit the river. Walk into the river and your canoe will deploy automatically. There are 7 bestiary entries to tick off here. Thunder-based spells will wipe them out.
The short video below shows the exact directions through the river:
- Continue paddling west until you see the option to go north
- Take the right at the next fork (left is a dead end) and take the immediate left
- At the last fork, head west and follow it around until you reach land
- Follow the path until you reach Mount Gulg
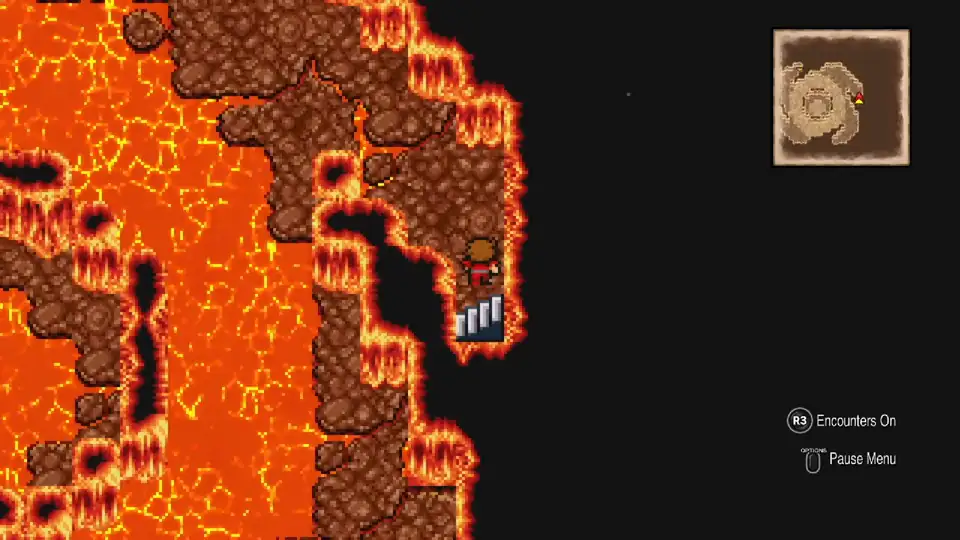
Mount Gulg
There are 11 new enemies here for your bestiary and 37 chests across five floors.
New Enemies


B1. No treasure chests on this floor. Head northwest to the stairs.
B2. There are 18 chests to collect on this floor. Skip the first door and enter the second. Open your map and collect all the chests you can see. There’s one big room with a ton of chests inside. Exit through the door on the right side of the room and walk west to take the stairs down to B3.
Transit floors (no treasure). Mount Gulg’s middle floors aren’t a clean descent. You bounce between B3, B4, and back to B3 before reaching B4’s main treasure section. From B2’s stairs: walk east on B3 and take stairs down to a corner of B4. Walk southeast on B4 and take stairs back up to a different part of B3. From that B3 section, walk south, west, south, west and take stairs down to B4 proper.
B4 (Second section). 15 chests across six rooms:
- Room 1 - First room as you walk in, 2 guarded chests
- Room 2 - Next room, 1 chest
- Room 3 - Continue west, 5 chests (two guarded)
- Room 4 - Walk back toward Room 3 but head south to a guarded room, 2 chests
- Room 5 - Continue east and follow the path, 3 chests
- Room 6 - Backtrack toward Room 5 and walk south, 2 guarded chests. Continue south to reach B5
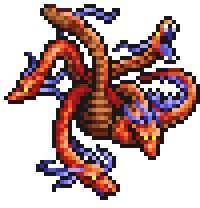
B5. Last floor with 4 remaining chests and a big boss fight. Start northwest to grab a Flame Mail, worth equipping on your Warrior for fire resistance. Go northeast and work your way down the 3 rooms, each contains a Potion. Then go southwest to face the second Fiend, Marilith.
How to Beat Marilith
Defeat Marilith and the Fire Crystal is restored, unlocking the second of three story trophies tied to the Fiends. Step into the portal to exit Mount Gulg. Take the canoe back to Crescent Lake and rest at the Inn.
Pick up any Level 6 spells you skipped earlier; the fights in Mount Gulg should have earned you the Gil. Restock on healing items, then sail north to the Cavern of Ice.