


Wind Shrine
After Tule, sail the pirate ship northeast and dock at the Wind Shrine. The shrine runs four floors deep with a boss at the top. 4 chests, 8 new bestiary entries, and 2 starter Blue Magic spells to log.
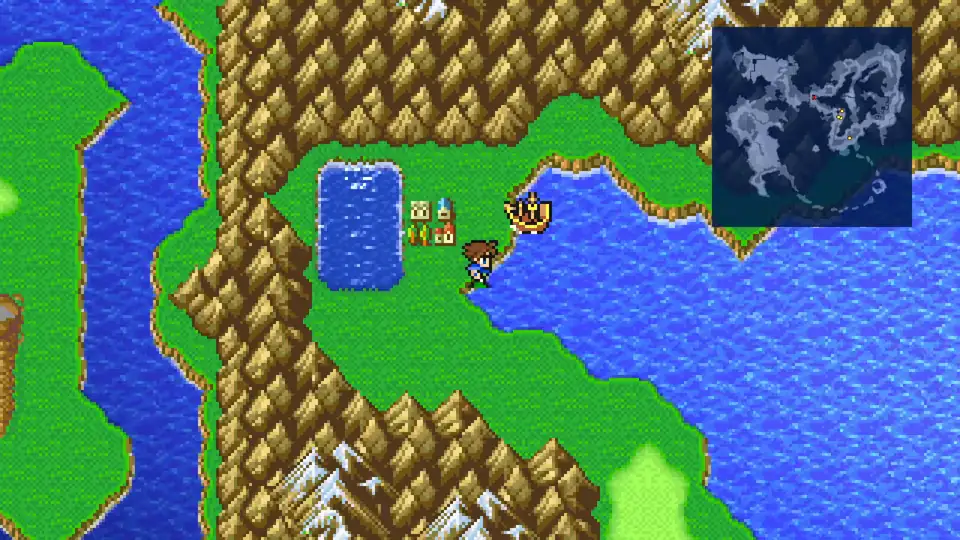
Outside Wind Shrine
The plains around the shrine spawn three regular overworld enemies.
New Enemies


All three drop in one or two swings and spawn frequently. Walk a few laps before entering the shrine to register each one in the bestiary.
Wind Shrine 1F
The first floor has no random encounters. Head north through the door, then west into the small side room. A short cutscene plays.
Speak to the priest left of the pot to receive 5 Potions. The pot itself is a free healing point: stand on it to restore HP, MP, and status, and revive any KO’d members. Use it now if you took damage on the overworld; you’ll use it again before the boss.
Exit the room, head east, and take the stairs up.
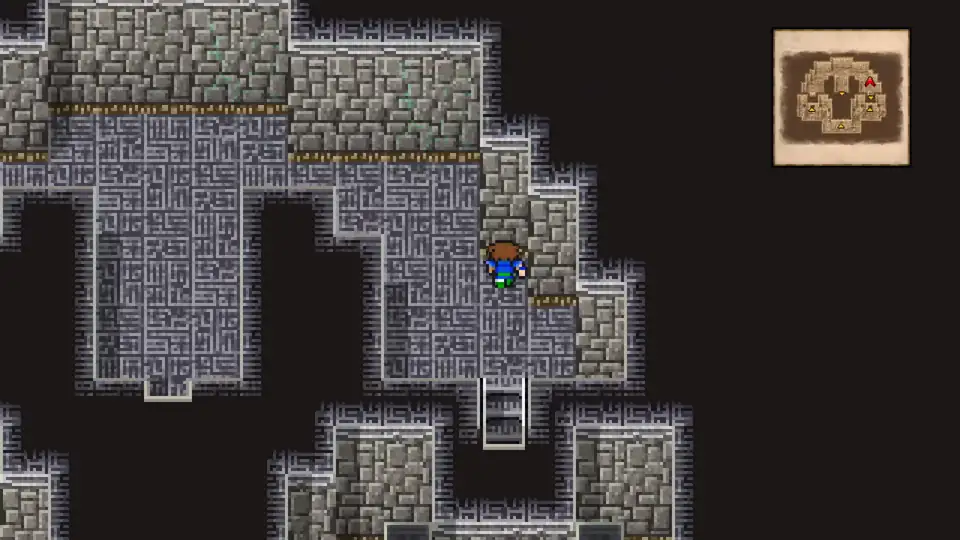
Wind Shrine 2F–4F
Random encounters resume on 2F. Four new bestiary entries spawn across 2F, 3F, and 4F.
New Enemies


- Black Goblin and White Serpent are the most common spawns; both die in one hit.
- Moldwynd casts Aero for solid single-target damage and is one of two Blue Magic teaches in this dungeon after jobs unlock.
- Mani Wizard is rare on 3F and common on 4F. Bestiary still counts the kill either way.
2F. From the stairs, head west past the split. Open the lone chest for a Tent.
Backtrack to the centre and walk south through the door. Inside is a consecrated circle: a save point you can also use for tents and cottages. FF5 lets you quick-save anywhere, but proper saves only land in the overworld or on circles like this one. Save and continue out the south door, then take the eastern stairs up.
3F. Open the lone chest for a Leather Cap, then head back the way you came.
Drop back to 2F, cross past the middle door, and take the western stairs up to a different part of 3F.
3F (west). Follow the counter-clockwise path to a pair of doors. Step through the left door for a Broadsword chest, then exit. Heal up at the 1F pot if you took a beating on the climb, then return and interact with the boss by the next stairs up.
How to Beat Wing Raptor
After the fight, climb the stairs to 4F.
Wind Shrine 4F
Loop the central structure, then head southeast and push against the bottom wall to reveal a hidden passage. The chest at the end holds a Staff, the last of the chapter.
Loop back to the middle and step through the door into the Crystal Room.
Crystal Room: Jobs Unlock
The Wind Crystal shatters into shards and grants the party its first six jobs.
 KnightTank
 MonkUnarmed
 ThiefUtility
 Black MageNuker
 White MageHealer
 Blue MageBlue Magic
A few notes on this opening six:
- Knight equips swords and shields and learns Cover, which auto-tanks hits aimed at low-HP party members.
- Monk does the most front-row damage early. HP +25% as a passive carries over to other jobs once learned.
- Thief can Steal (free Potions and Phoenix Downs early), reveals Hidden Passages on the field, and boosts party speed with Sprint.
- Black Mage and White Mage are the standard caster pair; back-row them to halve physical damage.
- Blue Mage is the long-term standout. Equip the Learning ability now and start collecting spells.
Open the menu, pick Jobs, and assign one to each party member. A balanced opening lineup is Knight, Monk or Thief, White Mage, and Blue Mage. Move casters to the back row via Menu → Formation.
Blue Magic
Assign a Blue Mage to one party member before leaving the shrine. Blue Magic is learned by surviving a battle in which the spell was cast at a character with the Learning ability equipped. Two spells are easy pickups from the enemies you’ve already met in this dungeon:
- Goblin Punch from any Black Goblin
- Aero from any Moldwynd
Grab both before leaving. Goblin Punch can also be learned later from regular Goblins on the overworld, but Moldwynd only reliably spawns in this dungeon. Skipping Aero here means a long detour back later.
The mechanic is: kill all enemies in a battle except the one you want to learn from, then defend until it casts the spell on your Blue Mage, then finish it. If the Blue Mage takes a fatal hit the spell still registers. A success screen pops at the end of the fight confirming which spell was learned.
Leave through the warp pad at the back of the room to wrap up the chapter.