


Torna Canal & Ship Graveyard
After the Wind Shrine cutscene, board the pirate ship and sail back south. This chapter covers the Pirate’s Hideout revisit, the Torna Canal, and the Ship Graveyard dungeon. 11 chests, 10 new bestiary entries, and 2 bosses to log.
Pirate’s Hideout
Talk to Zok in his house in Tule first. He hands over the Canal Key, which opens the Torna Canal later in the chapter.
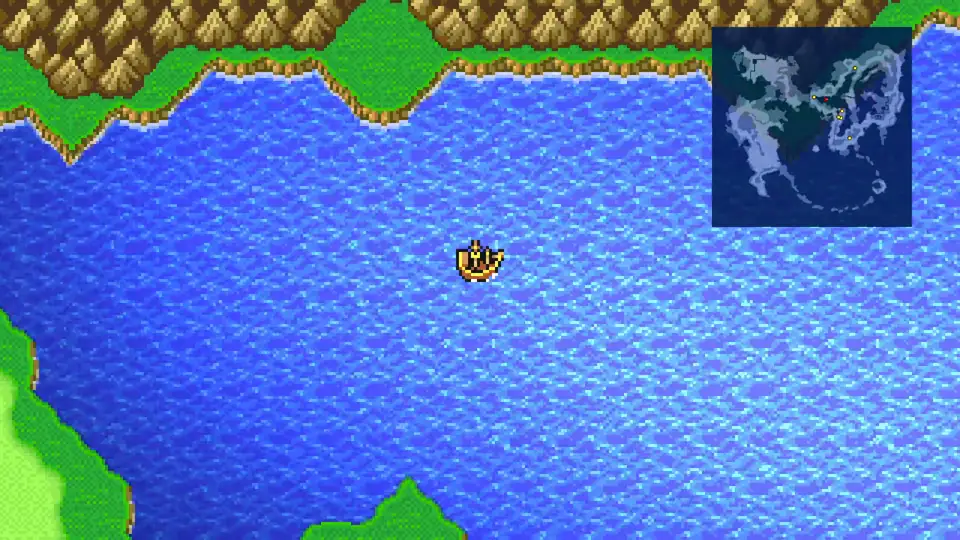
Once you have control of the ship, sail south back to the Pirate’s Hideout. The three chests in the western room are now reachable.
At the hideout, open the three chests in the western room for a Tent, an Ether, and 300 Gil. Hang onto the Ether; mage MP is still tight at this point and you’ll want it during the next dungeon. Talk to one of the pirates near the bridge to receive 8 Potions.
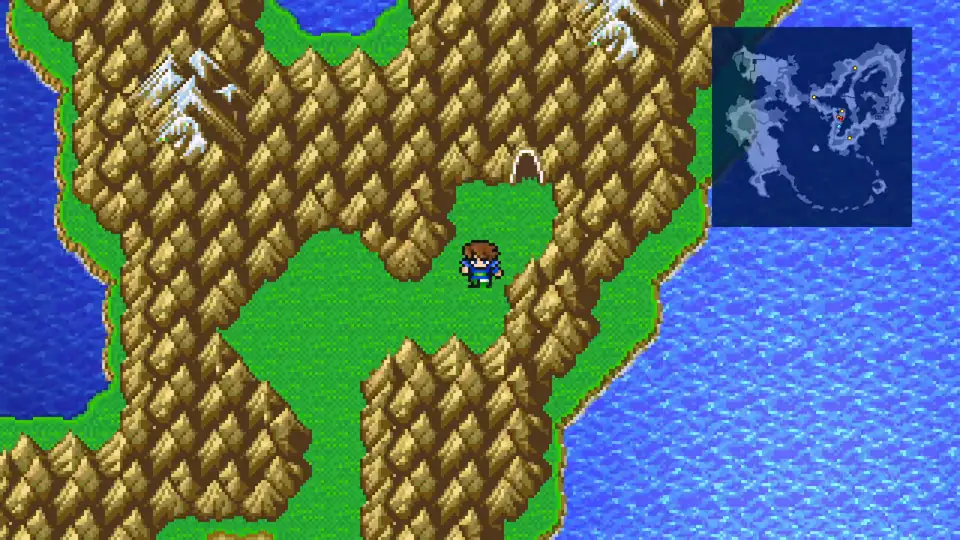
Outside the Canal
Leave the hideout and sail the ship south to the canal mouth. Dock the ship and step onto the land strip outside the canal. Two new land enemies spawn here.
New Enemies


Both Big Horn and Bandersnatch are standard overworld spawns. Plain attacks handle them in a few rounds.
Torna Canal
Board the ship and sail into the canal. The water inside has two more bestiary entries you’ll want before the story takes over.
New Enemies (*Missable)


- Sucker is weak to Lightning and falls in a few swings.
- Octokraken uses Eight Arms for multi-hit damage on the party. Heal anyone under half HP between rounds.
Once both are registered, keep sailing forward and the story takes over. A whirlpool drags the ship under, Syldra (Faris’s sea dragon) is pulled in with it, and the boss fight starts on the rafts.
How to Beat Karlabos
The party wakes up on the deck of the Ship Graveyard.
Ship Graveyard
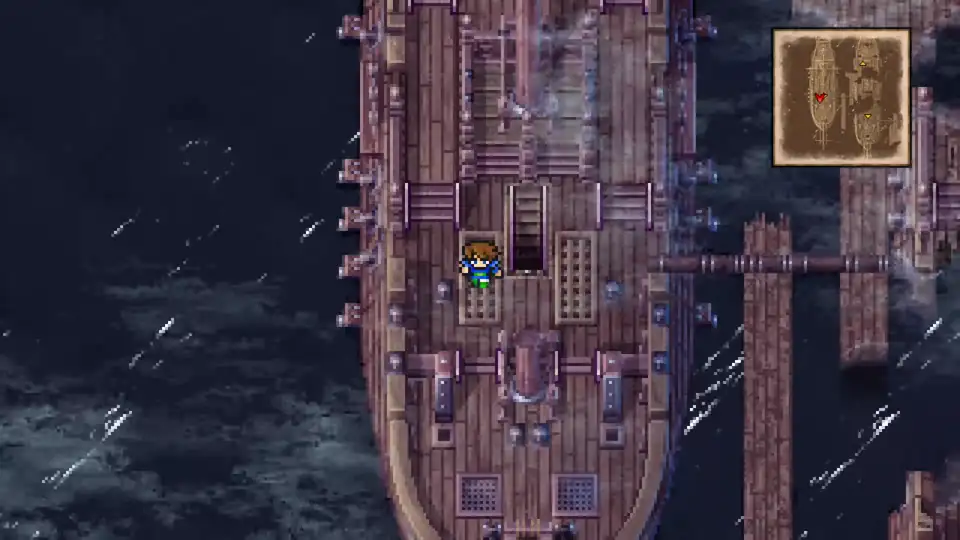
The dungeon runs in two halves split by a story scene. Five chests sit in the first half before the scene plays; another three sit in the half after. Two new enemies spawn on this side; two more open up after the scene.


- Skeletons are the most common spawn the whole way through. Weak to Fire and Holy; plain attacks finish them in a swing or two.
- Calcruthl shows up roughly halfway through. Weak to Lightning, and falls to physical attacks just as fast.
Pick up the first five chests as you wind through the wrecks: a Flail, a Tent, a Phoenix Down, a Potion, and 990 Gil.
Keep pushing north through the wreckage. A short story scene plays in the middle of the dungeon, then the layout opens into the second half.
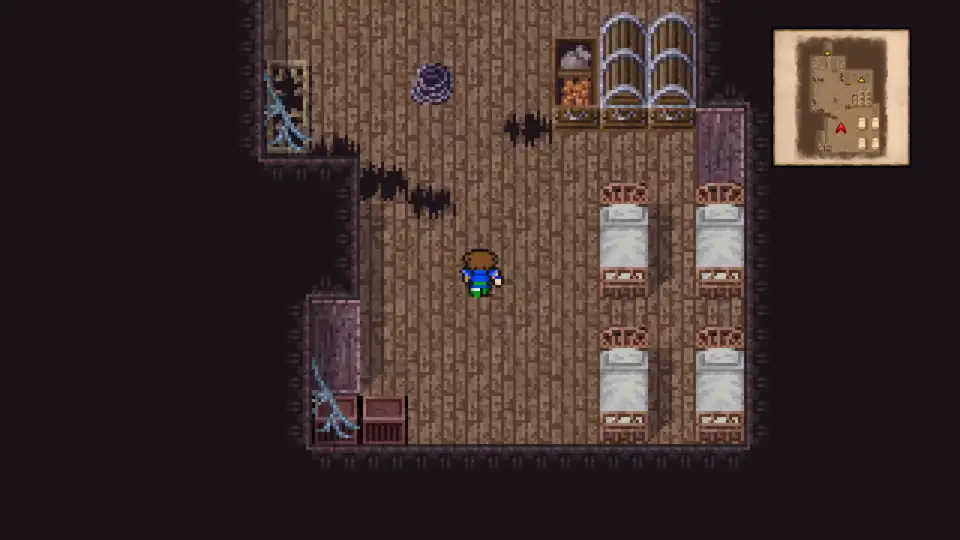
Sunken Shipwreck
Two more enemies start spawning on this side of the dungeon:


- Undead Husk is weak to Lightning and Wind. Being undead, a Phoenix Down used on them deals damage instead of healing.
- Mindflusher casts Confuse on the party; hitting a confused character snaps them out of it.
Watch the floor as you navigate the sunken half: some tiles are cracked and break when you step on them, dropping the party back to the previous floor.
The remaining loot is two Antidotes and a Phoenix Down.
Near the end of the dungeon a thick fog blocks the path forward. A chest tucked off to the side acts as the switch: opening it dispels the fog.
Heal up before pushing through the cleared path. The boss is at the far end.